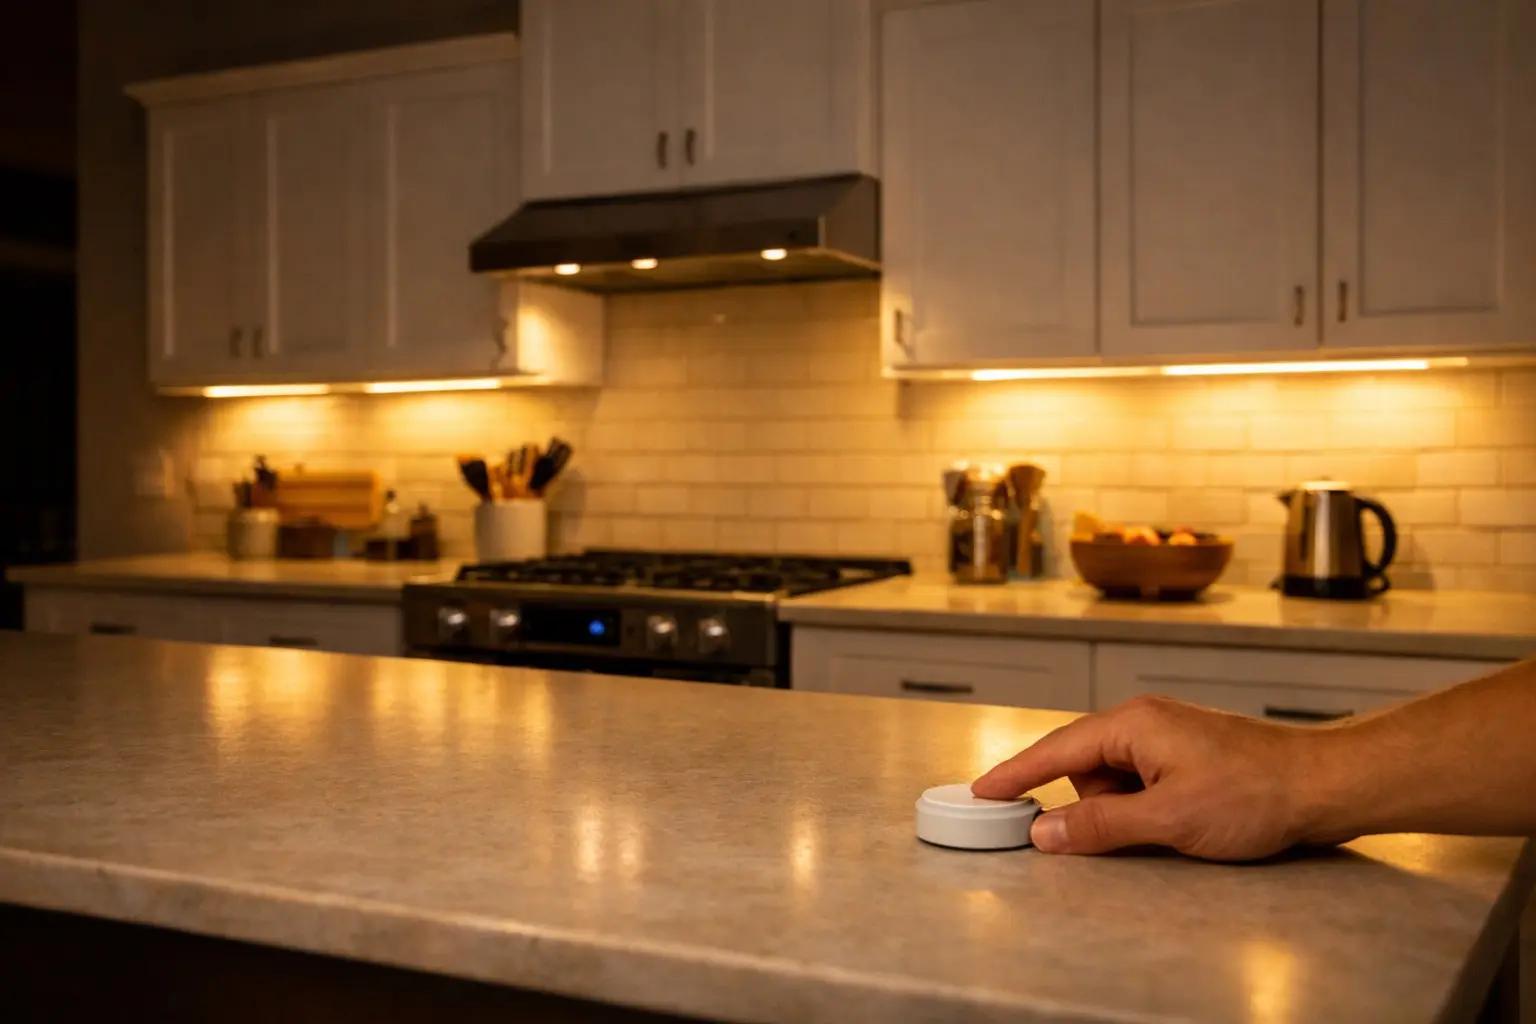
How to Install Under-Cabinet Lighting
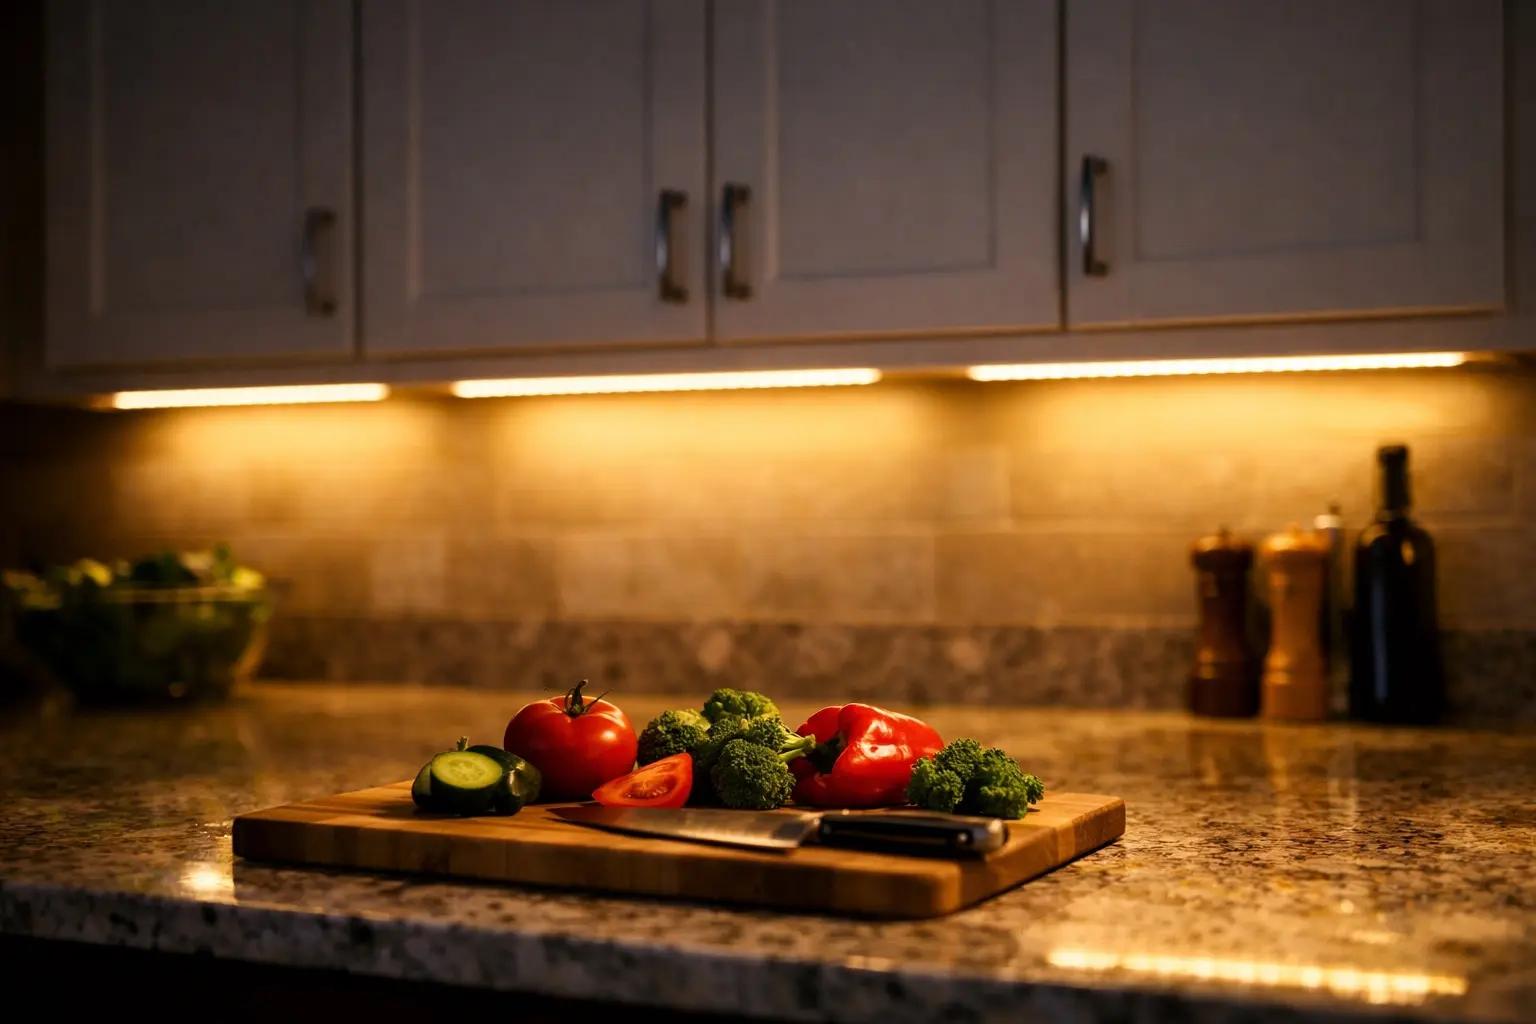
Adding LED strip lights beneath your kitchen cabinets is one of the highest-impact upgrades you can do in a single afternoon — it eliminates countertop shadows, makes food prep safer, and instantly modernizes the space. This guide covers plug-in LED strip lights, which require zero electrical wiring and cost $25-60 for an average kitchen.
What You'll Need
🛠 Tools
📦 Materials
Safety First
- •Always use a UL-listed or ETL-listed LED power adapter rated for the total wattage of your strip length. Cheap unrated adapters can overheat and pose a fire risk.
- •Do not cover LED strips with flammable materials like paper or fabric. The aluminum channels recommended in this guide double as heat sinks that keep strips running cool.
Step-by-Step Instructions
Plan Your Layout and Measure Each Cabinet Run
Use a tape measure to record the length of each cabinet section that will receive lighting, measuring along the front edge of the underside where the strip will be mounted. Write down every measurement and add them together to get the total strip length needed — then add 10% for cutting waste. Decide where the power supply will plug in and trace the cable path back from that outlet to the first strip section. If your countertop has a dark surface (granite, dark quartz), warmer light (3000K) looks best; lighter countertops pair well with 4000K neutral white.
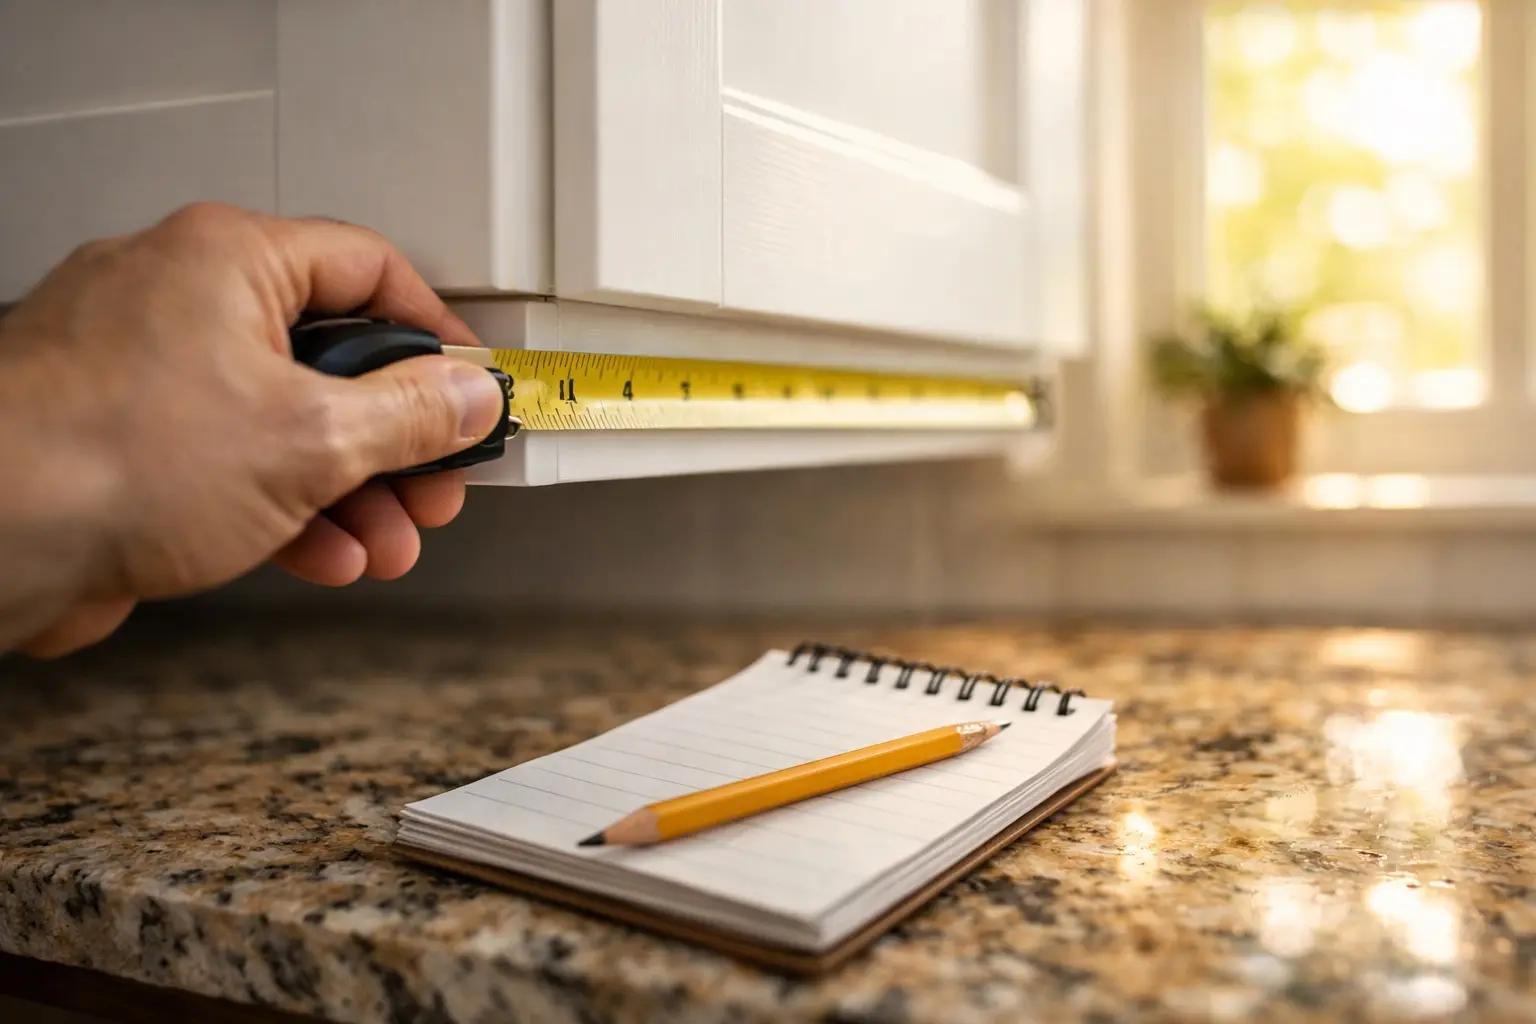
Sketch a simple bird's-eye diagram of your cabinets with measurements noted. Mark the outlet location and where connectors will bridge gaps between cabinet sections — this prevents buying the wrong lengths or too few connectors.
Test the LED Strips Before Installing
Unbox all components and lay them out on the countertop. Connect the LED strip to the power adapter and dimmer, then plug it into an outlet. Turn the strip on and check for dead spots, color inconsistencies, or flickering along the full length. Test the dimmer across its full range from bright to low. This five-minute test catches defective products before you commit adhesive to your cabinets — returns are much easier when nothing has been cut or mounted yet.
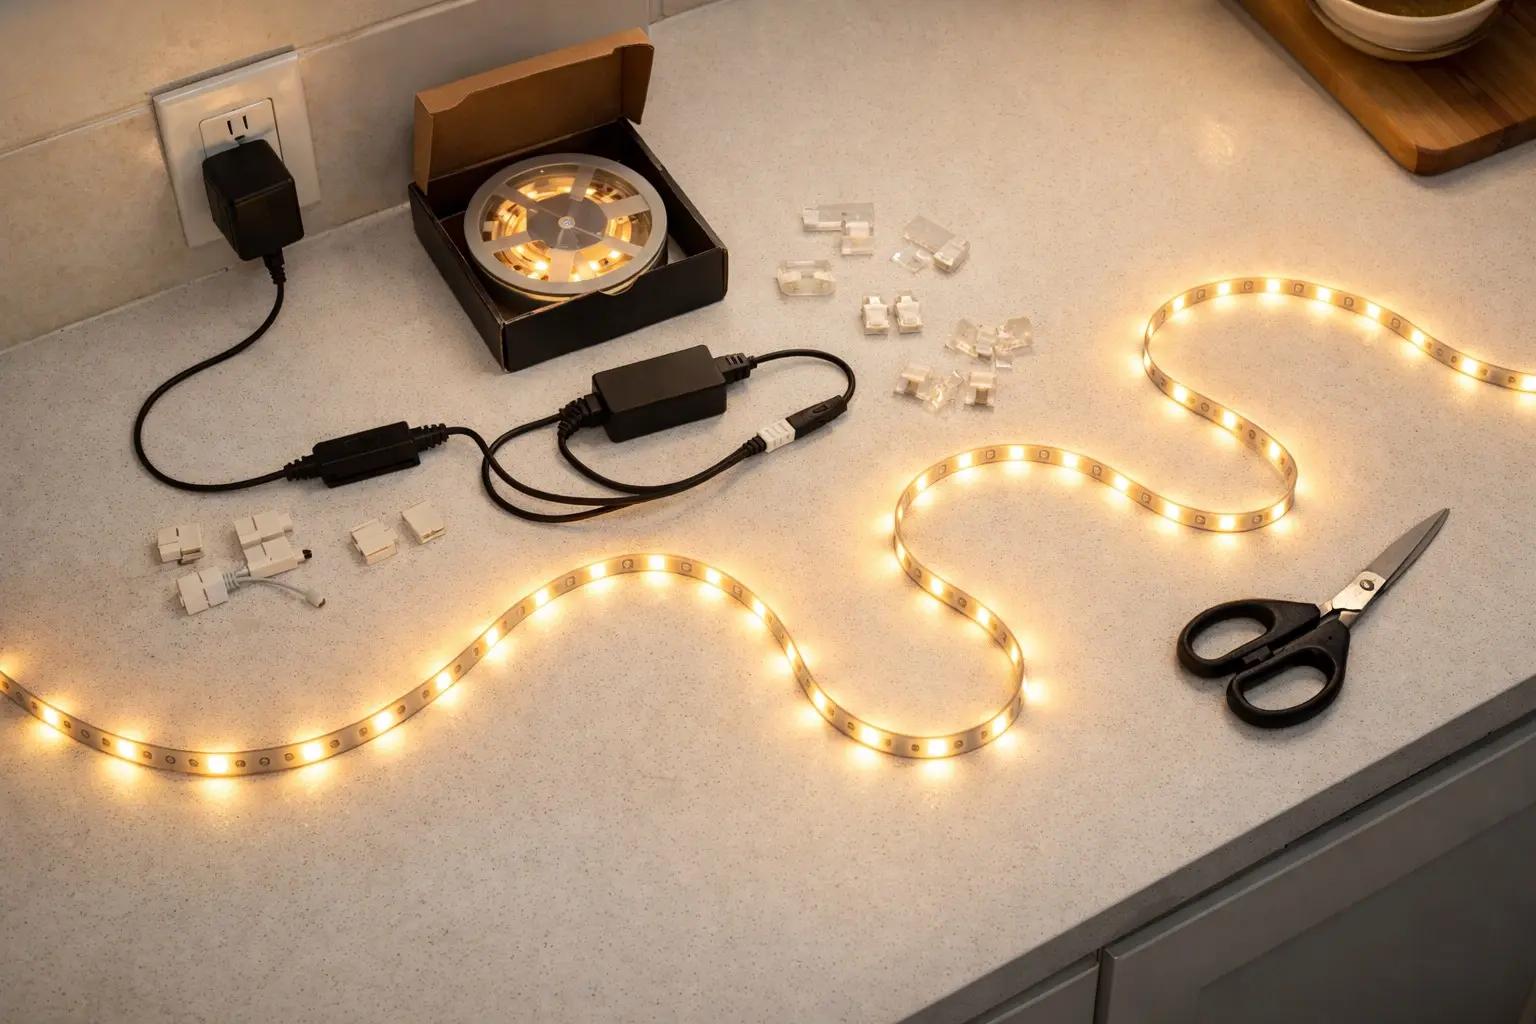
If any section of the strip is dim, flickering, or a different color temperature, do not install it — contact the manufacturer for a replacement. A defective strip will only get worse after installation.
Clean the Mounting Surface Thoroughly
Dampen a clean cloth with rubbing alcohol (isopropyl 90% or higher) and wipe the entire underside front edge of each cabinet where the strips or channels will mount. Kitchen cabinets accumulate a film of cooking grease and dust that prevents adhesive from bonding properly — this is the number one reason strips fall down within weeks. Wipe in one direction, flip the cloth to a clean side, and make a second pass. Let the surface dry completely for at least two minutes before proceeding.
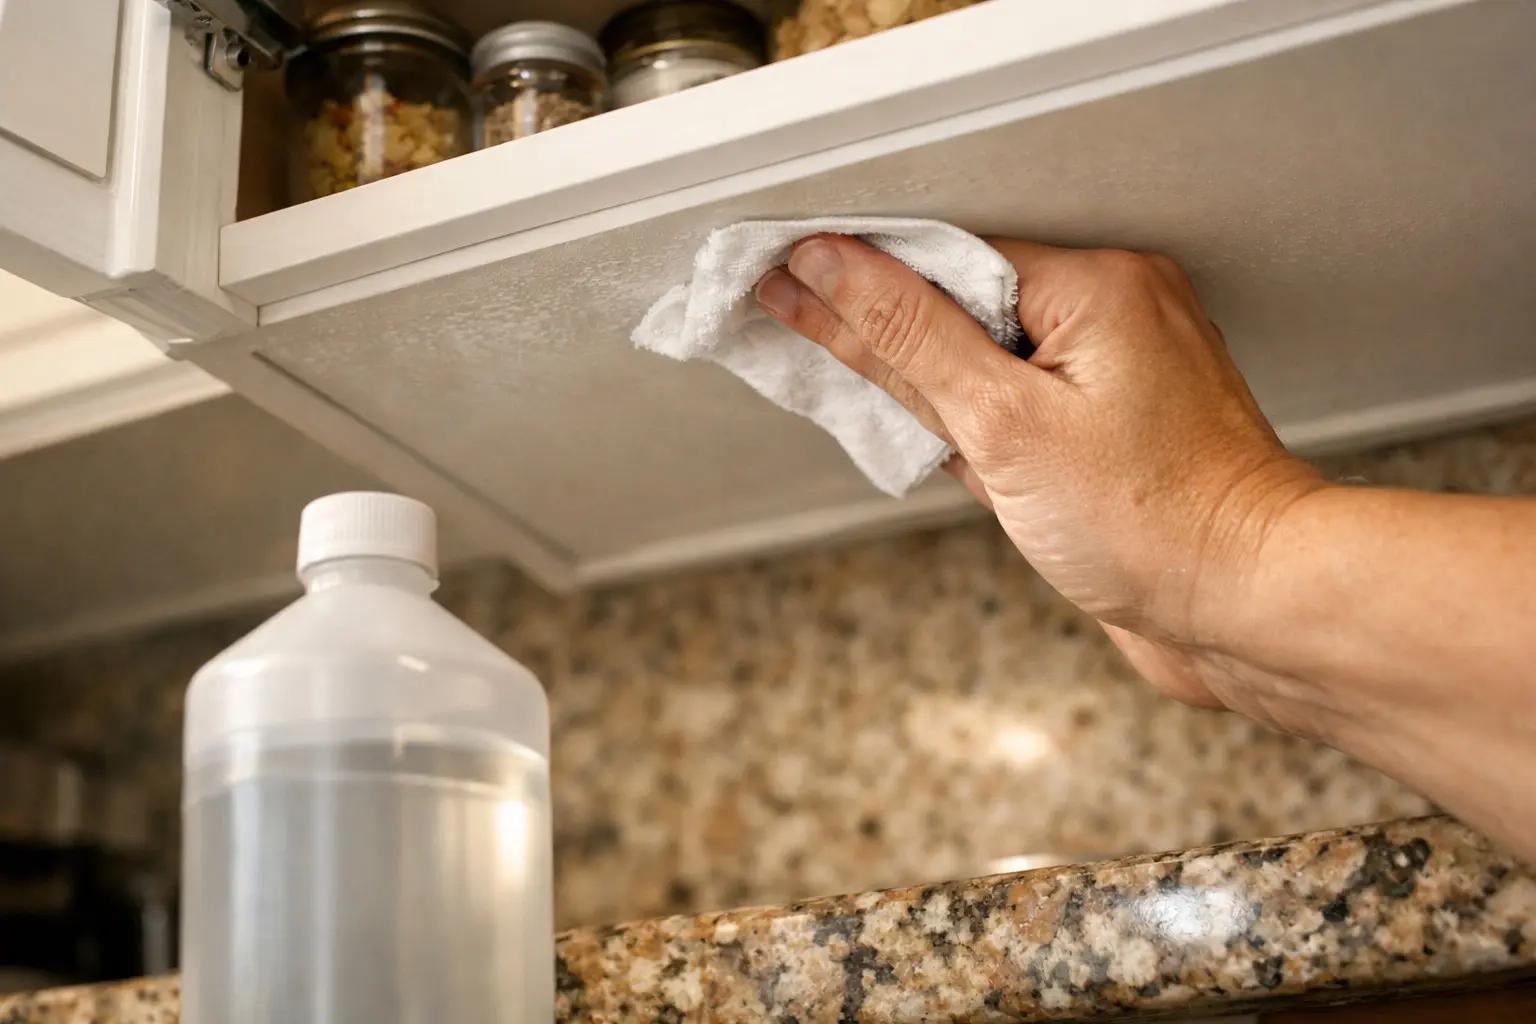
For stubborn grease buildup, use a degreaser like TSP substitute first, then follow with rubbing alcohol. The surface should feel completely smooth and dry to the touch — if your finger drags, it's clean enough.
Install Aluminum Channels (Recommended)
Cut the aluminum LED channel to match each cabinet section length using a hacksaw or the scissors that came with the channel. Peel the adhesive backing from the channel and press it firmly along the front edge of the cabinet underside, about 1 inch back from the front lip — this setback prevents the light from shining directly into your eyes when standing at the counter. Use a level to keep the channel straight. Hold firm pressure for 30 seconds on each section. For extra security on textured surfaces, add a small screw at each end of the channel.
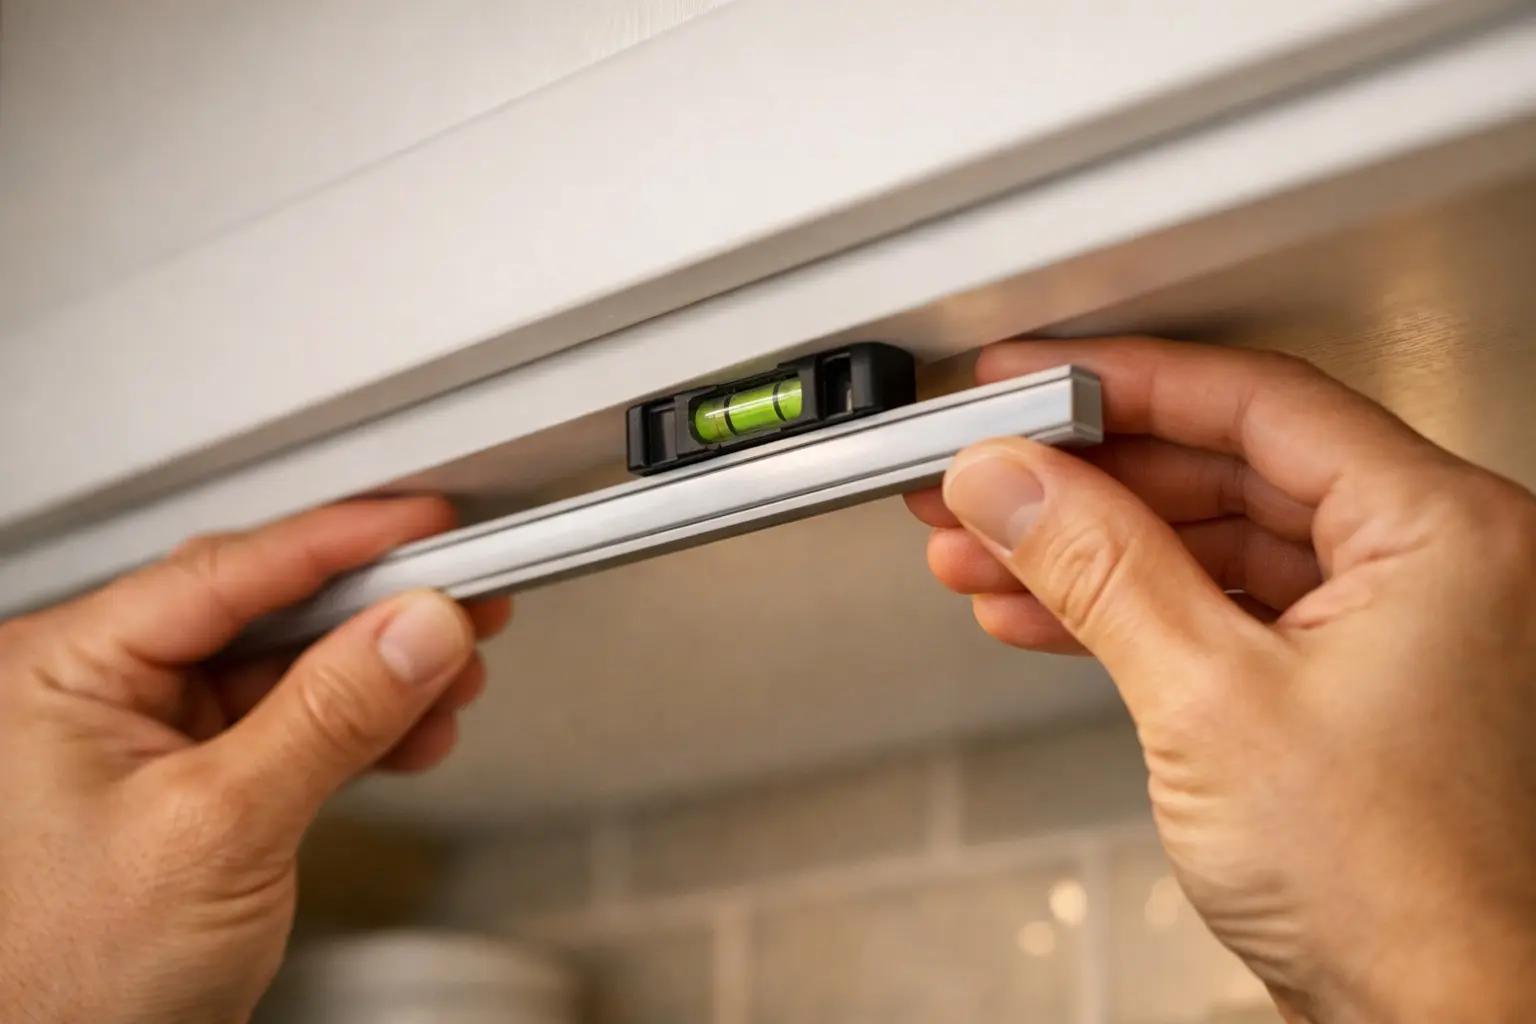
Position the channel so the light faces slightly toward the backsplash rather than straight down. This "wall wash" angle eliminates the harsh hot spot directly below and creates a more even, professional-looking spread across the countertop.
Cut LED Strips to Length and Install
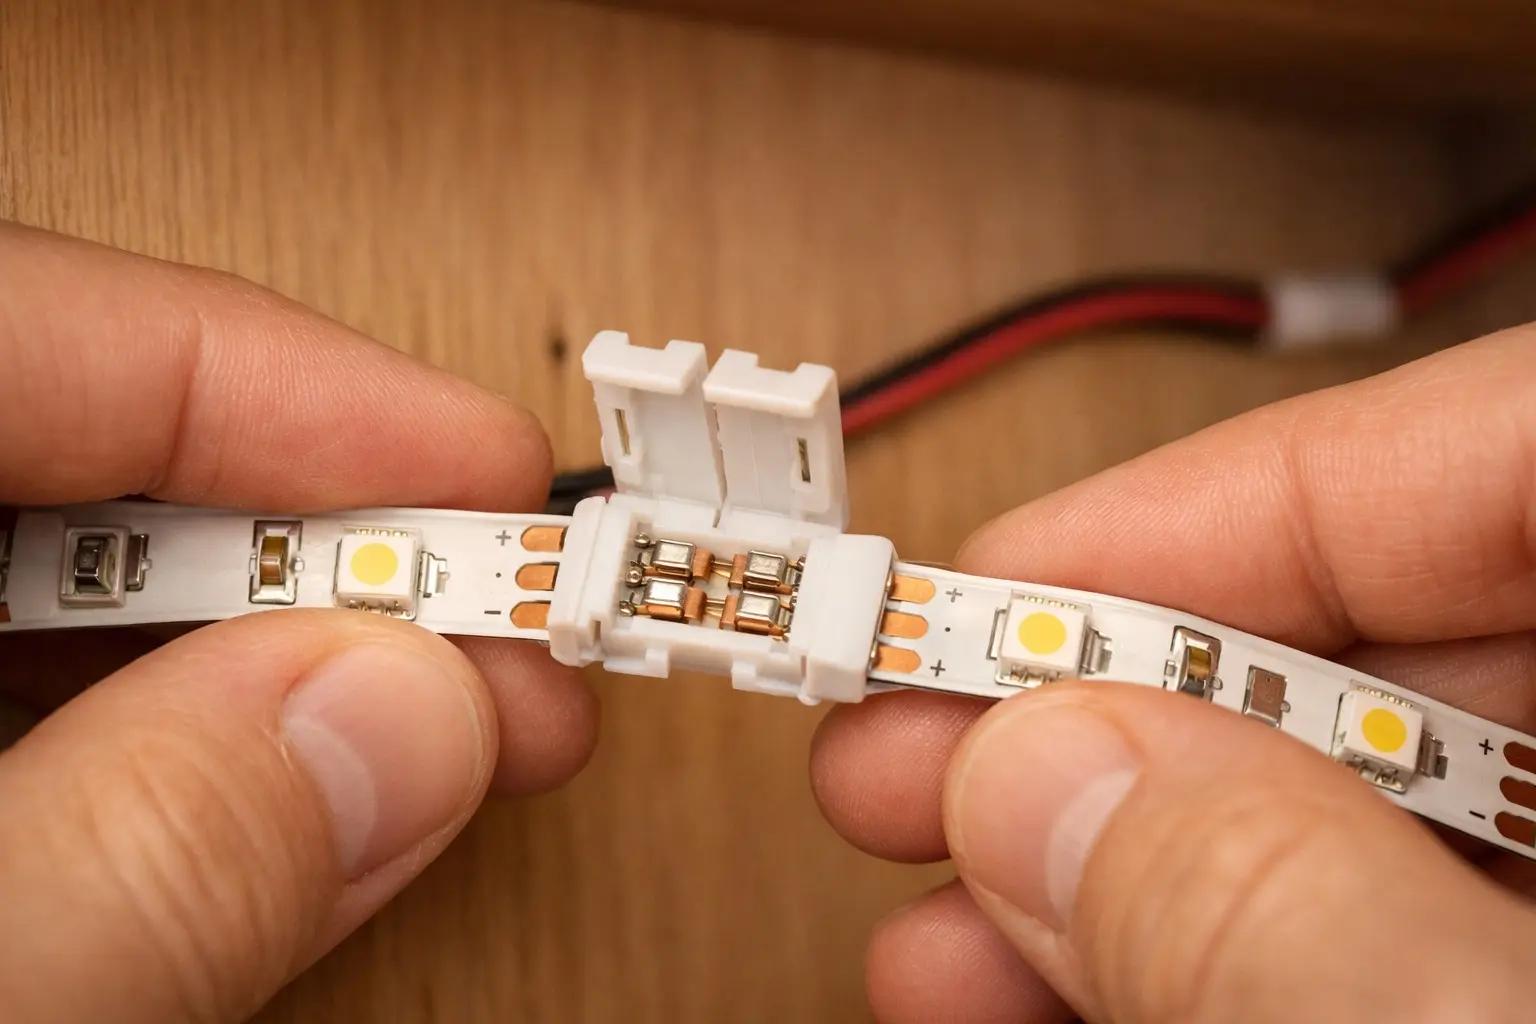
Unroll the LED strip and find the copper cut marks — they appear every 1-2 inches and are usually marked with a scissors icon or dotted line. Measure carefully, find the nearest cut mark to your desired length, and cut straight across with scissors. Peel the adhesive backing from the strip and press it firmly into the aluminum channel (or directly onto the cabinet if skipping the channel). Start from the end nearest the power supply and work outward, pressing firmly every few inches to ensure full contact. If the strip needs to turn a corner or bridge a gap, use a solderless strip-to-strip connector — just slide the exposed copper pads into the connector clips and snap it closed.
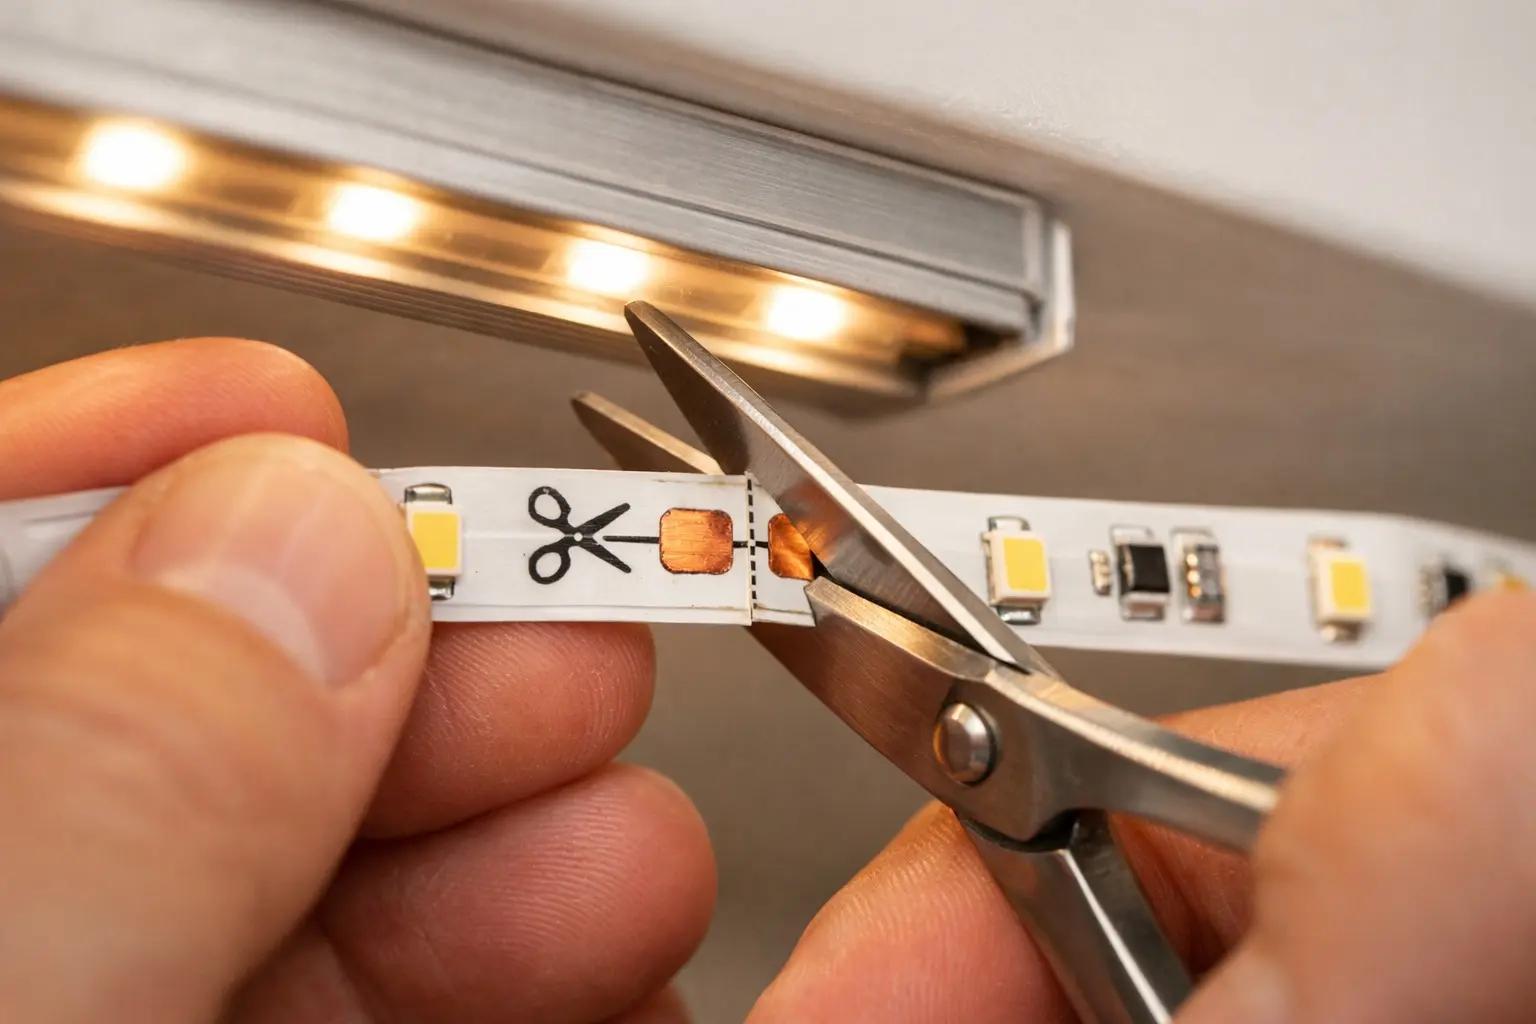
Only cut at the designated copper pad marks. Cutting between marks will kill the LEDs in that section and void the warranty.
Connect Sections and Route the Power Cable
If your installation spans multiple cabinet sections, connect each strip segment using solderless connectors — match the positive (+) and negative (−) markings on the strip to the connector. Run the extension wires along the back wall of the cabinet interior or through a small hole drilled in the cabinet side panel with a 1/4-inch bit. Connect the first strip's input end to the dimmer, then the dimmer to the power adapter. Route the power cable along the least visible path toward your outlet — inside the cabinet, along the wall behind the backsplash, or through a cable raceway.
Use adhesive cable raceways (paintable plastic channels) along the wall or cabinet back to hide all wiring. A $5 raceway pack from any hardware store turns a messy install into a clean, professional-looking job.
Snap On the Diffuser Covers
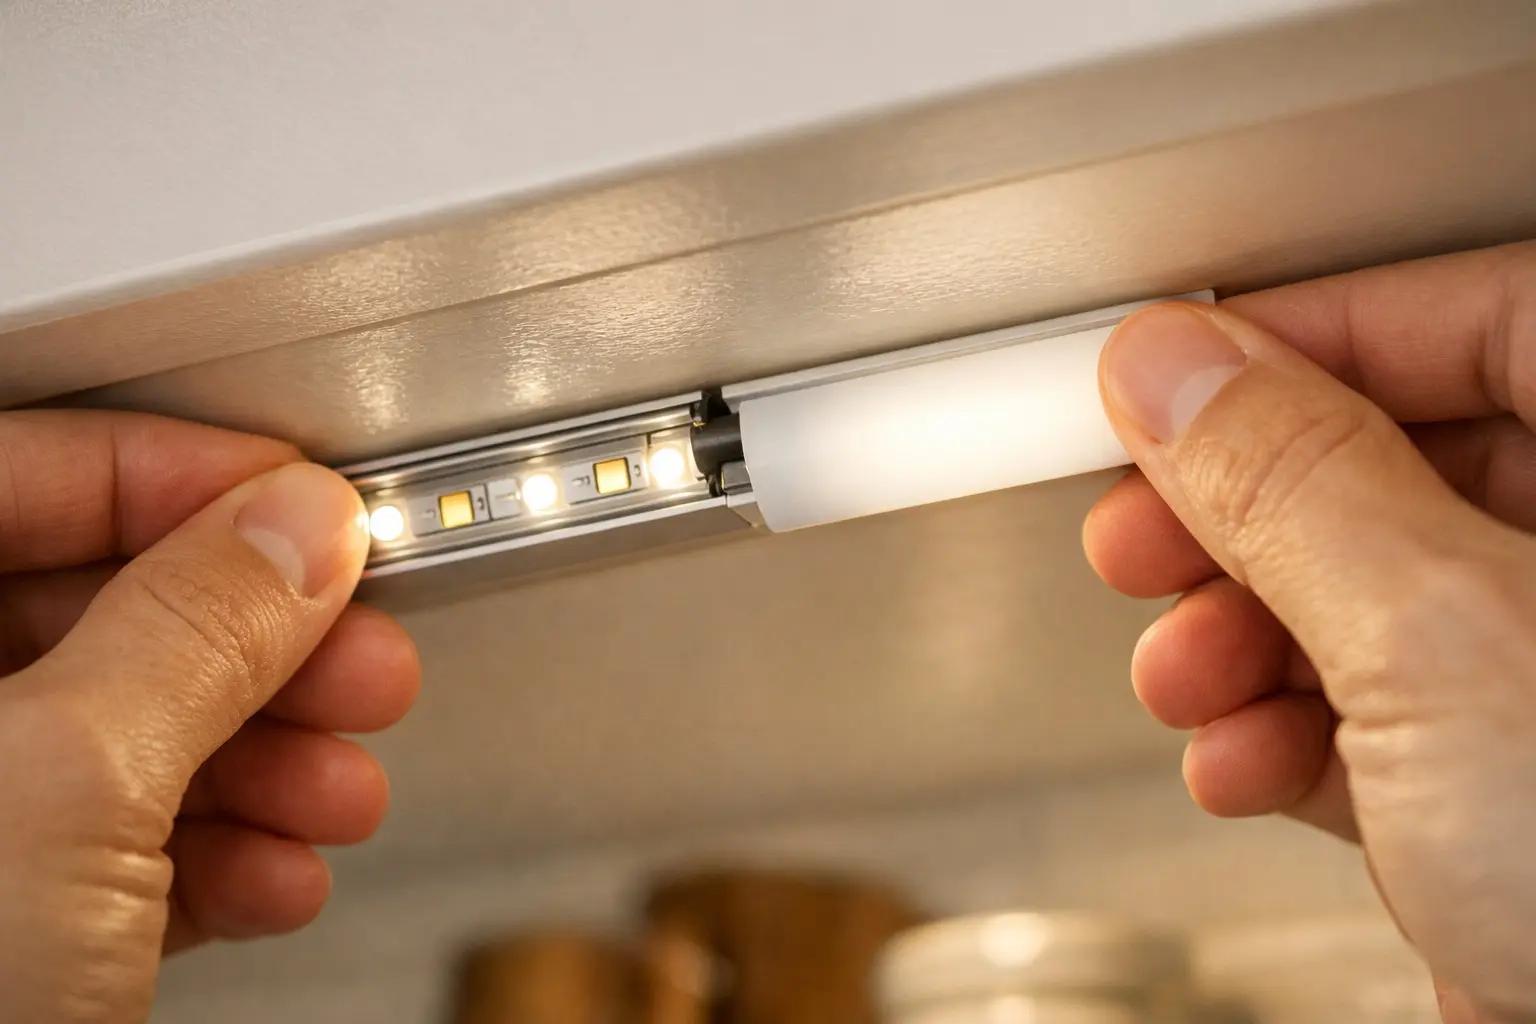
If you installed aluminum channels, snap the frosted diffuser covers into the channel grooves along the full length. The diffuser eliminates visible LED "dots" and blends the light into a smooth, continuous glow — this single step makes the difference between a cheap-looking install and a professional one. Press the cover in starting from one end, working along the channel until it clicks in fully. Trim the diffuser to length with scissors if it extends past the channel.
Power On, Adjust, and Fine-Tune
Plug in the power adapter and turn on the lights. Dim the room lights to see the full effect. Check every strip section for even brightness and color consistency — a noticeably dimmer section means a loose connector that needs to be reseated. Adjust the dimmer to your preferred brightness level for task lighting (food prep) and a lower level for ambient evening mode. Wait 30 minutes with the lights on and feel the power adapter and strip channels — they should be warm but never hot to the touch. If anything is hot, unplug immediately and check for wattage mismatches between the adapter and strip length.
Set one dimmer level for task lighting while cooking (around 80%) and a lower level (around 30%) for evening ambiance. If your dimmer supports it, program these as presets so you can switch with one press.
Frequently Asked Questions
How long does it take to install under-cabinet lighting?
+
This project typically takes about 1h 30m. The guide includes 8 steps with detailed instructions for each.
What tools do I need?
+
You will need: Tape measure, Scissors, Rubbing alcohol and clean cloth, Pencil, Level, Drill with 1/4-inch bit (only if routing cables through cabinets), Cable clips or adhesive cable raceways, Step stool. Materials include: LED strip light kit with power adapter (measure total cabinet run length and buy 10% extra — look for 3000K-4000K color temperature for kitchens), LED aluminum channel with diffuser cover (optional but strongly recommended — hides LED dots and spreads light evenly), Strip-to-strip solderless connectors (if running around corners or bridging gaps between cabinets), Inline dimmer switch or wireless dimmer remote (usually included in kits), Cable management clips or adhesive wire raceways, Power strip or dedicated outlet behind/above cabinets (if existing outlet is not nearby).
Is this a good project for beginners?
+
Yes! This is rated as an easy project that most homeowners can complete with basic tools and no prior experience.
Community Tips
💬 Sign in to share tips with the community
Sources & further reading
- How to Install Undercabinet LED Lighting — This Old House
- How to Install Under Cabinet Lighting in Your Kitchen (DIY) — Family Handyman
More Electrical Guides
View all → Easy25 min
How to Replace a Light Switch
A worn, cracked, or misbehaving light switch is one of the easiest electrical fixes in the house — the job takes about 20-30 minutes, costs $2-10 in parts, and replaces a device that an electrician would charge $100-150 to swap. This guide walks through safely replacing a standard single-pole toggle or decora switch, from cutting the power to wiring the new device and testing the circuit.
 Easy30 min
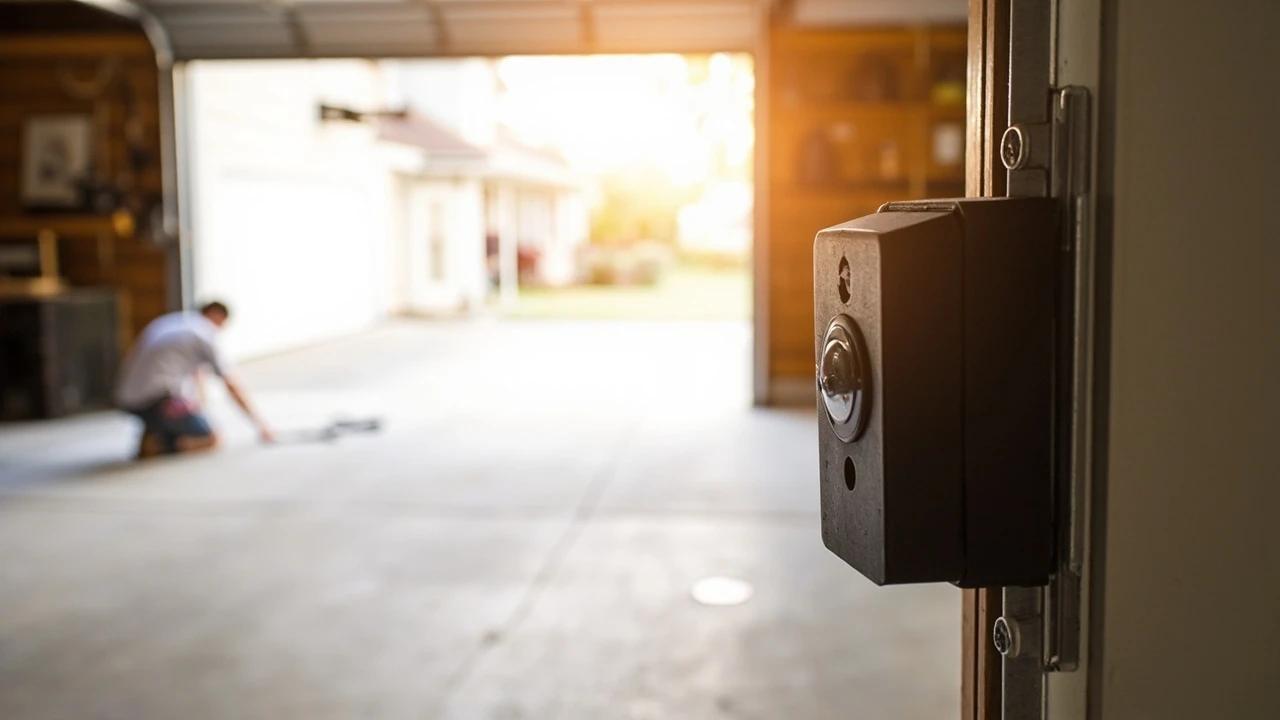
How to Fix Garage Door Sensors That Block Closing
When your garage door rolls down a few inches, stops, and reverses while the opener light blinks, the safety photo-eye sensors are almost always the cause — not the motor. This guide walks the fix in diagnostic order, from a ten-second lens wipe to realignment and a wiring check, so you fix it for free before spending $40 on parts you may not need.
 Easy15 min
How to Fix a Tripped Circuit Breaker
When a breaker trips, part of your home goes dark — and the breaker just did its job, cutting power before the wiring could overheat. This guide shows you how to reset it safely in about 15 minutes, how to read what the trip is telling you (overload, short circuit, ground fault, or arc fault), and the danger signs that mean you should leave it off and call an electrician.
You Might Also Like
 Medium30 min
How to Troubleshoot a Microwave That Won't Heat
A microwave that runs — light on, turntable spinning, timer counting down — but leaves food stone cold is one of the most common appliance failures, and about half the time the cause is something you can fix in five minutes for free. This guide walks the diagnosis from the easy stuff (demo mode, power level, a tripped GFCI, a dirty door latch) to reading the failure signature that tells you the high-voltage circuit is gone, then helps you make the repair-or-replace call with real numbers.
 Easy45 min
How to Repair a Shower Diverter Valve
When you pull the diverter knob and water still pours from the tub spout instead of the showerhead, the fix is usually a worn washer or mineral buildup — not a $200 plumber visit. This guide covers the three most common diverter types (tub spout, three-valve, and two-valve) and walks you through cleaning, replacing washers, and swapping the diverter if needed, all in under an hour with basic tools.
 Hard4 hrs
How to Install Crown Molding
Crown molding turns a plain room into a finished one — but it is the trickiest trim to cut, thanks to corners that are never quite square and a profile that has to be cut upside down. This guide walks through the whole job the way a finish carpenter does it: coping inside corners so they stay tight, mitering outside corners, and fastening into framing instead of bare drywall. Expect about half a day for a typical room and roughly one to six dollars per linear foot in materials.