How to Balance Uneven Room Temperatures

If your bedroom runs 8 degrees colder than the living room or the upstairs cooks while the basement freezes, you can fix most of it in an afternoon without calling a pro. This guide walks you through diagnosing the problem, adjusting vents and trunk dampers, sealing duct leaks, and rebalancing airflow — the same process an HVAC tech would charge $750–$2,000 for.
What You'll Need
🛠 Tools
📦 Materials
Safety First
- •Never fully close more than 20% of your home's supply vents — doing so raises static pressure and can damage the blower motor or crack the heat exchanger.
- •Only work on ductwork and dampers with the HVAC system powered off at the breaker to prevent injury from moving blower fans.
Step-by-Step Instructions
Map the Temperature in Every Room
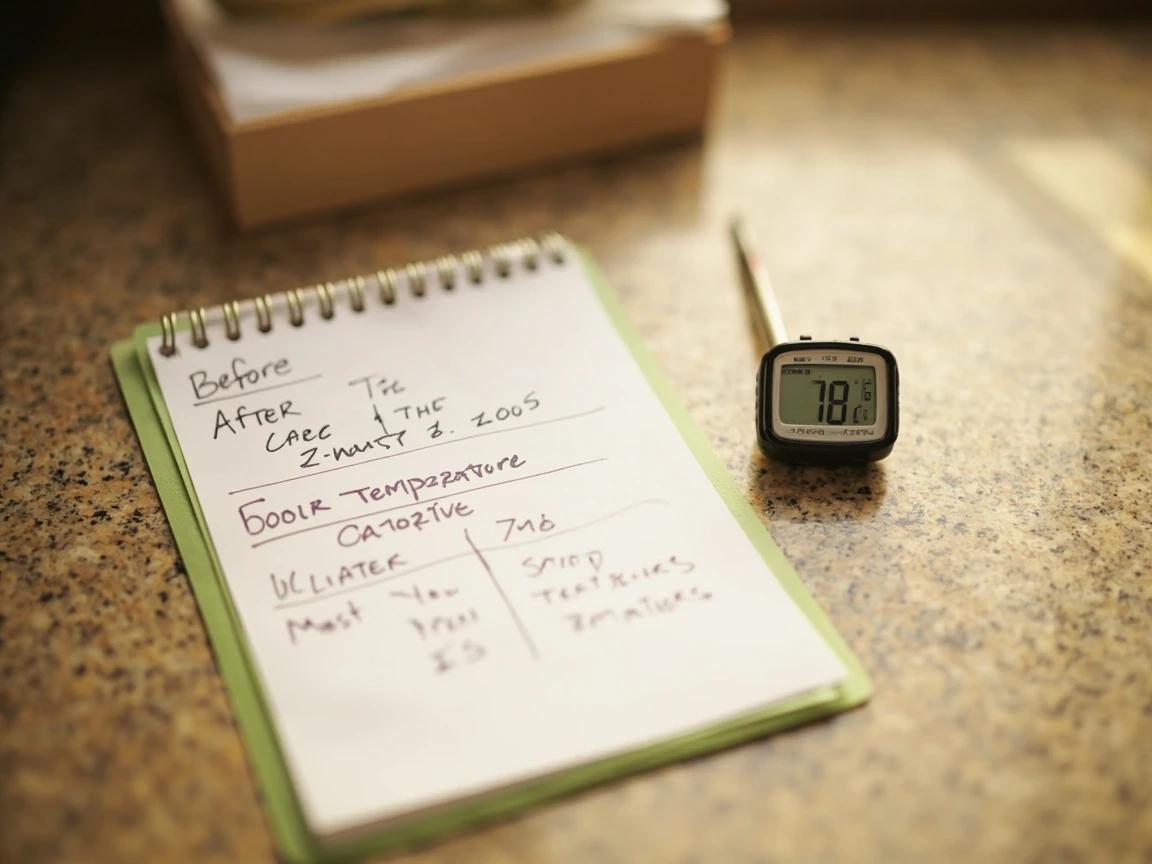
Set your thermostat to a fixed temperature (76°F in summer, 70°F in winter) and leave it alone for 24 hours so the house reaches a stable baseline. Then walk through every room with a digital thermometer, placing it on a table away from vents and windows, waiting 2 minutes for the reading, and writing down each room's temperature on a notepad. Circle the rooms that are more than 3°F off from the thermostat setting — those are the ones you'll target.
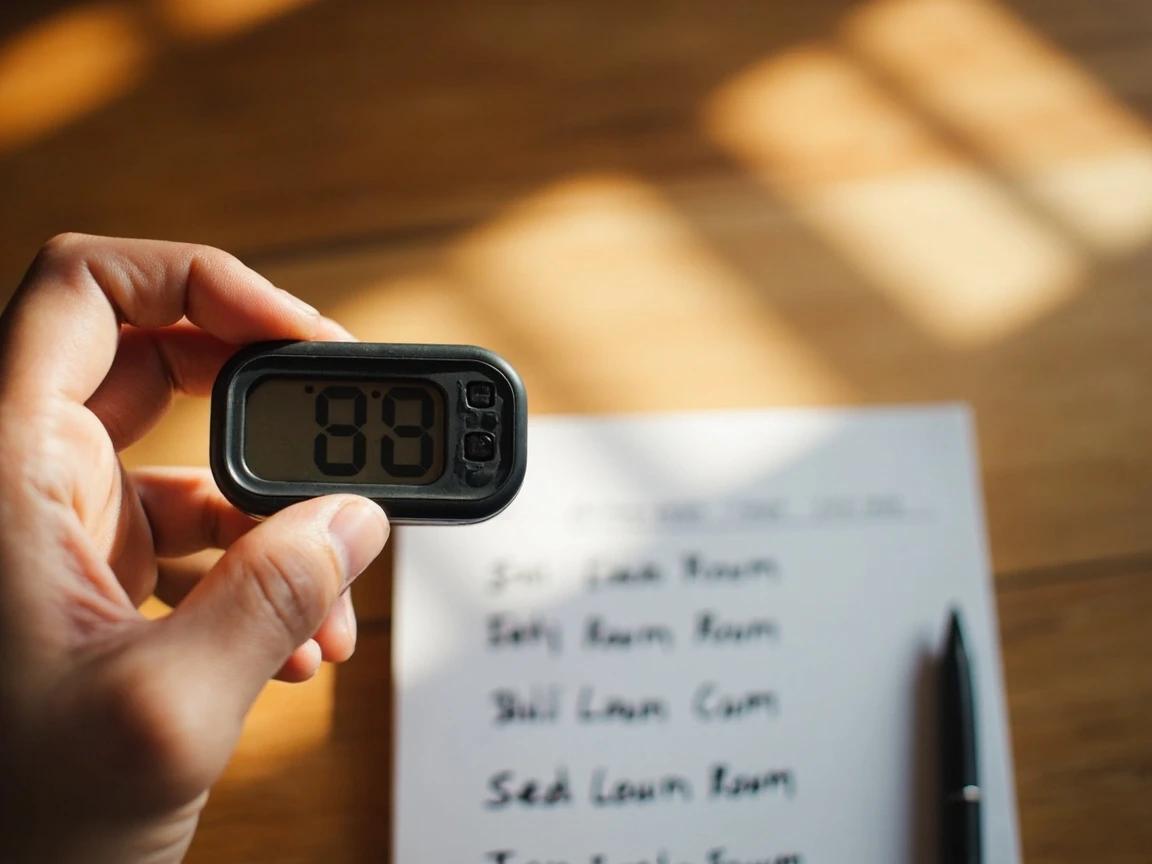
Take readings at the same time of day in each room — temps shift dramatically between morning and afternoon sun, so a single-pass survey will mislead you.
Switch the Thermostat Fan to "On"
On your thermostat, change the fan setting from AUTO to ON so the blower runs continuously instead of only during heating or cooling cycles. This mixes air between rooms and floors, evening out hot and cold pockets before you start tweaking anything mechanical. Leave it in ON mode for a few hours and re-measure — you'll often knock 2–3°F off the worst imbalances with this one change.
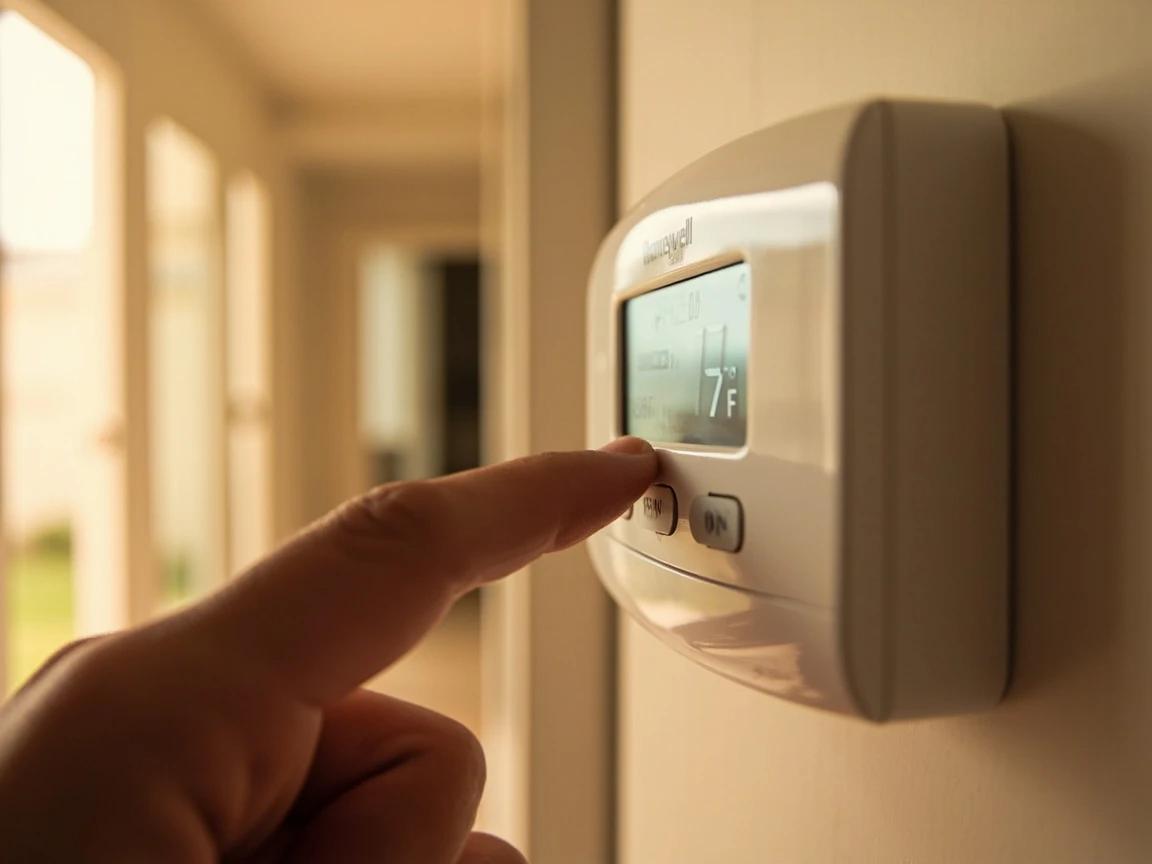
Continuous fan mode adds roughly $5–$10 per month to an electric bill on an older blower — on a modern ECM variable-speed blower it's nearly free.
Clear Every Vent and Replace the Filter
Walk through each room and pull furniture, rugs, and curtains at least 18 inches away from supply registers and return vents. Vacuum the grille louvers and any visible dust in the duct opening, then pull the main return-air filter and swap in a fresh one sized correctly for your system (common sizes: 16x25x1, 20x25x1, 16x20x1). A clogged filter starves the whole system of airflow and can be the single cause of cold back bedrooms.
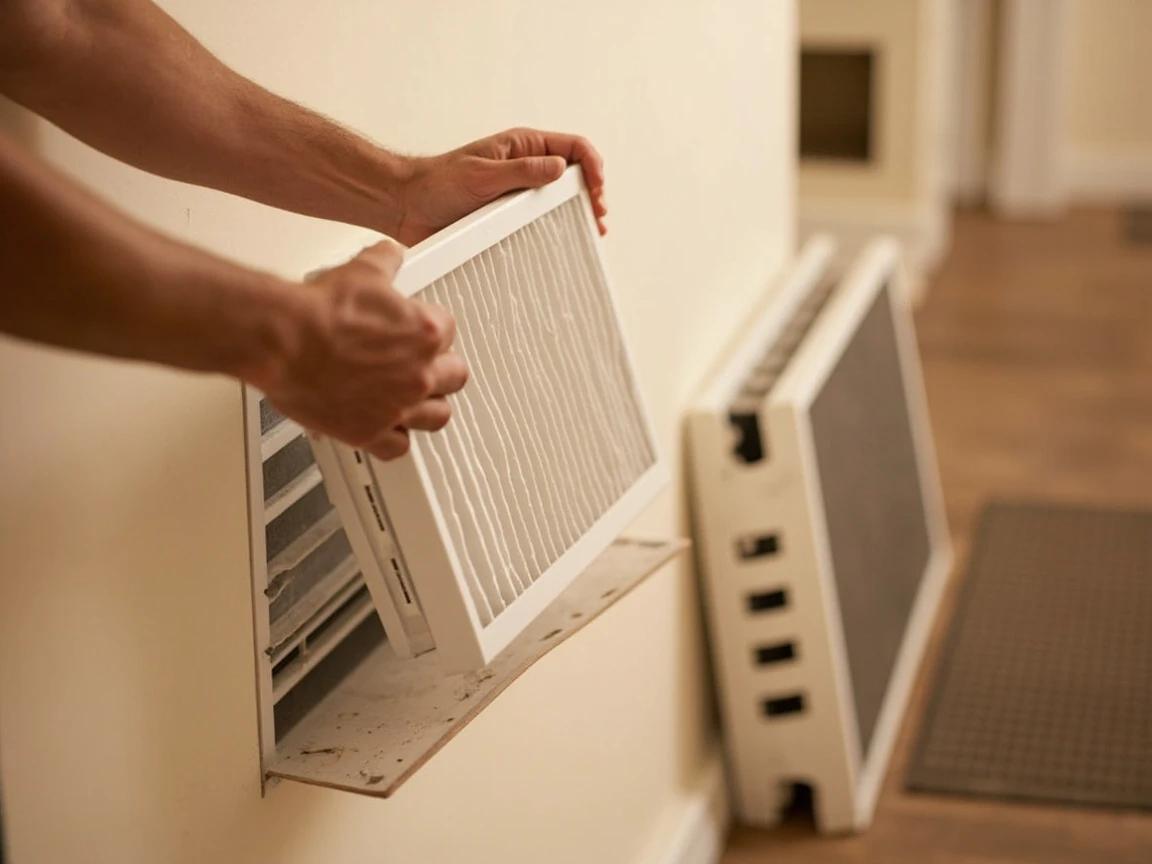
Never run your system with the filter slot empty — dust and debris will coat the blower wheel and evaporator coil, cutting efficiency in half.
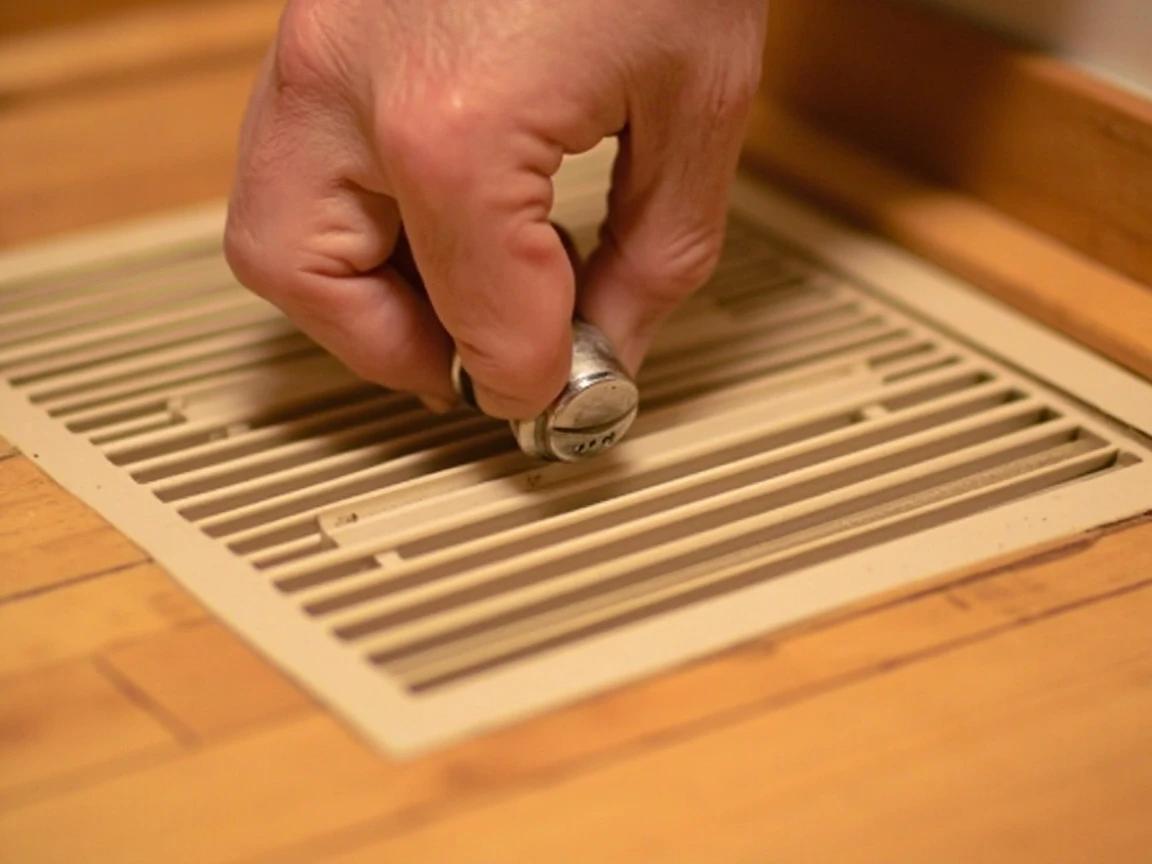
Adjust the Supply Register Louvers
At each supply register in your problem rooms, use the small lever or dial to partially close louvers in rooms that run too warm and fully open them in rooms that run too cold. Think of it as stealing airflow from the hot rooms and redirecting it to the cold ones. Close louvers in increments — roughly 25% at a time — and never fully shut more than one or two vents total across the whole house.
Find and Adjust the Trunk Dampers
Head to the basement or mechanical room and look along the main supply trunk lines near the furnace — you'll see small metal handles sticking out of the round or rectangular ducts roughly every few feet. These are manual dampers, and they give you coarse control over entire duct runs. When the handle is parallel to the duct the damper is open; perpendicular is closed. Mark the current position with painter's tape before you move anything so you can reset if needed.
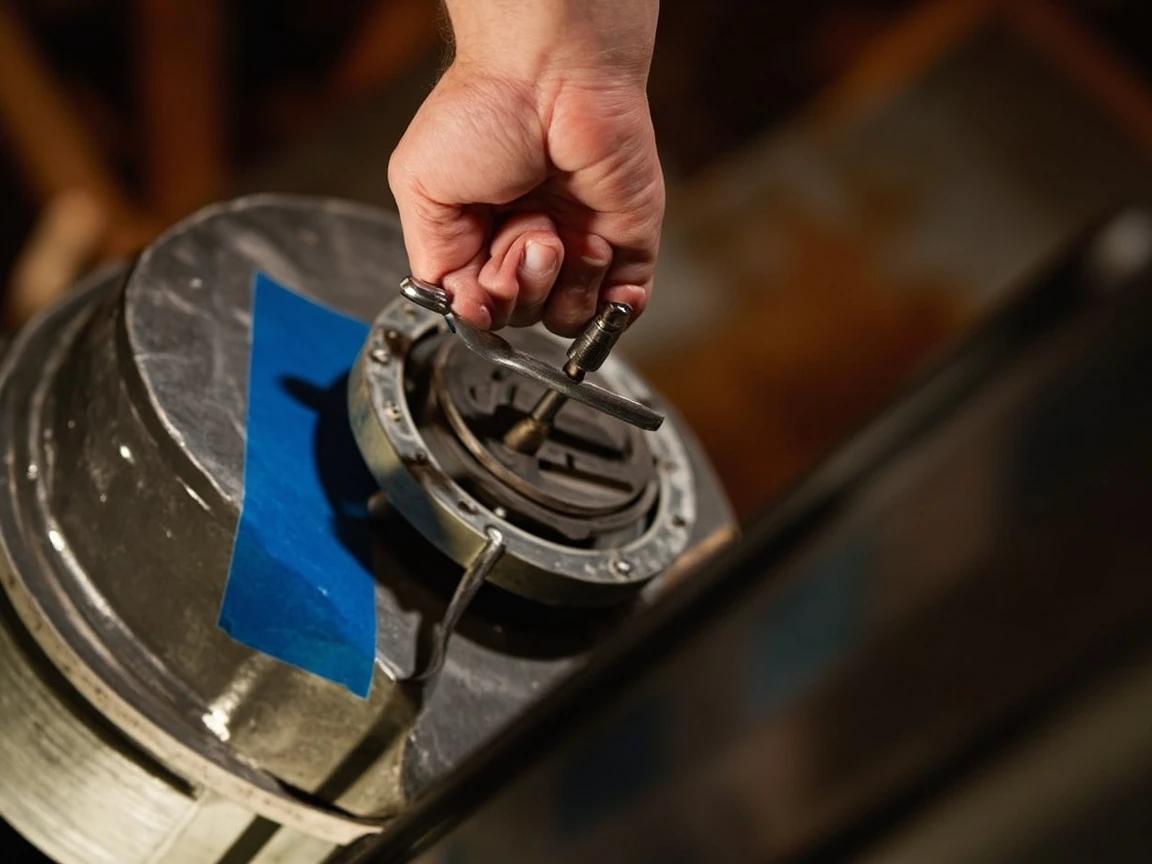
Trace each damper back to which room it feeds by closing it and feeling which register's airflow drops — label it with a marker on the tape so the next person (or future you) knows what it does.
Make Seasonal Damper Adjustments
Because hot air rises and cold air falls, the right damper setting changes with the seasons. In summer, fully open the dampers feeding upstairs rooms and partially close the ones feeding the basement and main floor. In winter, reverse it — open the downstairs dampers, choke back the upstairs runs about 25%. Adjust one damper at a time and wait a couple of hours between changes so you can actually feel the effect.
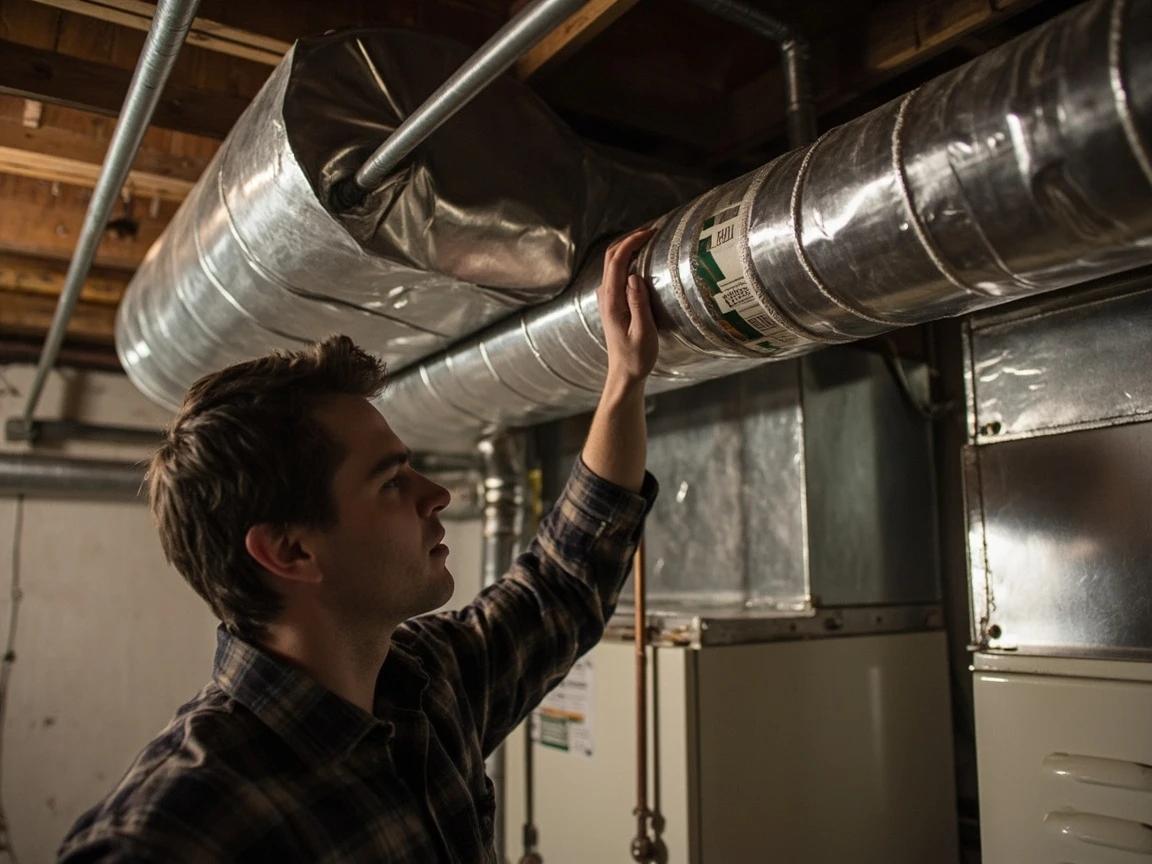
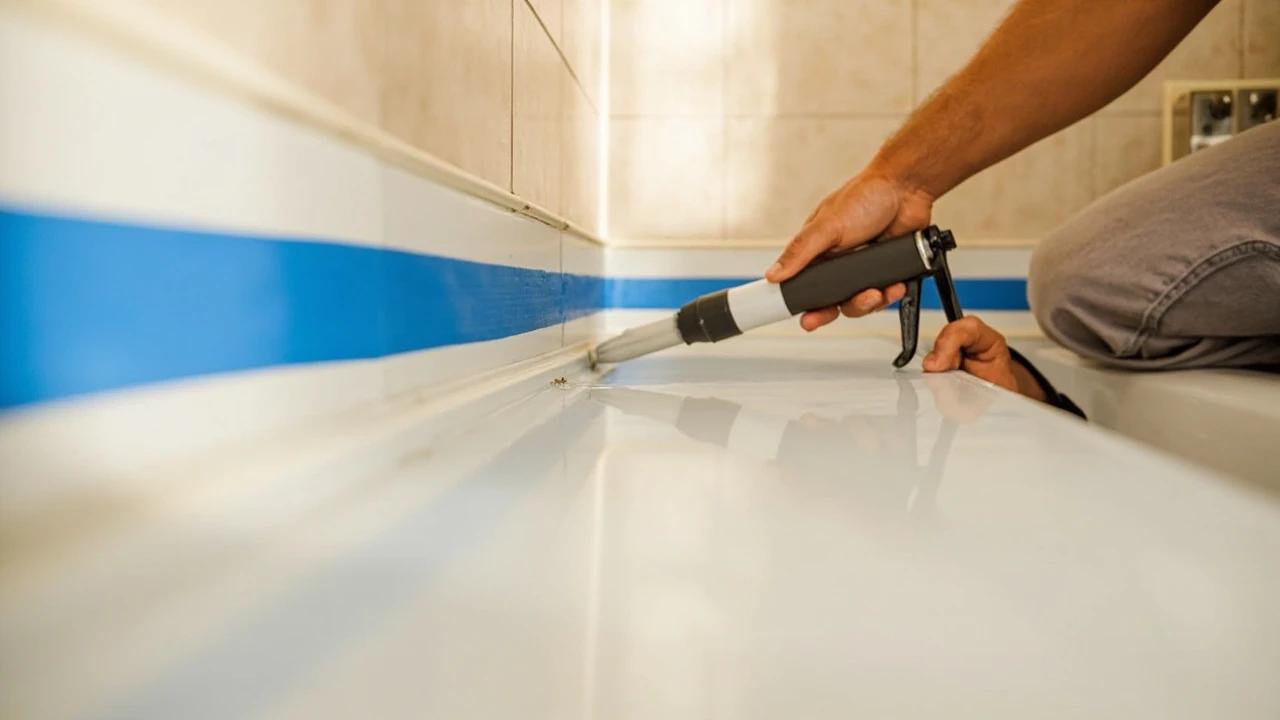
Seal Leaky Ductwork
Leaky ducts are the #1 cause of dead rooms — conditioned air escapes into attics and crawlspaces before it ever reaches the register. Inspect all accessible duct runs with a flashlight, feeling around every joint and seam while the blower is running for escaping air. Seal every gap, seam, and takeoff with UL 181 foil tape or brush on a layer of duct mastic with a putty knife. Despite the name, never use cloth "duct tape" — the adhesive fails within a year.
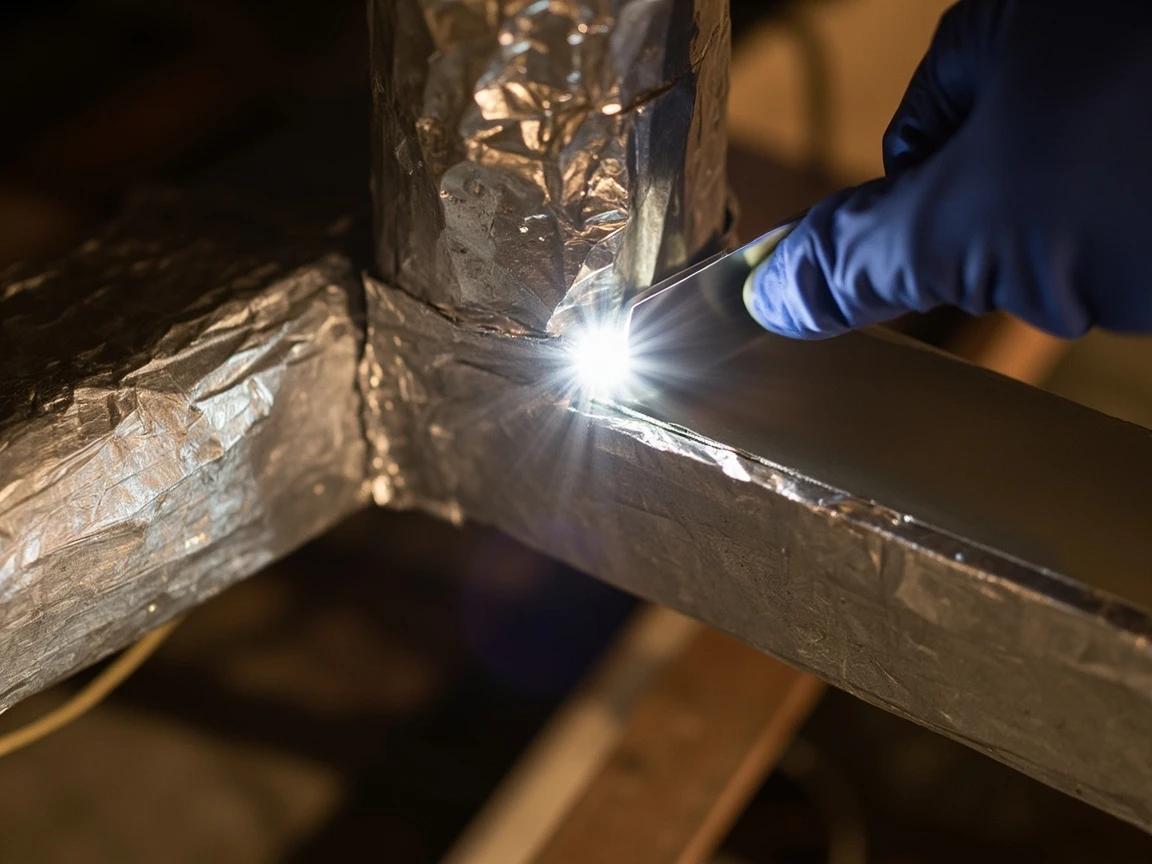
Turn off the HVAC system at the breaker before reaching into any unit housings or working near the blower compartment.
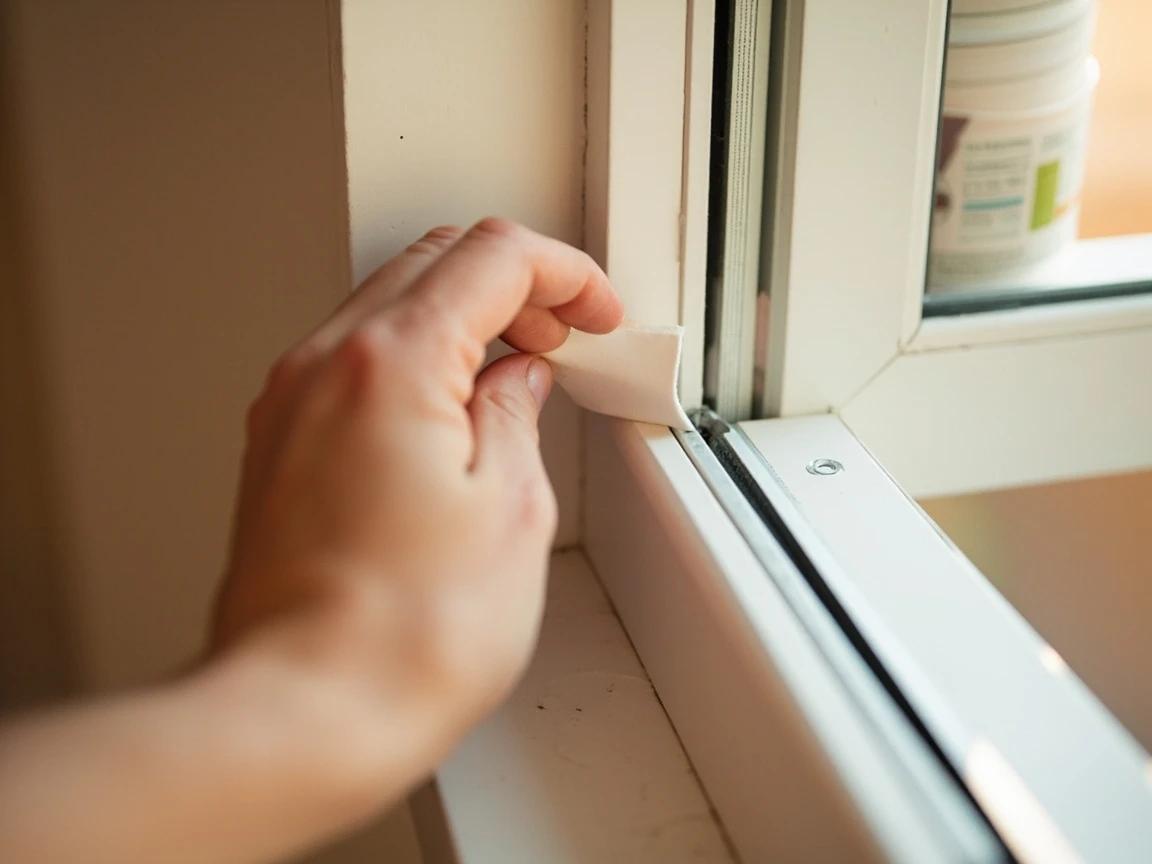
Seal Drafts in the Problem Room
Even a perfectly balanced system can't keep up with a drafty window or exterior door. With the blower running, walk the perimeter of each cold room with the back of your hand near windows, outlets, and baseboards to feel for infiltrating air. Add adhesive foam weatherstripping around the window sashes, caulk any visible gaps around the trim, and install a door sweep on exterior doors. Small infiltration leaks add up to a huge heat loss.
Re-Measure and Fine-Tune
Return the thermostat to its normal schedule and wait another 24 hours. Walk through the house again with your thermometer and compare the new readings to your original notes. Most rooms should now be within 2°F of the thermostat setting; if one is still off, make one small adjustment at a time (a quarter turn on a damper, another louver notch) and re-measure. If you've exhausted these steps and still have 5°F+ swings, the system may be undersized or the ducts may need professional rebalancing with a flow hood.
If a single room keeps running cold even after every fix, consider cutting a transfer grille into the wall above the door so air can circulate back out — a $20 fix that often solves closed-off bedrooms.
Frequently Asked Questions
How long does it take to balance uneven room temperatures?
+
This project typically takes about 3 hrs. The guide includes 9 steps with detailed instructions for each.
What tools do I need?
+
You will need: Digital room thermometer (or infrared thermometer), Notepad and pen, Flashlight, Step ladder, Screwdriver (Phillips and flat-head), Vacuum with brush attachment, Putty knife, Caulk gun. Materials include: Foil HVAC tape (UL 181 rated), Duct mastic sealant, Replacement HVAC air filter (correct size for your system), Adhesive foam weatherstripping, Painter's tape (for marking damper positions).
Is this a good project for beginners?
+
This is a moderate-difficulty project. Some basic DIY experience is helpful, but the step-by-step instructions make it approachable for motivated beginners.
Community Tips
💬 Sign in to share tips with the community
Sources & further reading
- Duct Sealing — ENERGY STAR
- Minimizing Energy Losses in Ducts — U.S. Department of Energy
More HVAC Guides
View all → Easy45 min
How to Replace a Thermostat (Non-Smart)
A faulty or outdated thermostat can cause uneven temperatures and inflate your energy bill by 10-20%. Swapping it for a new programmable or basic digital thermostat is a 30-minute job that requires only a screwdriver and costs $20-50 for the part. This guide walks you through safely disconnecting the old unit, labeling wires, mounting the new thermostat, and verifying your HVAC system responds correctly.
 Easy45 min
How to Install a Window AC Unit
A window air conditioner can cool a room for a fraction of the cost of central AC — units start at $150 and installation takes about 30 minutes with no special tools. But a poorly installed unit wastes energy, leaks water inside, or worse, falls out the window. This guide walks you through measuring your window, positioning and securing the unit, sealing gaps for maximum efficiency, and testing the drainage so you stay cool all summer without surprises.
 Easy45 min
How to Program a Smart Thermostat
A properly programmed smart thermostat can cut your heating and cooling bills by 8-10% — roughly $50-150 per year — without sacrificing comfort. Most homeowners never get past the default settings, leaving serious savings on the table. This guide walks you through the full setup: Wi-Fi connection, schedule creation, and energy-saving features like geofencing and eco mode.
You Might Also Like
 Easy45 min
How to Repair a Shower Diverter Valve
When you pull the diverter knob and water still pours from the tub spout instead of the showerhead, the fix is usually a worn washer or mineral buildup — not a $200 plumber visit. This guide covers the three most common diverter types (tub spout, three-valve, and two-valve) and walks you through cleaning, replacing washers, and swapping the diverter if needed, all in under an hour with basic tools.
 Easy1h 30m
How to Re-Caulk a Bathtub or Shower Surround
Mildewed, cracked, or peeling caulk around a bathtub isn't just ugly — it's letting water reach the drywall and studs behind the wall, which turns a $10 caulk job into a thousand-dollar tile-and-framing repair. This guide walks through removing the old caulk completely, treating mold, masking and tooling a clean single bead of 100% silicone, and the curing schedule that keeps the new joint waterproof for years.
 Hard4 hrs
How to Install Crown Molding
Crown molding turns a plain room into a finished one — but it is the trickiest trim to cut, thanks to corners that are never quite square and a profile that has to be cut upside down. This guide walks through the whole job the way a finish carpenter does it: coping inside corners so they stay tight, mitering outside corners, and fastening into framing instead of bare drywall. Expect about half a day for a typical room and roughly one to six dollars per linear foot in materials.