How to Fix a Squeaky Stair
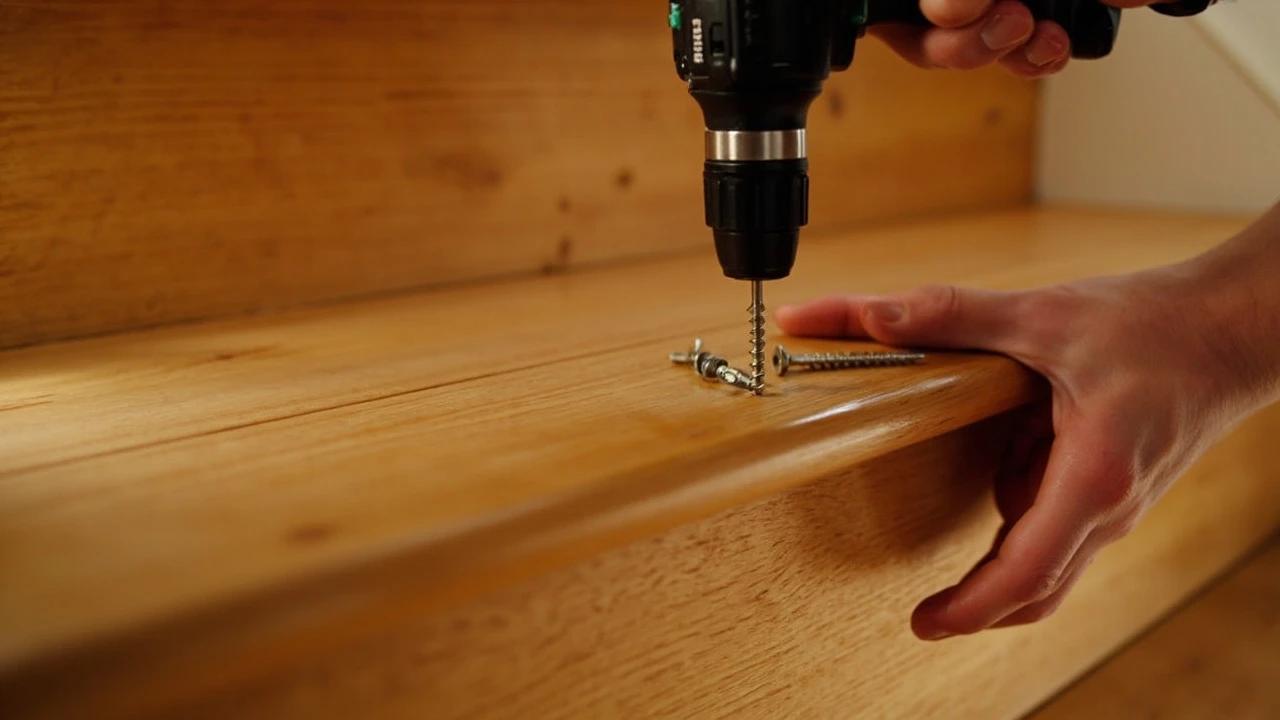

That one step everybody in the house learns to skip isn't a structural problem — it's almost always a tread rubbing against a riser or a stringer as the wood shrinks with age. A few dollars of glue blocks, shims, and trim-head screws silences it for good, and if you can reach the underside of the staircase you can fix it permanently without leaving a single mark on the finished side. This guide covers pinpointing which joint is actually moving, the from-below and from-above repairs, the carpet-safe method, and why the can of spray lubricant under your sink is the wrong tool.
What You'll Need
🛠 Tools
📦 Materials
Safety First
- •Stairs built or painted before 1978 may carry lead paint, and drilling or sanding painted treads releases lead dust. Test the finish before you cut into it, and use lead-safe work practices if it comes back positive.
- •A stair that flexes, drops, or feels spongy underfoot is not a squeak problem — that is a structural one. Stop using the staircase and get the stringers inspected rather than screwing down a tread that has lost its support.
- •Wear safety glasses when drilling overhead from beneath the staircase; chips and dust fall straight into your eyes.
Step-by-Step Instructions
Pinpoint exactly which joint is moving
Have a helper walk slowly up and down while you crouch a few steps below with your hand flat on the suspect step — you are feeling for movement, not just listening. Work out whether the noise comes from the front of the tread where it meets the riser below it, the back where it meets the riser above, or the outer ends where the tread sits on a stringer. Press each area with your palm and shift your weight to isolate it, then mark the exact spot with painter's tape. The same listen-and-press logic used to track down a squeaky floor applies here, just in a smaller space.

Squeaks move. The noise you hear at the front of a tread often originates at the back edge or out at a stringer, so always confirm by touch before you drill anything — a screw in the wrong joint just adds a hole.
Check whether you can reach the underside
Look at what is below the staircase: an open basement, an unfinished utility space, or a closet under the stairs means you can do the invisible, permanent repair from behind. A finished drywall ceiling means you are working from above instead. If you do have access, aim a work light at the underside and study the structure — you will see the sawtooth stringers carrying the treads, the vertical risers, and often the original triangular glue blocks in the corners, some of them loose or missing entirely.
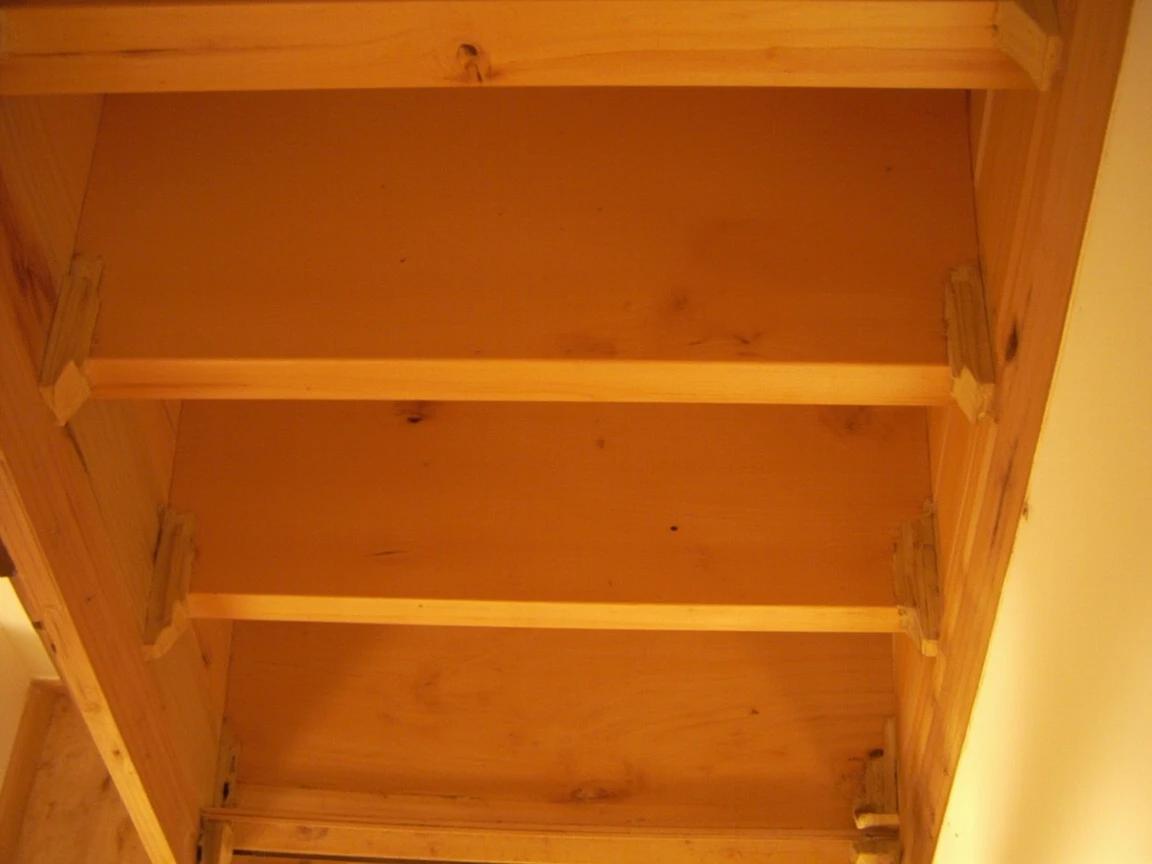
Loose or missing glue blocks are the single most common cause of an old staircase squeaking. If you can see gaps where blocks used to be, you have already found your repair.
Try dry lubricant first on a minor squeak
For a light, intermittent squeak, start with the least invasive fix. Fold an index card into a chute and use it to work powdered graphite or talcum powder deep into the seam between the tread and the riser, then flex the step a few times to drive the powder in and wipe away the excess. This does not stop the two pieces of wood from moving — it just removes the friction that makes the noise. Expect months, not years, and move on to a mechanical fix if the squeak returns.
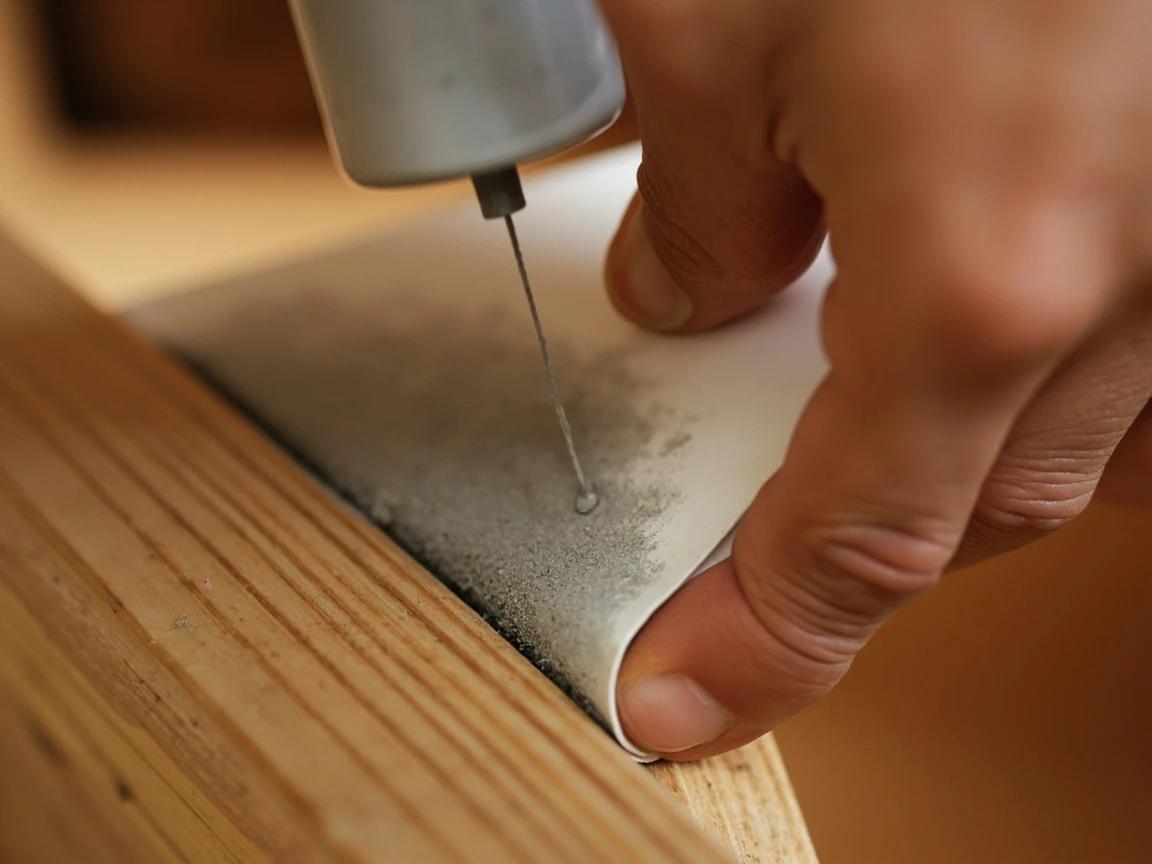
Never use an oil-based spray lubricant on stairs. It soaks into bare wood and can stain or swell it, it collects grit into an abrasive paste inside the joint, and any overspray leaves the tread slick underfoot.
Glue and screw triangular blocks from below
This is the permanent, invisible repair. Knock out any loose old blocks, scrape the corner clean of dried glue, and dry-fit three fresh triangular blocks per step — one centered and one near each end. Run a bead of wood glue along both short faces of a block, press it firmly into the right angle where the underside of the tread meets the back of the riser, and wiggle it slightly as you seat it to squeeze out air and spread the glue. Then drive one screw horizontally into the riser and one vertically up into the tread, using screws short enough that they never break through the top surface.
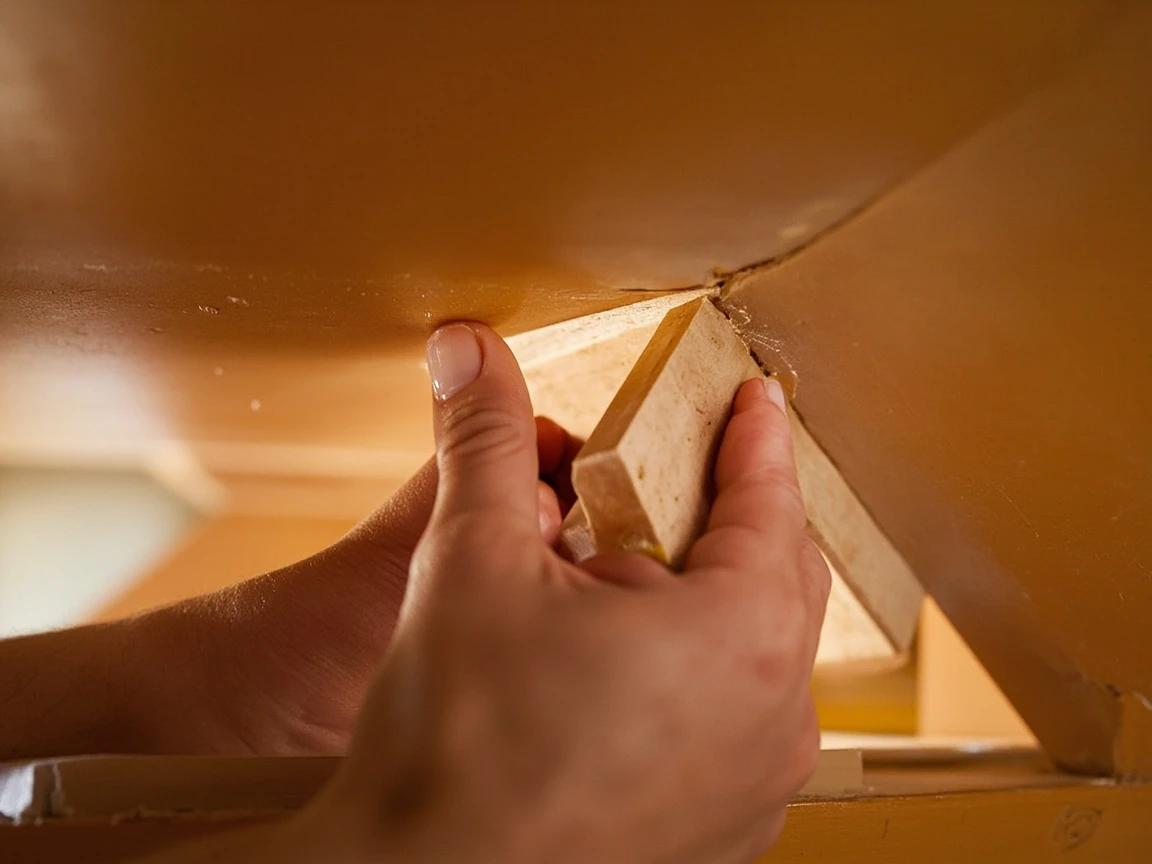
Measure your tread thickness and pick your screw length before you drill. A screw driven up through a 1-inch tread will punch out the top of the step, and that is a much worse problem than a squeak.
Shim any gap between the tread and the stringer
If the squeak is out at the ends of the tread, the gap is usually between the underside of the tread and the notched stringer it rests on. Coat a tapered hardwood shim with glue or construction adhesive and tap it gently into the gap until it is snug — snug, not driven hard. Overdriving a shim jacks the tread upward, opens a new gap somewhere else, and gives you a fresh squeak two steps up. Once the glue sets, score and snap or flush-cut the excess so nothing protrudes.
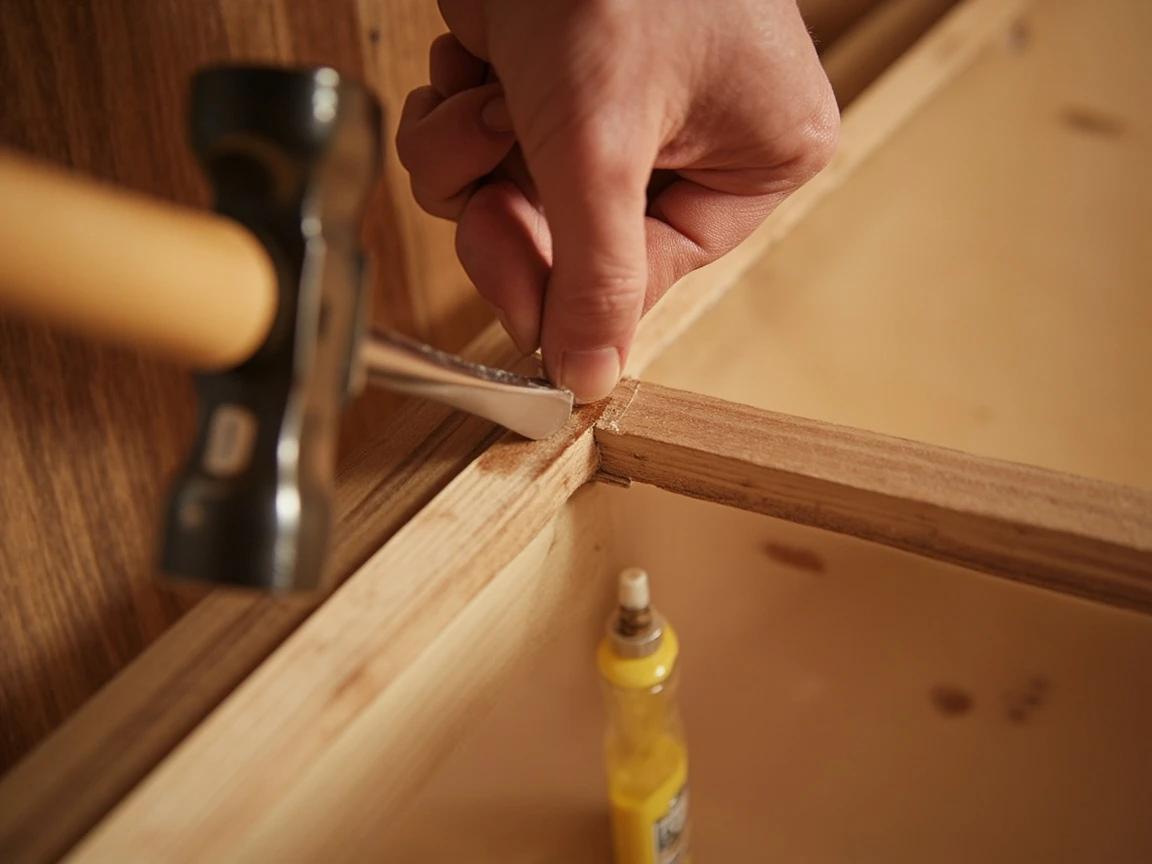
Glue the shim in. A dry shim tapped into a gap works its way back out within a season of foot traffic and the squeak returns exactly as it was.
Screw the tread down from above where you have no access
With a finished ceiling below, fix the squeak from the top instead. Find the riser or stringer beneath your marked spot, then drill two or three evenly spaced 1/8-inch pilot holes through the tread into it — angling a pair of screws toward each other in a shallow V grips far better than driving them straight down. Countersink each hole, drive number 8 trim-head screws until the heads sit just below the wood surface, and stop as soon as they pull the joint tight. Pilot holes are not optional here: a screw driven into a hardwood tread without one will split it.
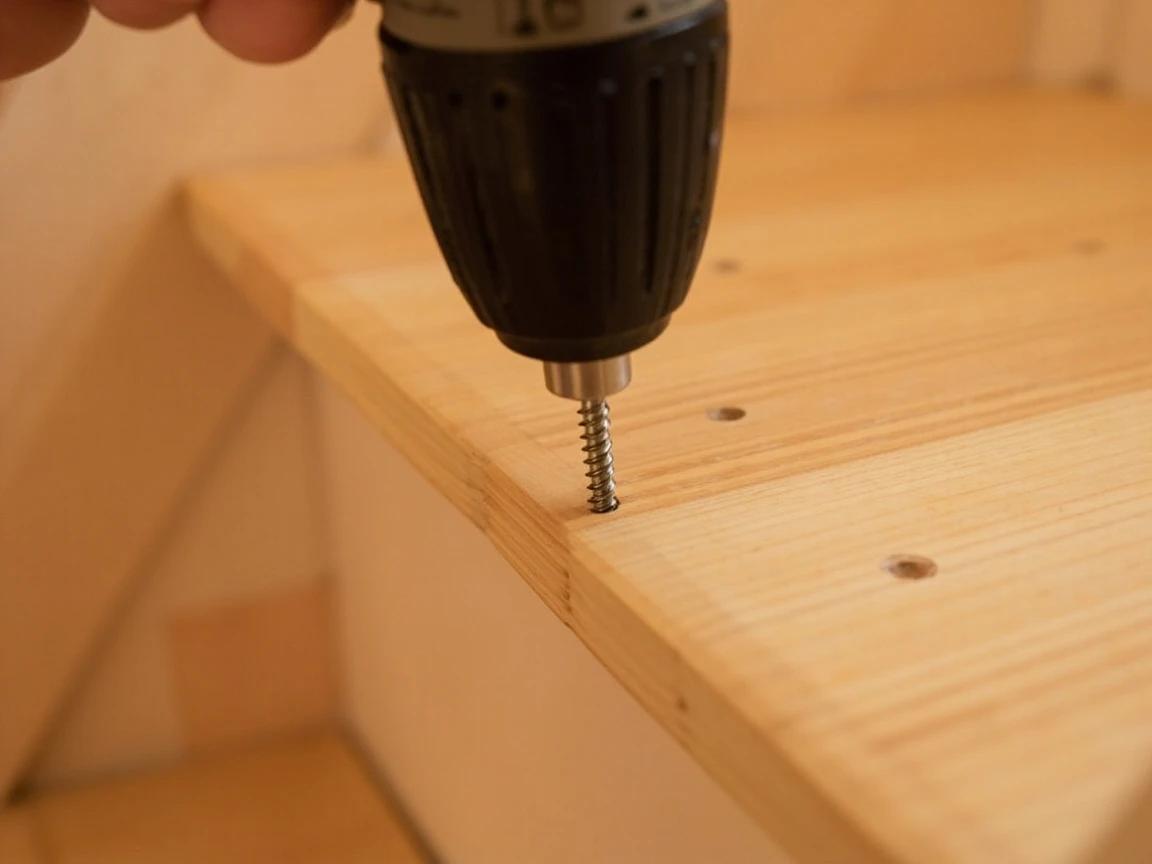
Drive the screws where the tread meets the riser, not out in the open middle of the step. The joint is where the movement is, and the fastener heads disappear into the shadow line of the step edge.
Use a breakaway-screw kit on carpeted stairs
Carpet does not have to come up. A stair-squeak repair kit gives you a metal alignment fixture that sits on the carpet and guides a scored screw down through the pile and into the wood, spreading the fibers instead of cutting them. Locate the stringer underneath with a stud finder first, seat the fixture over that spot, drive the screw until the fixture bottoms out, then rock the fixture sideways to snap the head off below the carpet surface. Work the pile back over the spot with your fingers and it disappears completely.
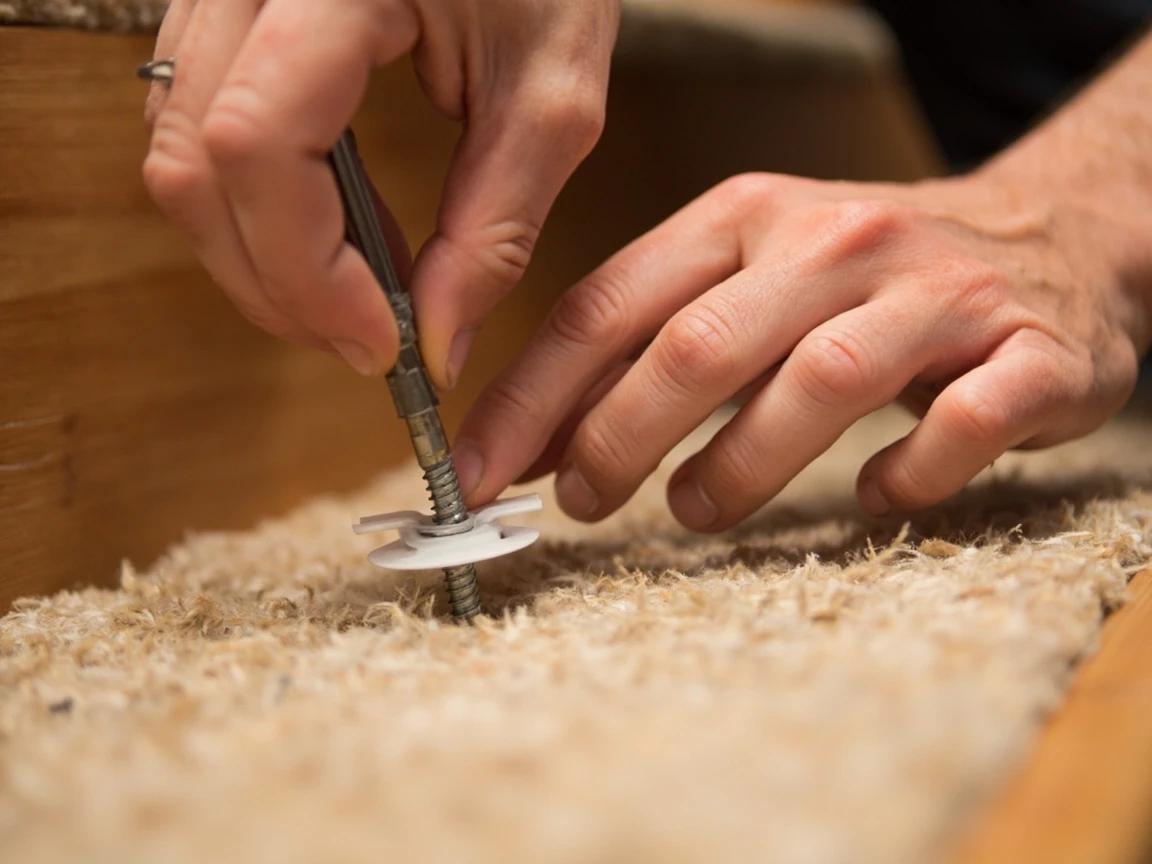
These screws must land in solid wood — a stringer, a riser, or the joist below a landing. Driven into the hollow space between supports they hold nothing, and the snapped-off shank is genuinely difficult to remove from carpet.
Test under load, then fill and finish
Walk the whole staircase deliberately, stepping on the front, middle, and both ends of every tread — fixing one joint sometimes reveals a quieter squeak next door that the first one was masking. Once it is silent, press color-matched wood filler or a wax putty stick into each countersunk hole, scrape it flush with a putty knife, and let it dry before touching up the finish. While you are working the staircase over, it is worth checking the handrail as well, since a loose stair railing is a real safety issue rather than an annoyance.
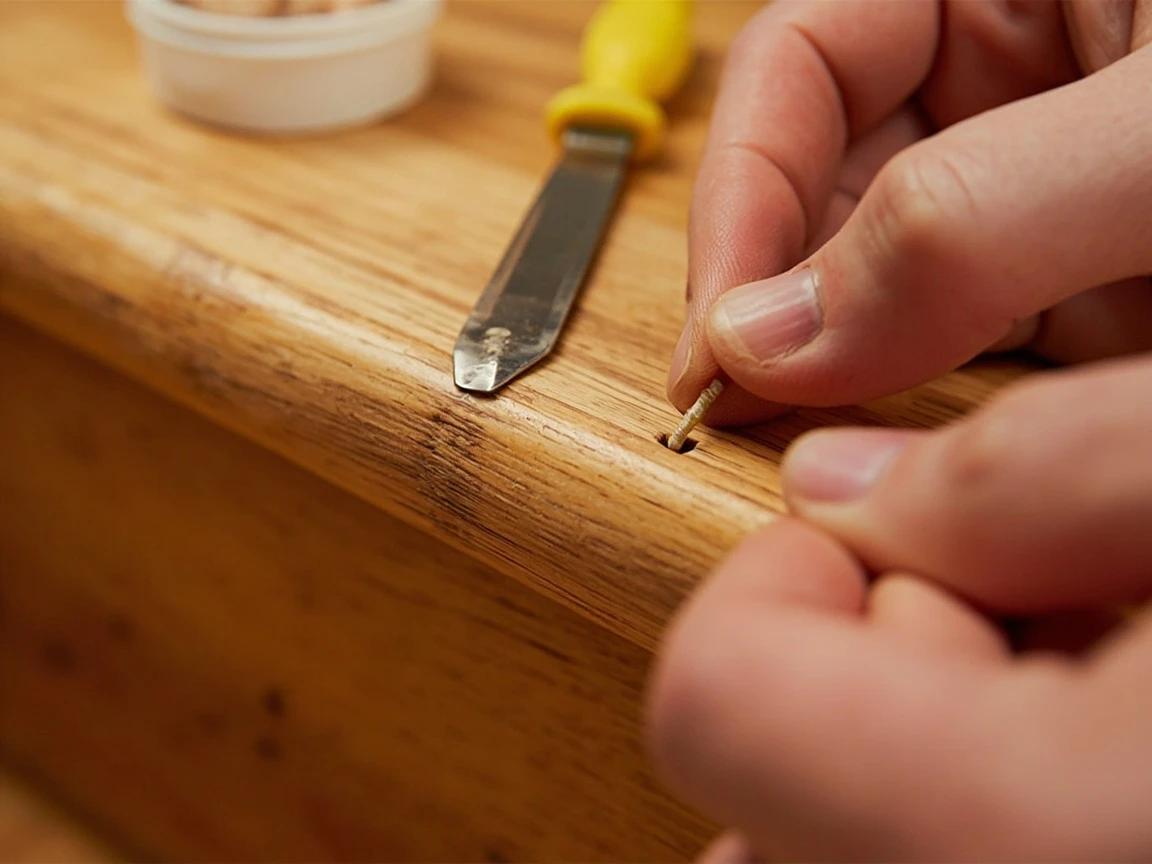
A wax putty stick in a matching wood tone needs no drying time and no finish coat — rub it in, buff the excess off with a cloth, and the filled hole is invisible on a stained tread in under a minute.
Frequently Asked Questions
Why do my stairs squeak more in winter?
+
Heated indoor air in winter is much drier, and wood gives up moisture and shrinks as humidity drops. That shrinkage opens tiny gaps between treads, risers, and stringers, so parts that used to fit tightly now rub and slip against each other under your weight. The squeak often eases on its own in humid summer months as the wood swells back — which is also why a fix that relies on glue and mechanical fasteners outlasts one that relies on powder.
Does WD-40 fix squeaky stairs?
+
No — skip the oil-based sprays. Penetrating oils soak into bare wood and can stain or swell it, they attract dust and grit that turns into an abrasive paste in the joint, and any overspray makes a stair tread genuinely slippery. Use a dry lubricant instead: powdered graphite or talcum powder worked into the seam reduces friction without any of those problems. Even then, treat powder as a temporary quieting measure, not a repair.
Can you fix squeaky stairs without pulling up the carpet?
+
Yes. Stair-squeak repair kits use a metal alignment fixture that sits on the carpet and guides a special screw down through the pile into the tread and joist or stringer below, then snaps the screw head off beneath the surface. The fixture spreads the carpet fibers rather than cutting them, so nothing shows once you fluff the pile back up. Locate the stringer first with a stud finder — a screw driven into empty air does nothing.
Are squeaky stairs a sign of structural damage?
+
Usually not. The overwhelming majority of stair squeaks are just seasonal wood movement loosening the fit between a tread and its riser or stringer, which is a cosmetic annoyance rather than a safety issue. What does warrant concern is a tread that visibly deflects or feels spongy when you step on it, a gap that opens and closes under load, or a visible crack in a stringer — those point to failed support, not a loose joint.
Should I fix a squeaky stair from the top or the bottom?
+
From underneath whenever you can get to it. Working from below with glue blocks and shims lets you close the gap permanently without putting a single screw hole or filled dimple in the finished tread. Fixing from above is the fallback for staircases with a finished ceiling underneath — it works well and holds, but it leaves fastener holes you will need to countersink and fill.
Sources & further reading
- How to Fix Squeaky Stairs — This Old House
- How to Fix Squeaky Stairs: 5 Ways That Work — Bob Vila
- 2021 IRC Chapter 3 — Building Planning (stairway requirements, R311.7) — International Code Council
More Carpentry Guides
View all →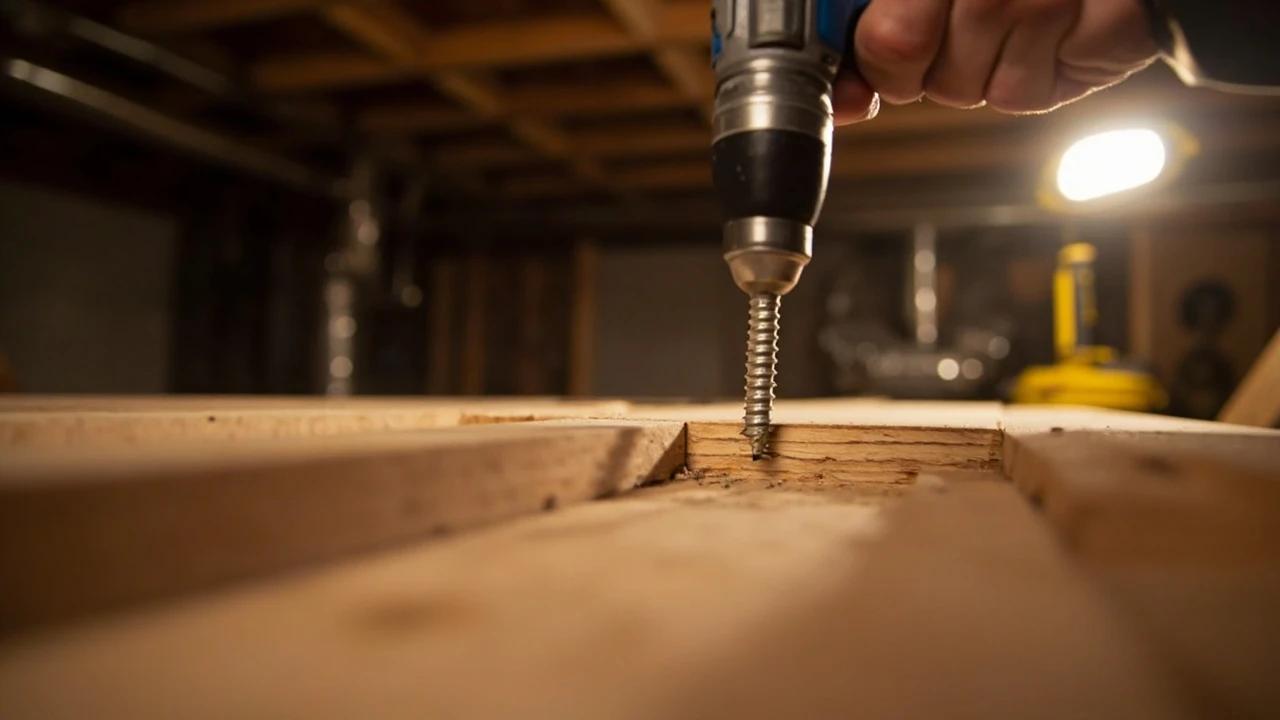 Easy1 hr
How to Fix a Squeaky Floor (From Above and Below)
A squeaky floor isn't a structural problem — it's the subfloor lifting off the joists by a hair every time you step. From a basement or crawlspace, you can fix it permanently with a $5 shim and a $0.10 screw. From above (carpet, hardwood, or vinyl) the Squeeeek No More kit drives a scored screw that snaps off below the surface — no exposed hardware. This guide covers both approaches.
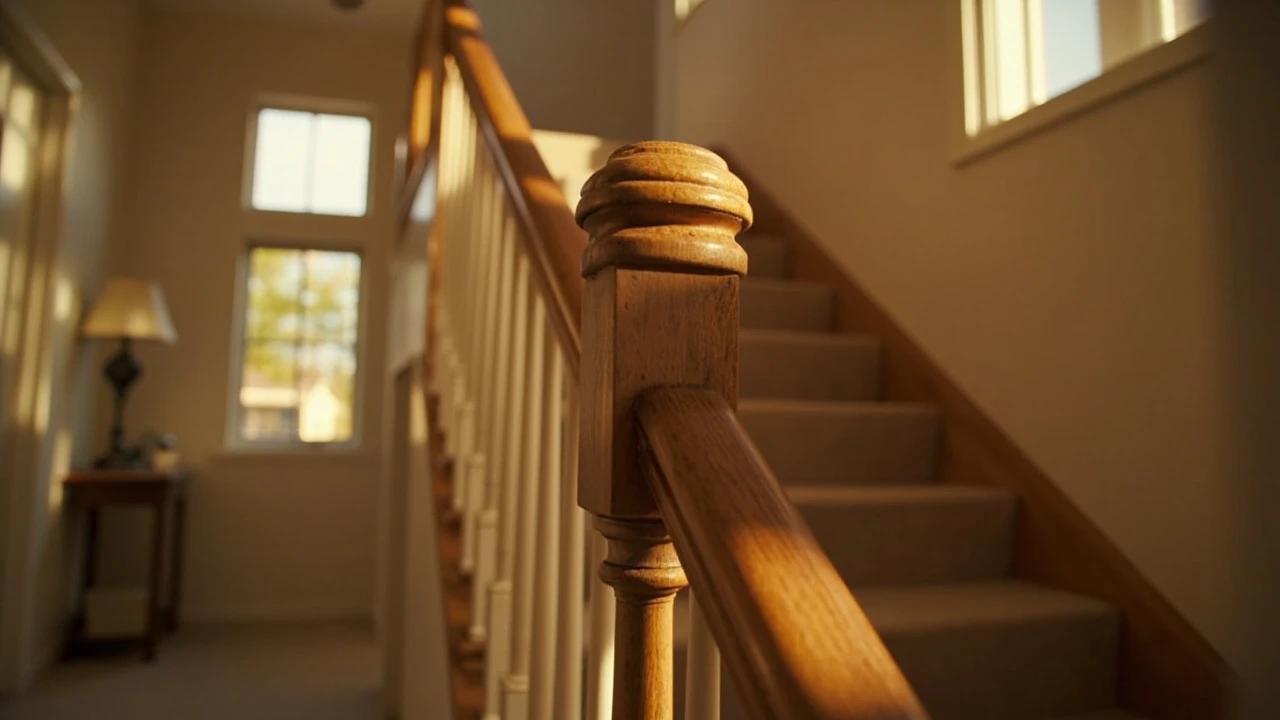 Easy1 hr
How to Fix a Loose Stair Railing or Wobbly Handrail
A wobbly stair railing is more than an annoyance — it's a genuine fall hazard, especially for children and older adults. Most loose railings are caused by stripped screw holes, worn brackets, or loose newel post connections, and the fix typically takes under an hour with basic hand tools. This guide walks you through diagnosing the source of the wobble, reinforcing the fasteners, tightening balusters, and securing the entire assembly so it feels rock-solid again.
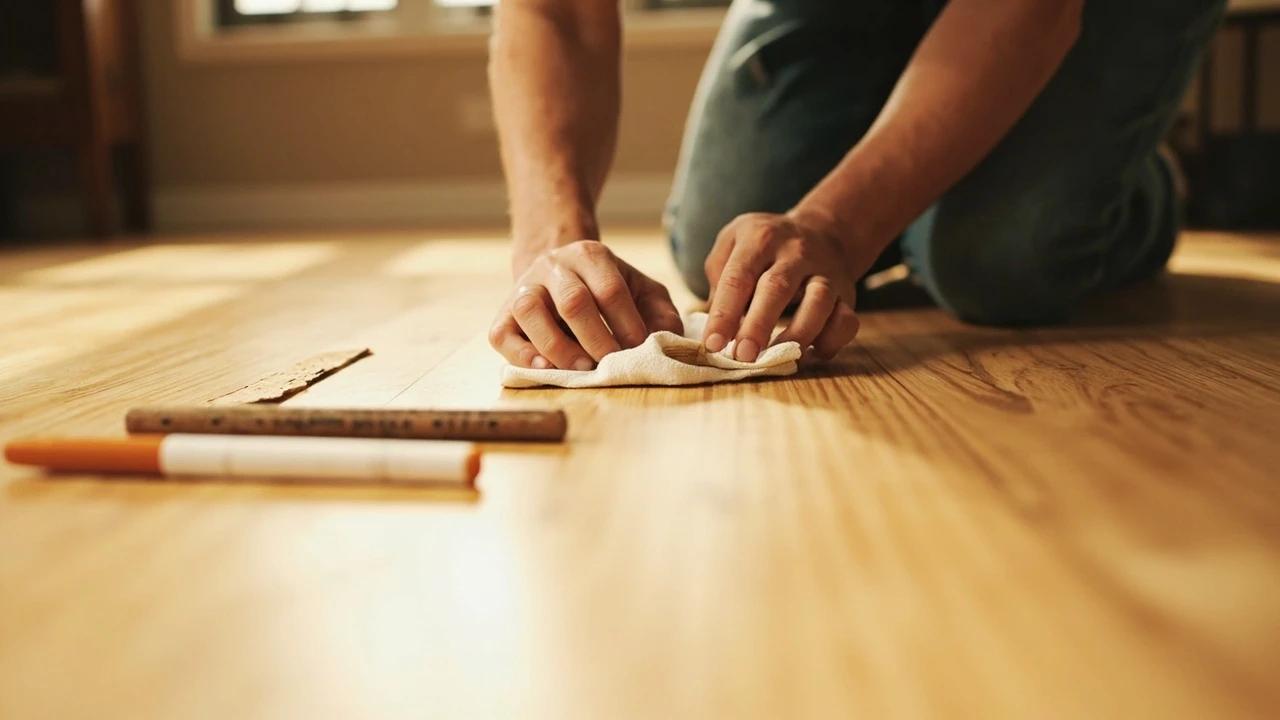 Medium1 hr
How to Repair Scratches in a Hardwood Floor
Scratched hardwood almost never means refinishing the whole floor. This guide shows you how to match the fix to the damage — a touch-up marker for finish-level scratches, a wax fill stick for shallow ones, and stainable wood filler with stain and polyurethane for deep gouges — all for under $40 in supplies and about an hour of work.
You Might Also Like
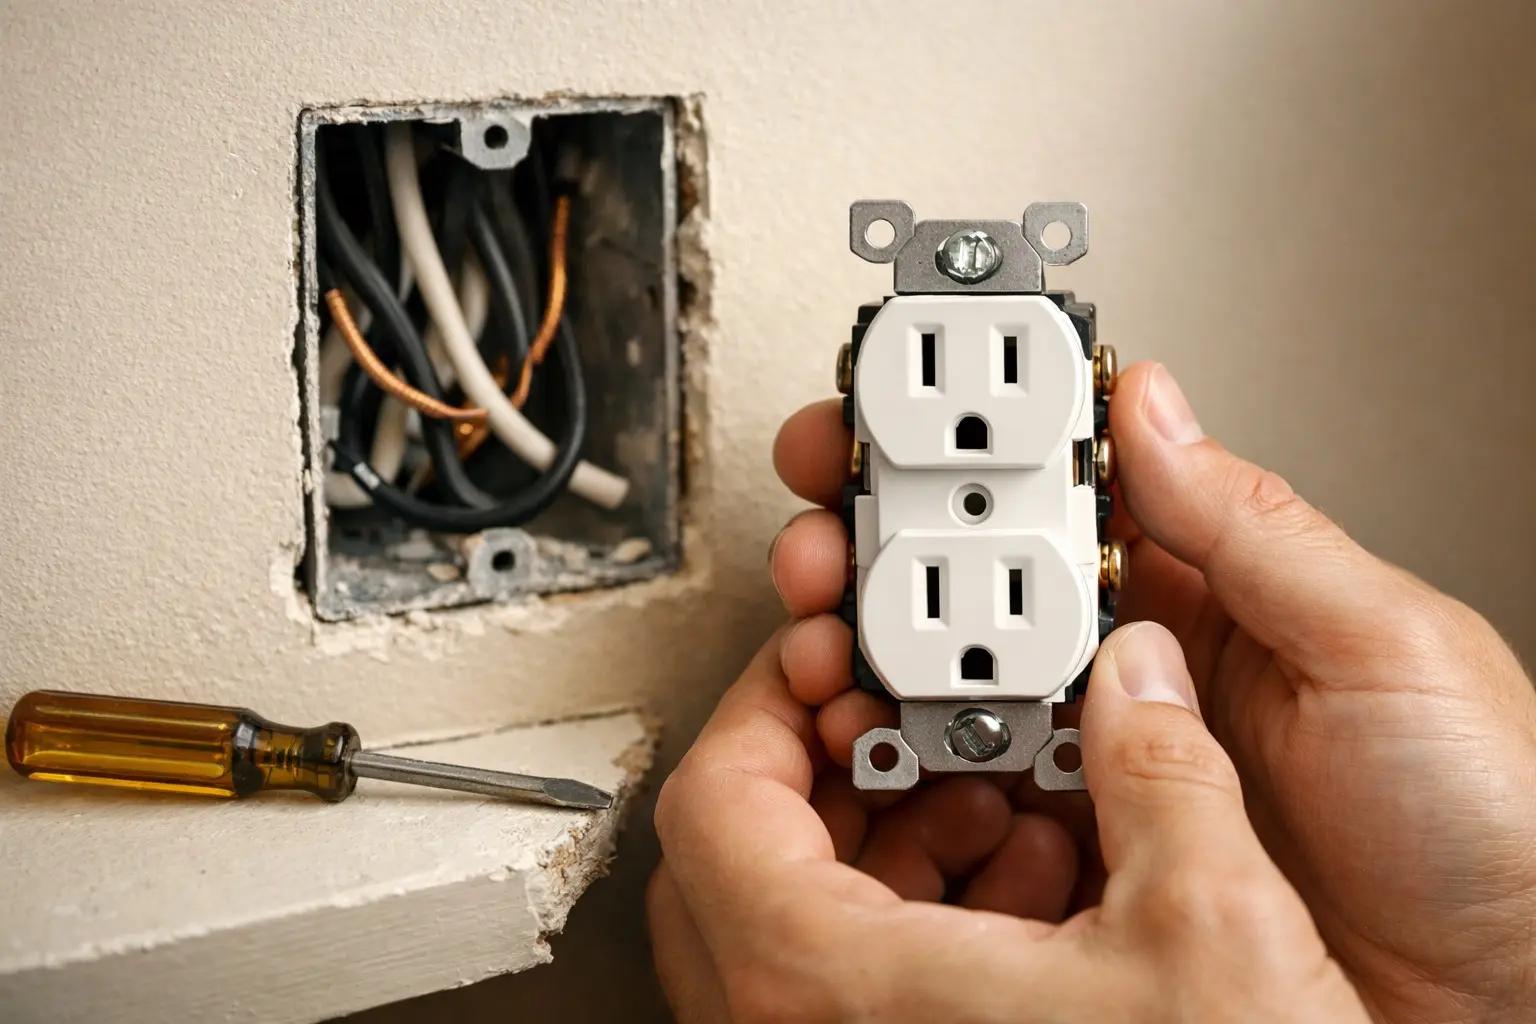 Easy30 min
How to Replace an Electrical Outlet
A worn-out or discolored electrical outlet is one of the simplest electrical repairs you can tackle yourself — swapping one takes about 15-30 minutes and costs under $5 in parts versus $75-150 for an electrician visit. This guide walks you through safely replacing a standard duplex receptacle, including how to handle the wiring correctly and avoid the most common DIY mistakes.
 Medium6 hrs
How to Paint a Room
A fresh coat of paint is the fastest, cheapest way to transform any room — and doing it yourself saves $400-800 in labor for an average 12x12-foot bedroom. The job takes a weekend from prep to final coat, and the difference between an amateur-looking result and a professional finish comes down to technique, not talent. This guide covers prep, cutting in, rolling, and cleanup so you get clean lines and even coverage the first time.
 Medium30 min
How to Troubleshoot a Microwave That Won't Heat
A microwave that runs — light on, turntable spinning, timer counting down — but leaves food stone cold is one of the most common appliance failures, and about half the time the cause is something you can fix in five minutes for free. This guide walks the diagnosis from the easy stuff (demo mode, power level, a tripped GFCI, a dirty door latch) to reading the failure signature that tells you the high-voltage circuit is gone, then helps you make the repair-or-replace call with real numbers.