How to Clean and Seal Bathroom Grout
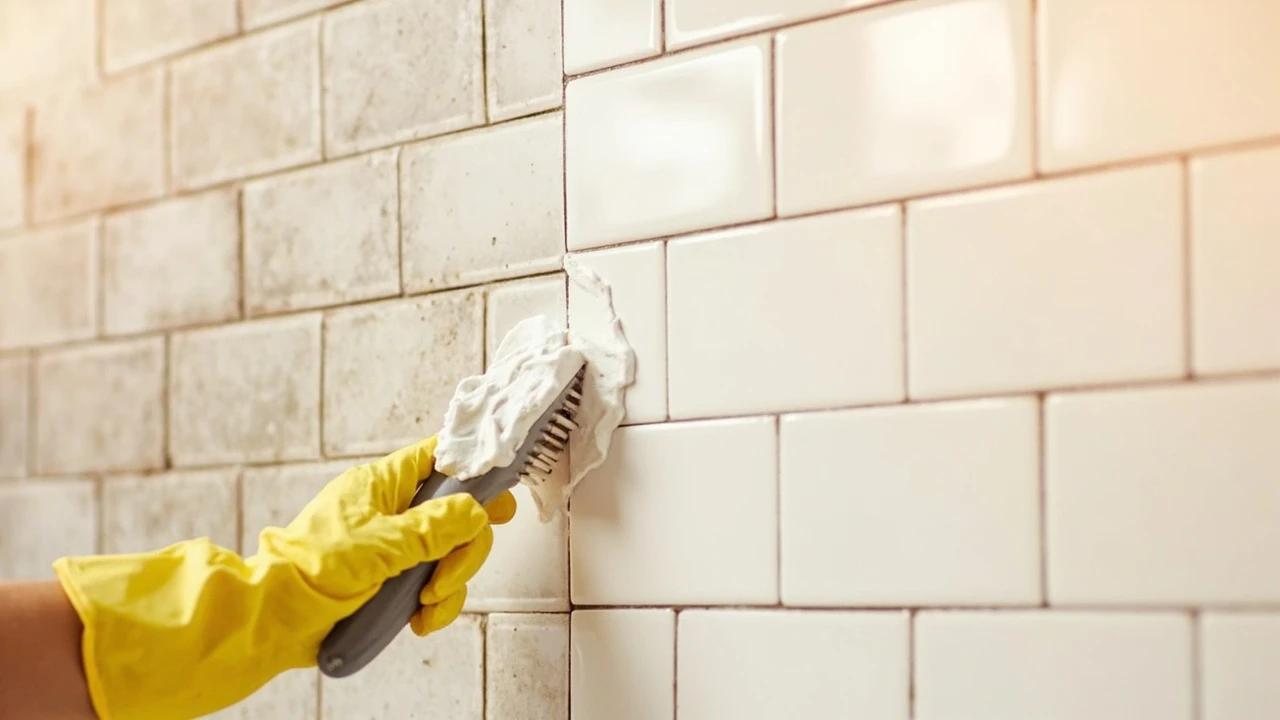

Dingy grout lines can make a freshly scrubbed bathroom look dirty, and porous unsealed grout drinks in soap scum, body oils, and mildew a little deeper every month. For about $25-60 in supplies you can deep-clean the lines with an oxygen-based paste and lock out future stains with a penetrating sealer — no regrouting required. This guide covers the cleaner that actually works, the popular ones that quietly destroy grout, and how to seal without hazing your tile.
What You'll Need
🛠 Tools
📦 Materials
Safety First
- •Never mix cleaning chemicals. Chlorine bleach plus ammonia or any acid (including vinegar) releases toxic gas, and hydrogen peroxide plus vinegar forms corrosive peracetic acid — use one product at a time and rinse the surface between them.
- •Run the bath fan or open a window the whole time you clean and seal. Bleach and sealer vapors build up fast in a small closed bathroom.
- •Wear safety glasses when scrubbing grout at or above eye level — peroxide paste and bleach solution splatter as you scrub.
Step-by-Step Instructions
Check your grout before you clean it
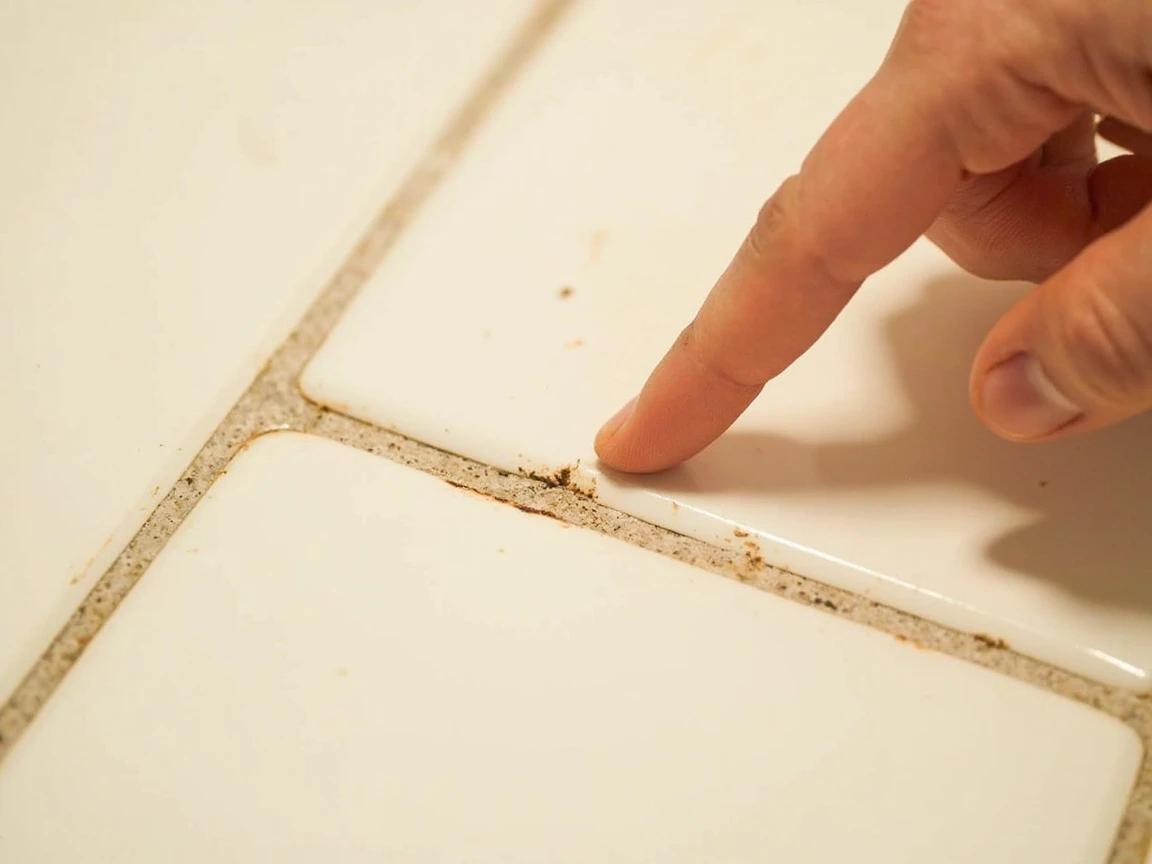
Run a fingertip along the lines and look closely: grout that is cracked, powdery, or missing in chunks is past cleaning — regrout those lines first, because open joints let shower water reach the wall behind the tile. If the grout is sound but dingy, do a quick water test: drip a few drops on a horizontal line and wait two minutes. Beading water means old sealer is still present; water that soaks in and darkens the grout means the lines are unprotected — exactly what this clean-then-seal job fixes.
If your tile is natural stone — marble, travertine, limestone — stop here and buy cleaners and sealers labeled stone-safe. The peroxide paste and bleach steps below are for ceramic and porcelain; acids and strong cleaners permanently etch polished stone.
Strip the surface film with soapy water
Grout cleaner cannot reach stains buried under a layer of soap scum and body oil, so pre-wash first. Vacuum or sweep floor grout lines, then wipe the walls and floor with warm water and a few drops of dish soap on a sponge, and rinse with clean water. This alone often lightens the grout a shade and shows you which lines actually need the deep clean.
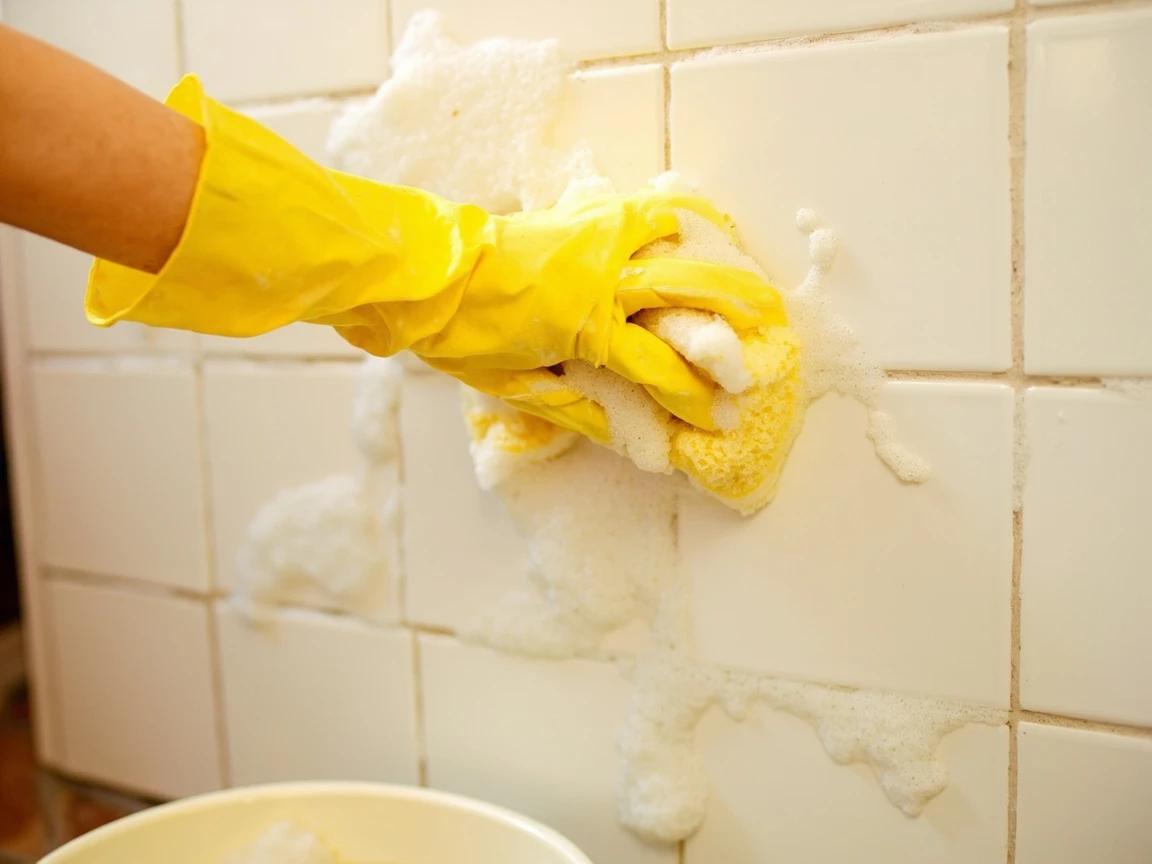
Work top to bottom on walls so dirty rinse water does not streak lines you have already cleaned.
Mix a peroxide and baking soda paste
In a small bowl, stir about half a cup of baking soda with enough 3% hydrogen peroxide to form a thick paste the consistency of toothpaste, plus one drop of dish soap. This mildly alkaline mix lifts organic stains without attacking the grout itself. Skip the vinegar recipes you will see online: cement grout is alkaline, and acidic cleaners dissolve a bit of the cement binder every use — vinegar also etches natural stone on contact.
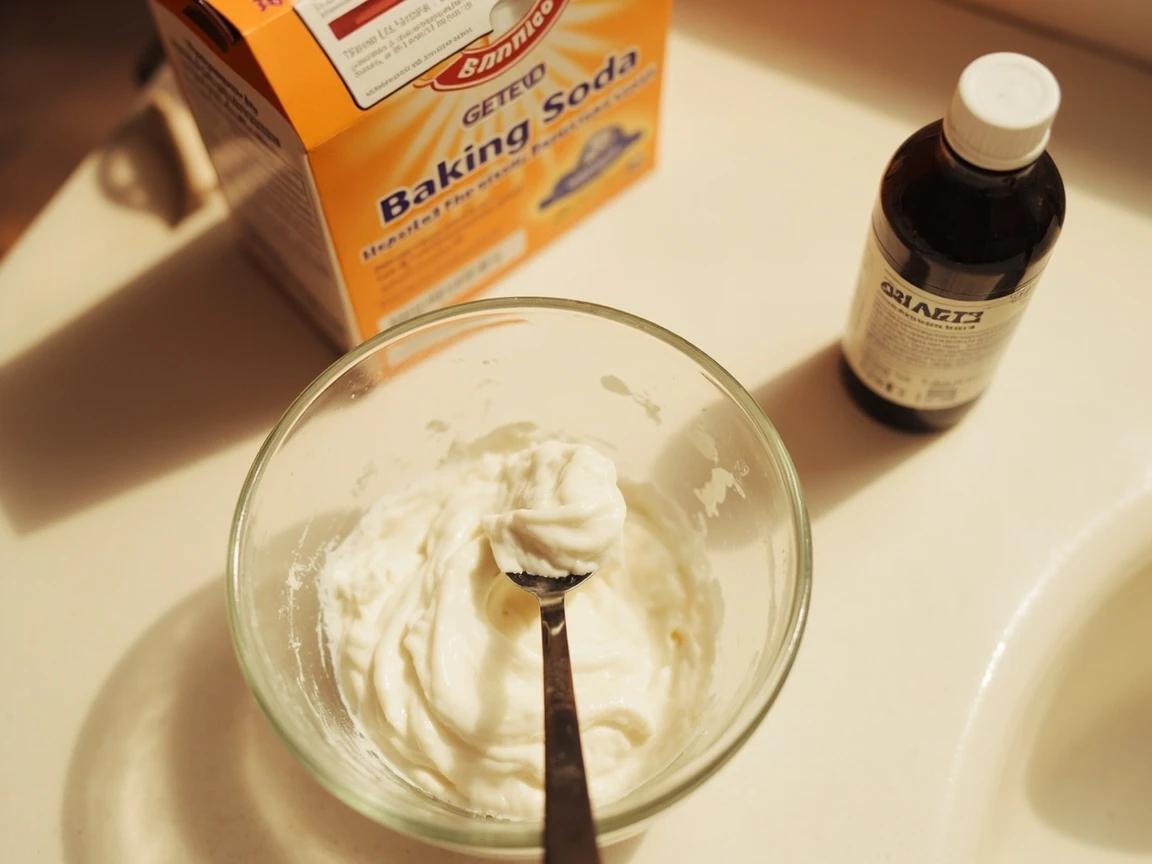
Never combine hydrogen peroxide with vinegar — it forms corrosive peracetic acid. Keep peroxide and chlorine bleach separate too, and rinse the surface before switching products.
Spread the paste and let it sit 10-15 minutes
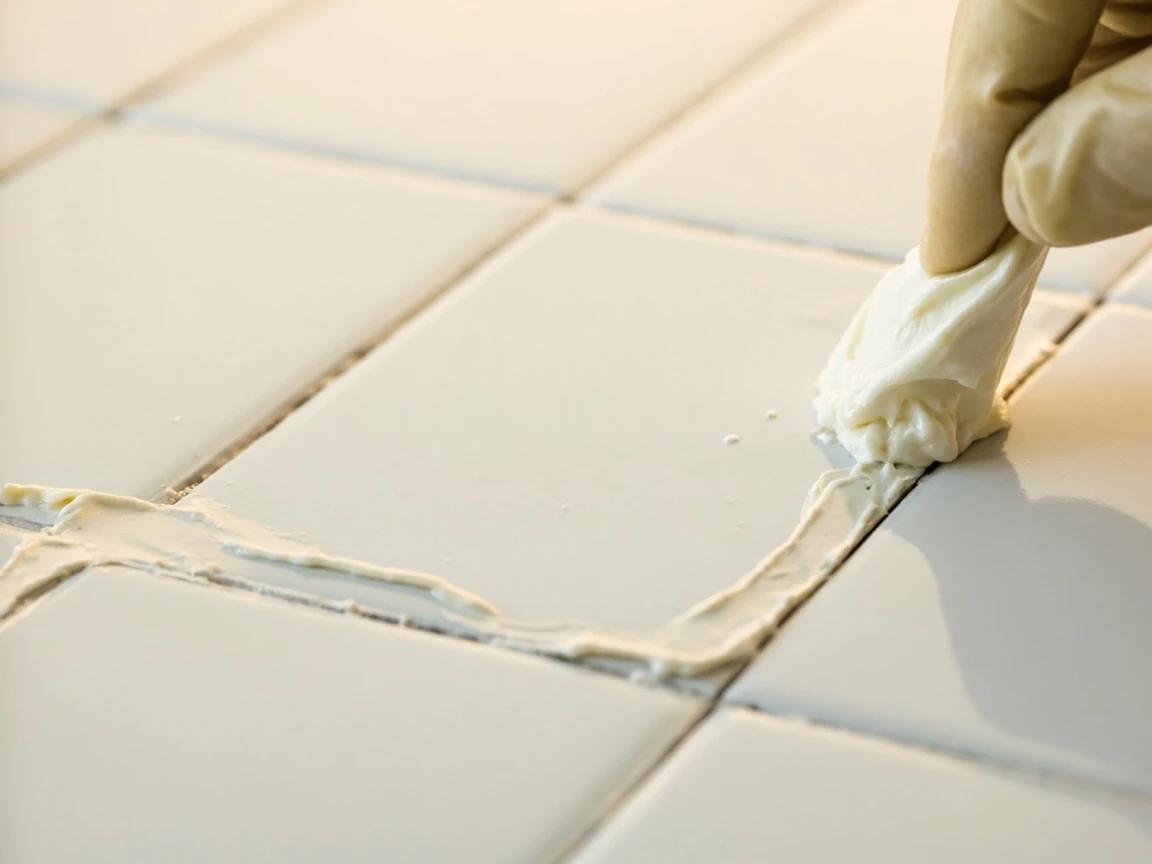
Press the paste along the grout lines with a gloved fingertip or the tip of the brush, coating them generously — the joints should look like they have white icing piped down them. Let it dwell 10 to 15 minutes so the peroxide can penetrate and start oxidizing the stains. Work one wall or a few square feet of floor at a time so the paste never dries out before you scrub.
Scrub with a stiff nylon brush
Scrub each line with a stiff nylon-bristle grout brush using short, firm strokes — small circles first to agitate, then straight passes along the joint. Switch to an old toothbrush for corners, caulk edges, and around fixtures. The paste will foam slightly and turn gray as it lifts the dirt out; that color change is the job working.
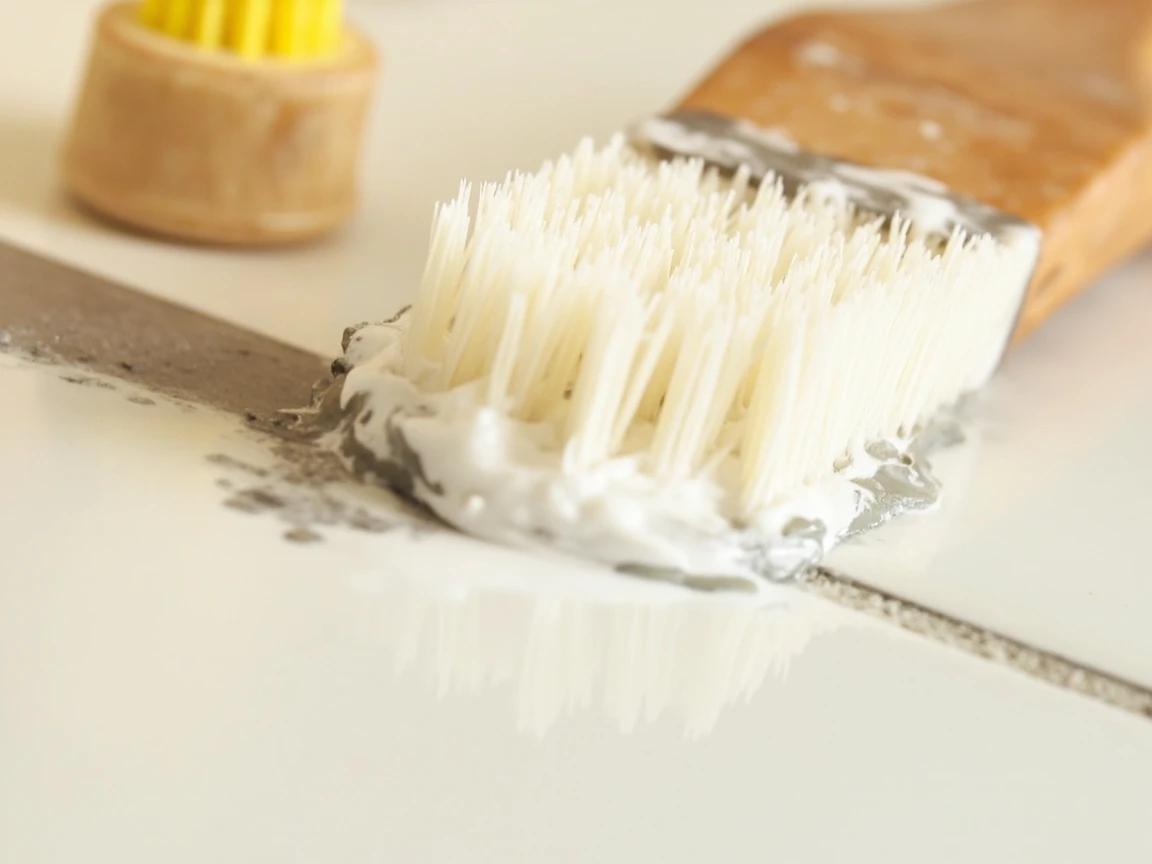
A drill-mounted nylon brush or a cheap electric spin scrubber saves your wrists and knees on floor grout, where staining is usually worst.
Do not use a wire or metal-bristle brush. It gouges soft cement grout and scratches the glaze on ceramic tile — damage no cleaner can undo.
Rinse, assess, and escalate the stubborn lines
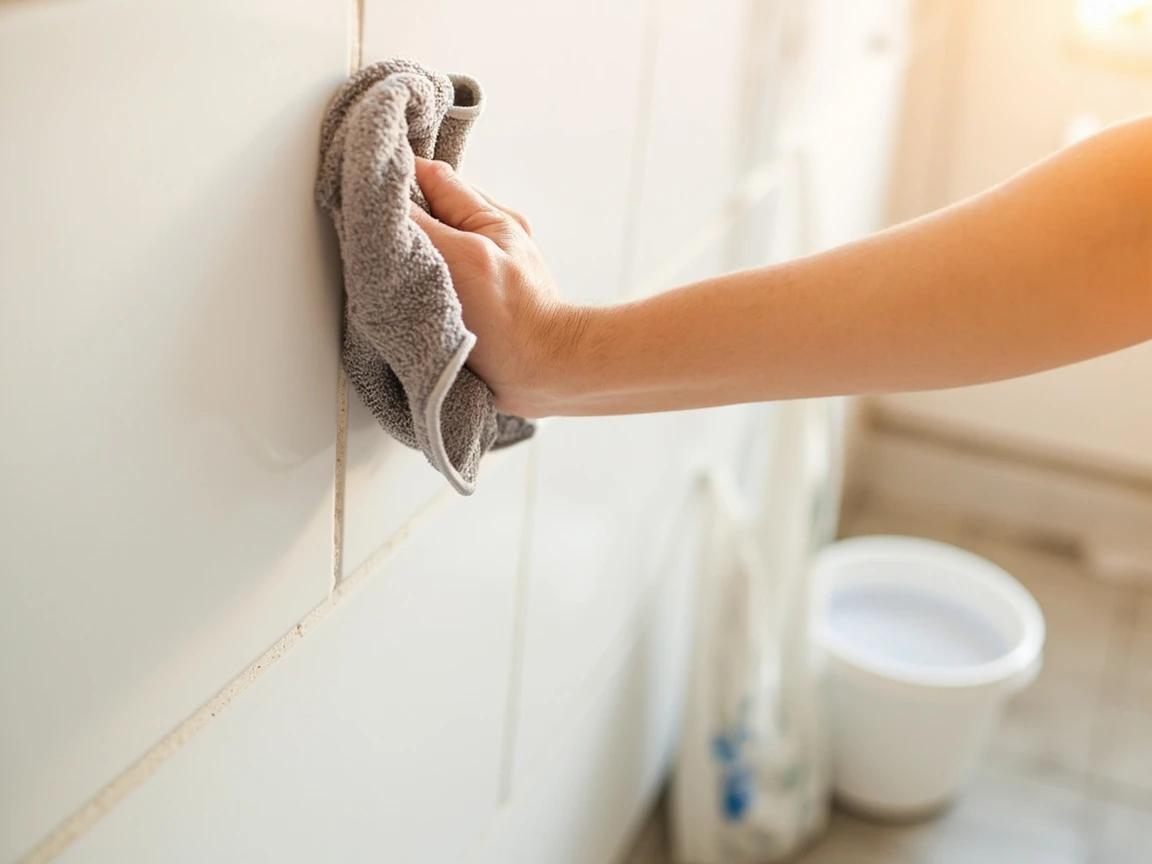
Wipe away the spent paste with a damp microfiber cloth, rinsing it constantly, then dry the area and judge the result. Lines that are still stained get the next tier: dissolve oxygen bleach (sodium percarbonate) in warm water per the package, keep the lines wet with the solution for 15 to 30 minutes, then re-scrub and rinse — the same chemistry pro cleaning services lean on. If the dark line that won't come clean is an inside corner or where tile meets the tub, that is caulk rather than grout — replace the caulk bead instead of scrubbing it.
Last resort for white cement grout only: chlorine bleach diluted 1:10 with water, left on a few minutes and rinsed thoroughly. Ventilate well — and expect it to lighten colored grout unevenly.
Let the grout dry for a full 24 hours
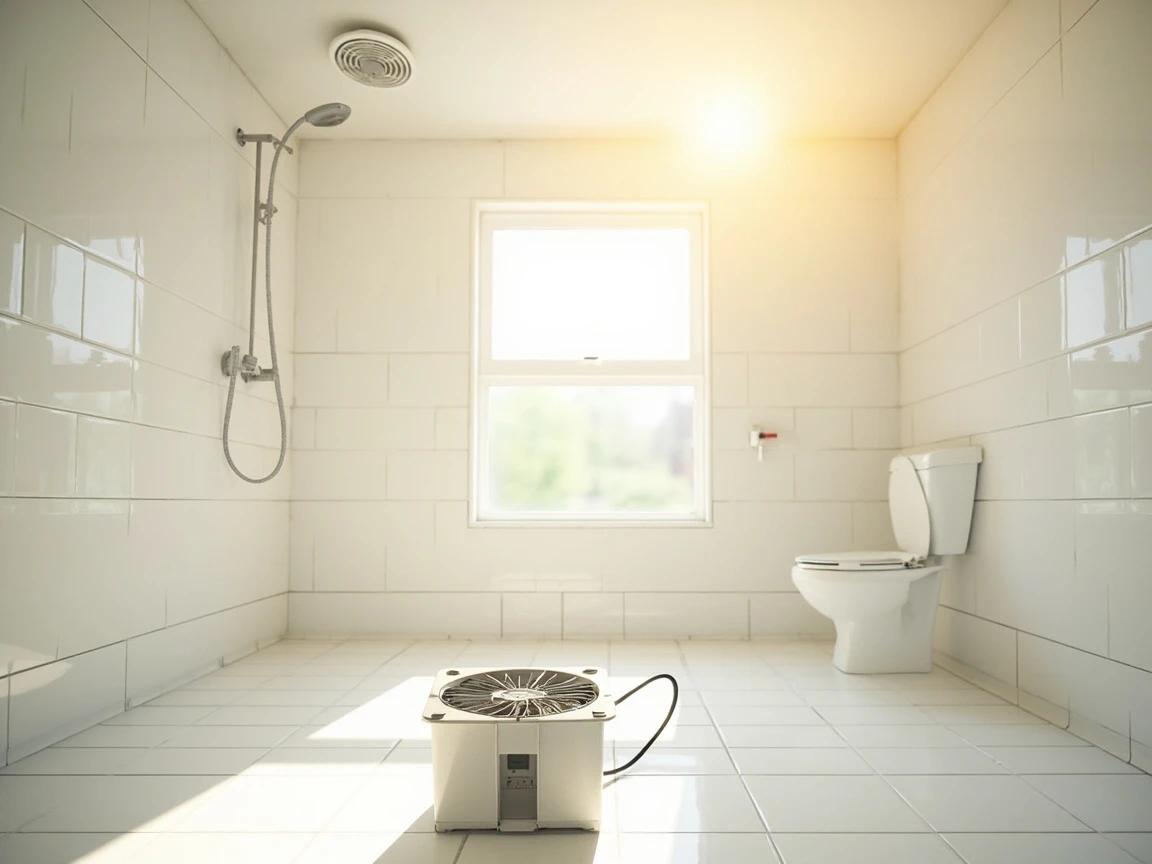
Sealer only bonds to clean, dry grout — moisture trapped in the joint blocks penetration and can cure blotchy, and this waiting step is the one people skip and regret. Keep the shower out of service for 24 hours after cleaning, run the bath fan, and point a box fan at the tile to speed evaporation. Freshly regrouted lines need longer: give new grout 48 to 72 hours to cure before its first sealing.
Apply a penetrating sealer, one section at a time
Use a water-based penetrating (impregnating) sealer for bathrooms — it soaks into the grout and repels water without forming a film that could peel. Run the applicator bottle slowly along each grout line, working one wall or a three-foot square of floor at a time, and let the sealer absorb for 5 to 10 minutes. Then wipe any sealer off the surrounding tile faces with a dry microfiber cloth before it dries — dried sealer leaves a stubborn haze on glazed tile. Most cement grout takes a second coat 30 to 60 minutes later; follow your label.
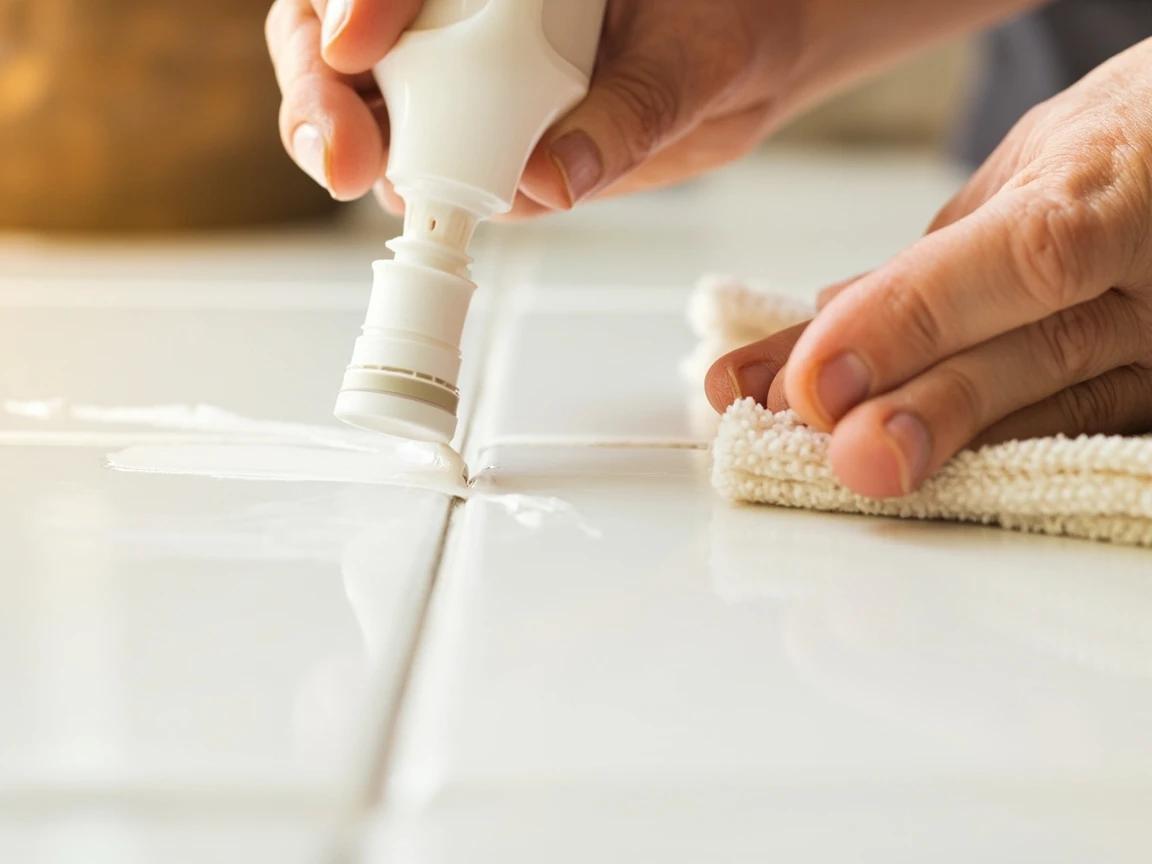
The $10 applicator bottle with a rolling wheel beats the brush-in-cap style — it lays a consistent bead exactly on the line, so there is far less to wipe off the tile.
Test the seal, then let it cure
After the final coat has dried for an hour or two, drip water on a few lines: it should bead up and sit on the surface, and anywhere it soaks in gets one more pass of sealer. Keep the room dry while the sealer cures — most water-based products want 24 hours before water exposure and up to 72 for a full cure, so check the label before anyone showers. Going forward, repeat the water-drop test every 6 months in a shower and reseal when drops stop beading; grout in drier bathrooms goes 12 to 18 months between coats.

Sealer wears out first on the shower floor and the lowest wall courses where water sits longest — test those lines, not the ones at eye level.
Frequently Asked Questions
Does vinegar damage grout?
+
Over time, yes. Cement-based grout is alkaline, and vinegar's acetic acid dissolves a little of the cement binder every time you use it, slowly making the lines porous and crumbly. It also etches natural stone like marble and travertine on contact. An occasional vinegar wipe on ceramic tile won't ruin anything, but for routine grout cleaning a baking soda and hydrogen peroxide paste cleans better with none of the damage.
What do professionals use to clean grout?
+
Pro services mostly rely on high-pH alkaline degreasers and steam machines, not acids. The closest DIY equivalents are an oxygen bleach (sodium percarbonate) solution left to dwell for 15-30 minutes, or a handheld steam cleaner with a brush head. Acidic restoration cleaners exist for mineral haze, but pros use them sparingly because acid eats cement grout.
How do I know if my grout needs to be sealed?
+
Do the water-drop test: put a few drops of water on a horizontal grout line and wait two minutes. If the water beads up and sits on the surface, the old sealer is still working; if the grout darkens as it absorbs the water, it needs sealing. Brand-new cement grout should always be sealed after it cures for 48-72 hours. The one exception is epoxy grout, which is nonporous and never needs sealer.
Can I use bleach to clean grout?
+
Diluted chlorine bleach (1 part bleach to 10 parts water) works as a last resort on white cement grout, but it can lighten colored grout unevenly, and repeated heavy use degrades the grout surface. Ventilate well, never mix it with ammonia or any acid, and rinse thoroughly afterward. Oxygen bleach powder gets you most of the whitening with far less risk.
How long after sealing grout can I shower?
+
Most water-based penetrating sealers are dry to the touch in 30 minutes to 4 hours, but you should keep water off the grout for at least 24 hours, and full cure can take up to 72 hours — the bottle label gives the exact window. Showering too soon flushes uncured sealer out of the joints and leaves patchy protection.
Sources & further reading
- How To Clean Grout — This Old House
- How to Seal Grout in Five Easy Steps — MAPEI
- How to Clean Tile Grout with Household Products — Family Handyman
More Carpentry Guides
View all →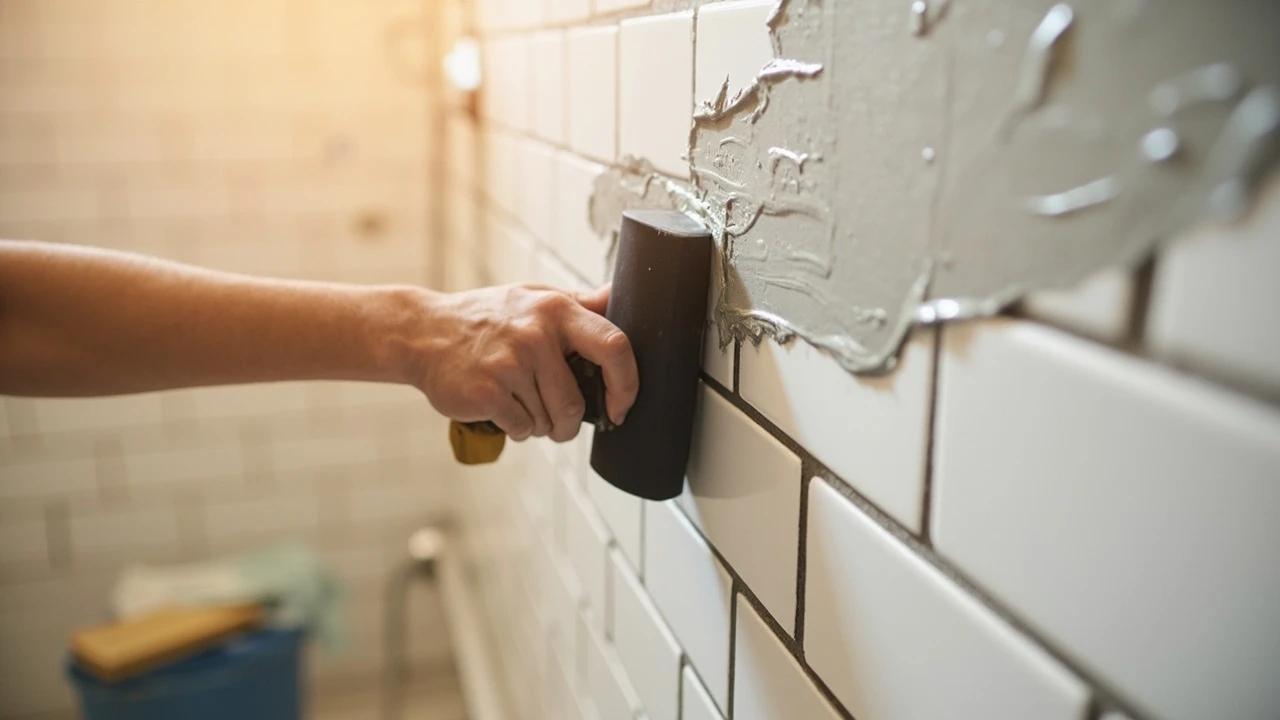 Medium3 hrs
How to Regrout Bathroom Tile
Cracked, stained, or crumbling grout makes a whole bathroom look tired — and worse, it lets water seep behind the tile where it rots the backer board. Regrouting is a weekend job that costs under $40 and makes old tile look brand new, no demolition required. This guide covers grinding out the old grout to the right depth, picking sanded vs. unsanded, floating in the new grout cleanly, beating grout haze, and the one spot you should caulk instead of grout.
 Easy1h 30m
How to Re-Caulk a Bathtub or Shower Surround
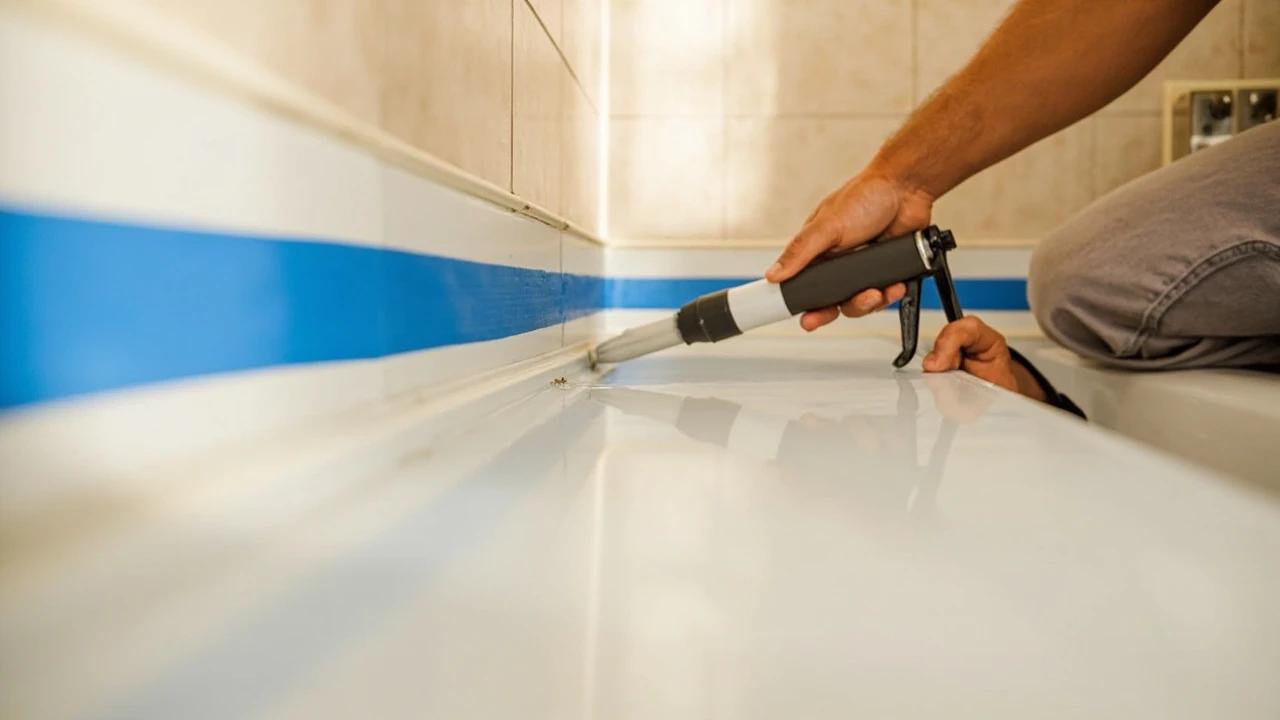
Mildewed, cracked, or peeling caulk around a bathtub isn't just ugly — it's letting water reach the drywall and studs behind the wall, which turns a $10 caulk job into a thousand-dollar tile-and-framing repair. This guide walks through removing the old caulk completely, treating mold, masking and tooling a clean single bead of 100% silicone, and the curing schedule that keeps the new joint waterproof for years.
 Medium1h 30m
How to Replace a Cracked Floor or Wall Tile
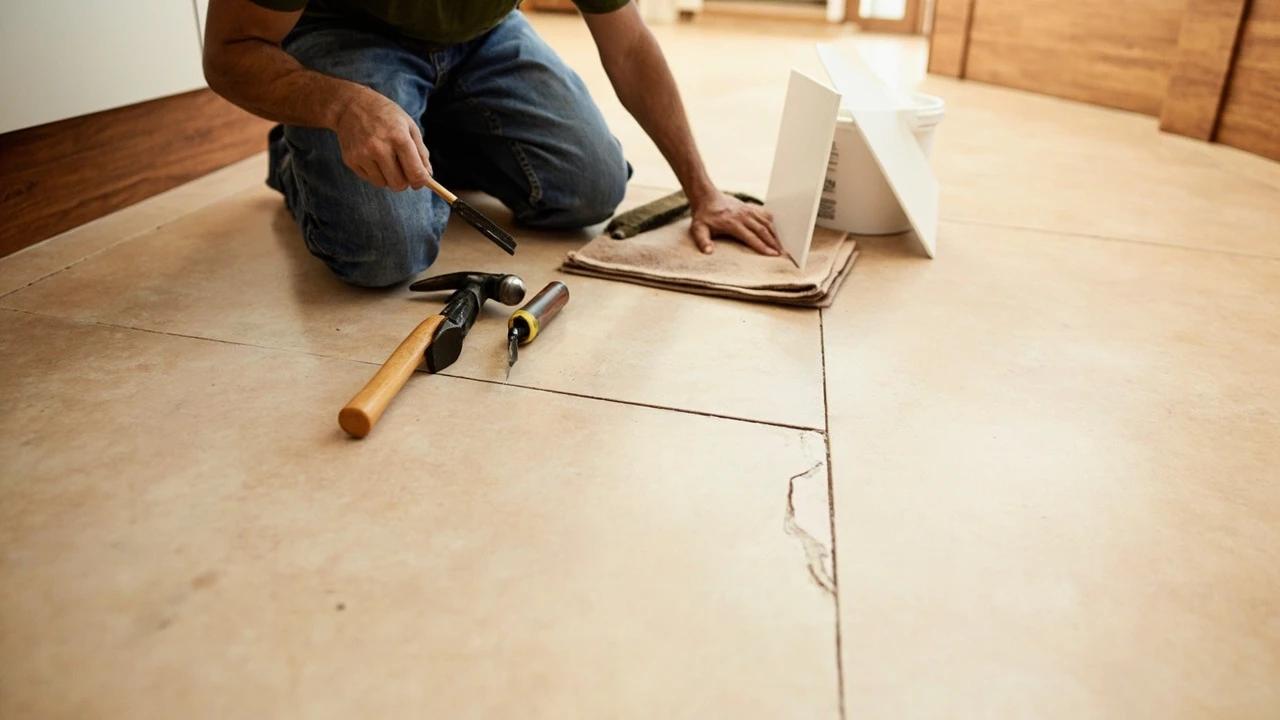
One cracked tile can nag at you for years because the fix looks riskier than the flaw — one bad pry and you've turned a single replacement into five. The real method protects the neighbors from the start: free the grout, break the damaged tile from its center, and never lever against the tiles you're keeping. About 90 minutes of work, $20 to $60 in materials, and the crack is gone without a trace.
You Might Also Like
 Easy30 min
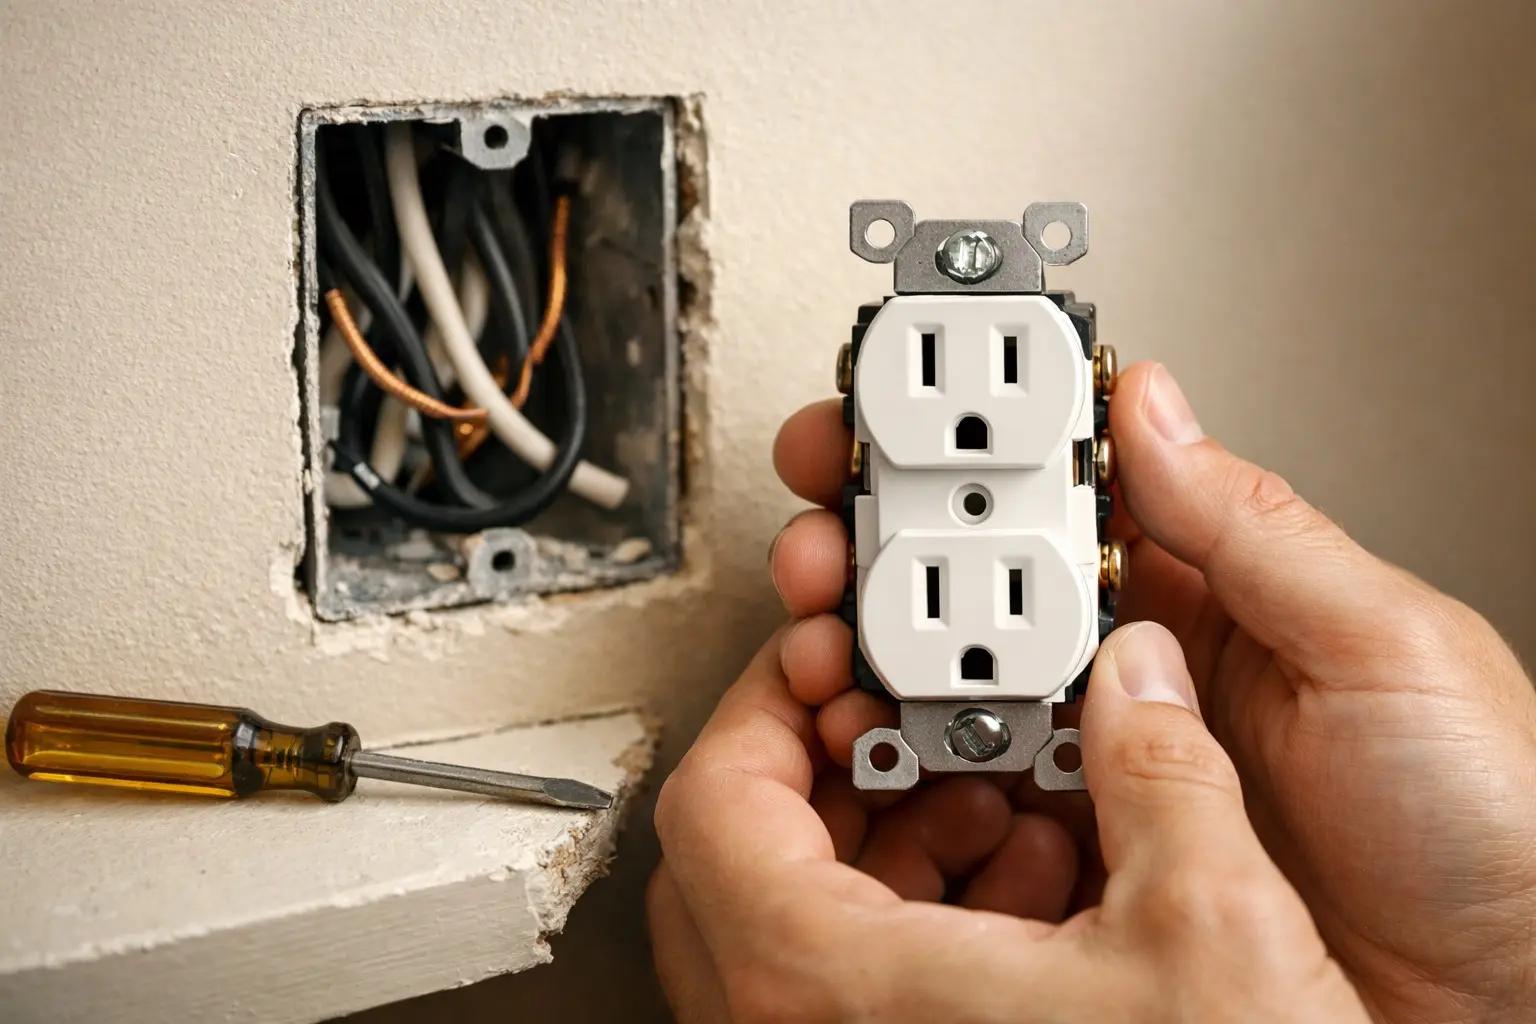
How to Replace an Electrical Outlet
A worn-out or discolored electrical outlet is one of the simplest electrical repairs you can tackle yourself — swapping one takes about 15-30 minutes and costs under $5 in parts versus $75-150 for an electrician visit. This guide walks you through safely replacing a standard duplex receptacle, including how to handle the wiring correctly and avoid the most common DIY mistakes.
 Medium6 hrs
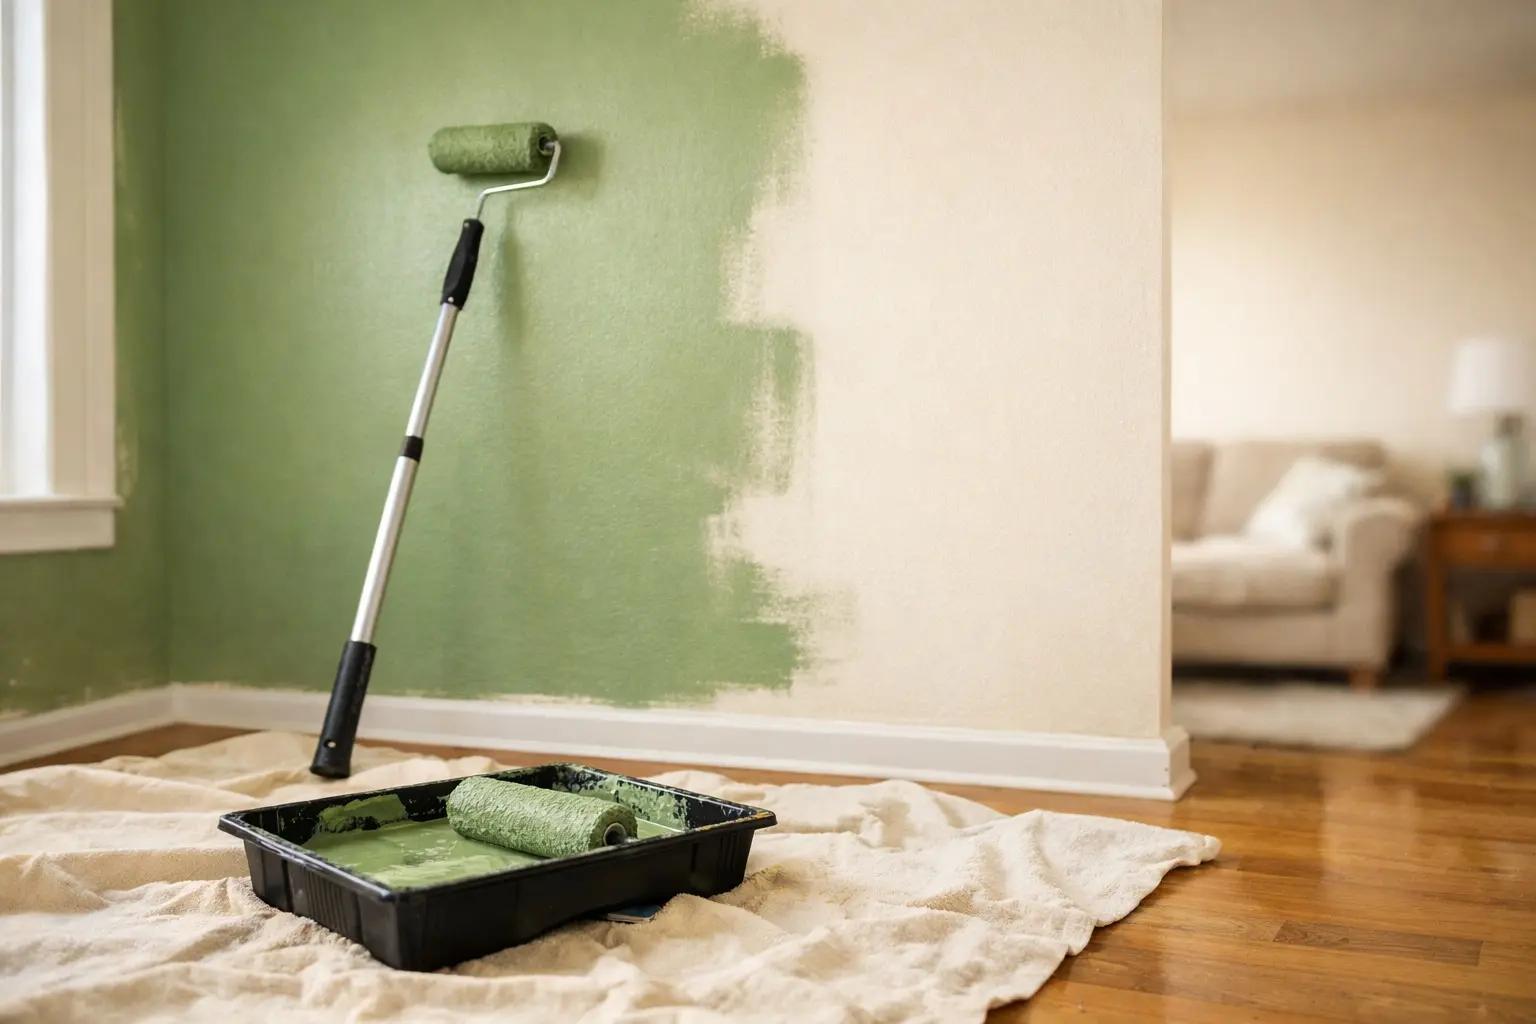
How to Paint a Room
A fresh coat of paint is the fastest, cheapest way to transform any room — and doing it yourself saves $400-800 in labor for an average 12x12-foot bedroom. The job takes a weekend from prep to final coat, and the difference between an amateur-looking result and a professional finish comes down to technique, not talent. This guide covers prep, cutting in, rolling, and cleanup so you get clean lines and even coverage the first time.
 Medium30 min
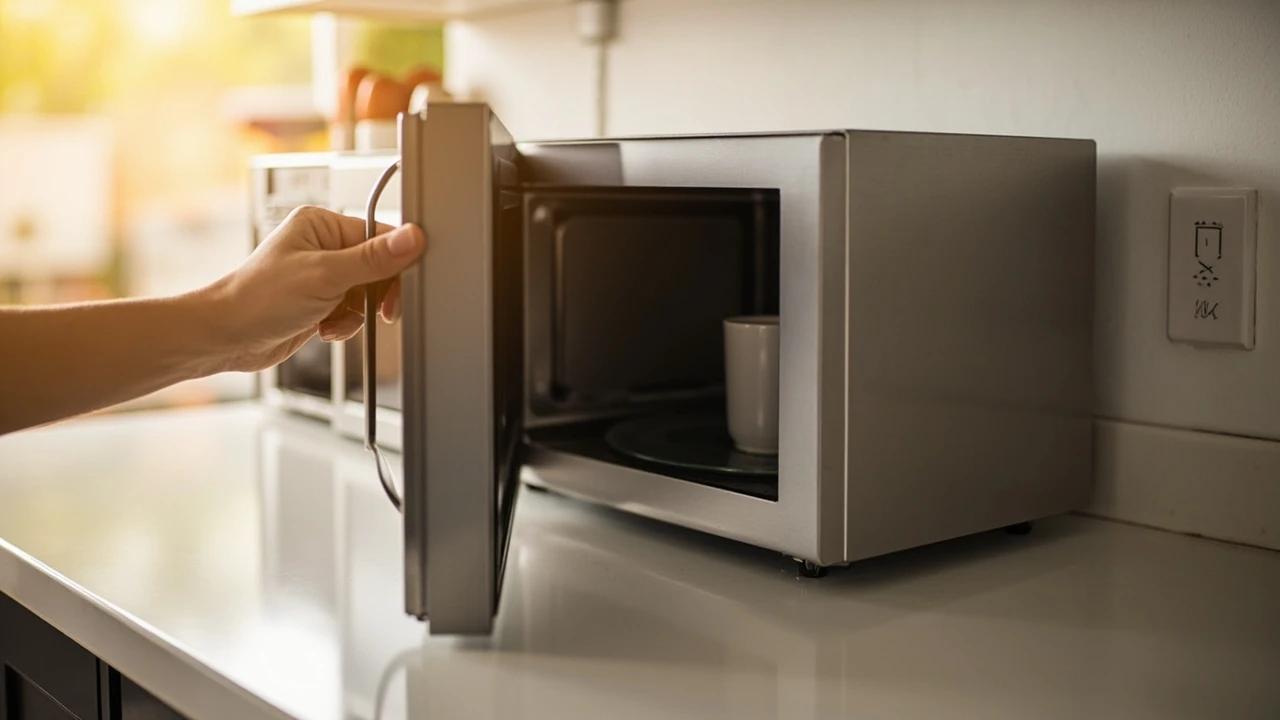
How to Troubleshoot a Microwave That Won't Heat
A microwave that runs — light on, turntable spinning, timer counting down — but leaves food stone cold is one of the most common appliance failures, and about half the time the cause is something you can fix in five minutes for free. This guide walks the diagnosis from the easy stuff (demo mode, power level, a tripped GFCI, a dirty door latch) to reading the failure signature that tells you the high-voltage circuit is gone, then helps you make the repair-or-replace call with real numbers.