How to Aerate and Overseed a Lawn
Compacted soil starves grass roots of air and water, turning a thick lawn thin and patchy over a single season — and professional aeration-plus-overseeding runs $200-400 for an average yard. Renting a core aerator for about $75 and doing it yourself takes a half-day of walking behind a machine, followed by spreading seed into the fresh holes where it gets perfect soil contact. This guide covers timing for cool- and warm-season grasses, proper aerator technique, seed selection, and the critical watering schedule that makes or breaks germination.
What You'll Need
🛠 Tools
📦 Materials
Safety First
- •Mark all sprinkler heads, invisible fence wires, and shallow utility lines with flags before aerating — the tines penetrate 2-3 inches deep and will damage anything in their path.
- •Core aerators are heavy machines (200+ lbs) that pull forward aggressively — keep a firm grip on the handles and never let go while the tines are engaged.
Step-by-Step Instructions
Choose the Right Timing for Your Grass Type
Timing is the single biggest factor in success. For cool-season grasses (Kentucky bluegrass, tall fescue, perennial ryegrass), aerate and overseed in early fall — late August through mid-September — when soil temperatures are still warm (55-65°F) but air temperatures are cooling and rain is more frequent. Early spring (March to mid-April) is a second option but weeds compete harder in spring. For warm-season grasses (Bermuda, Zoysia, St. Augustine), aerate in late spring through early summer when the grass is actively growing and can recover quickly.

Check soil temperature with a thermometer at 4-inch depth two mornings in a row. Consistent readings between 55-65°F mean ideal germination conditions for cool-season seed.
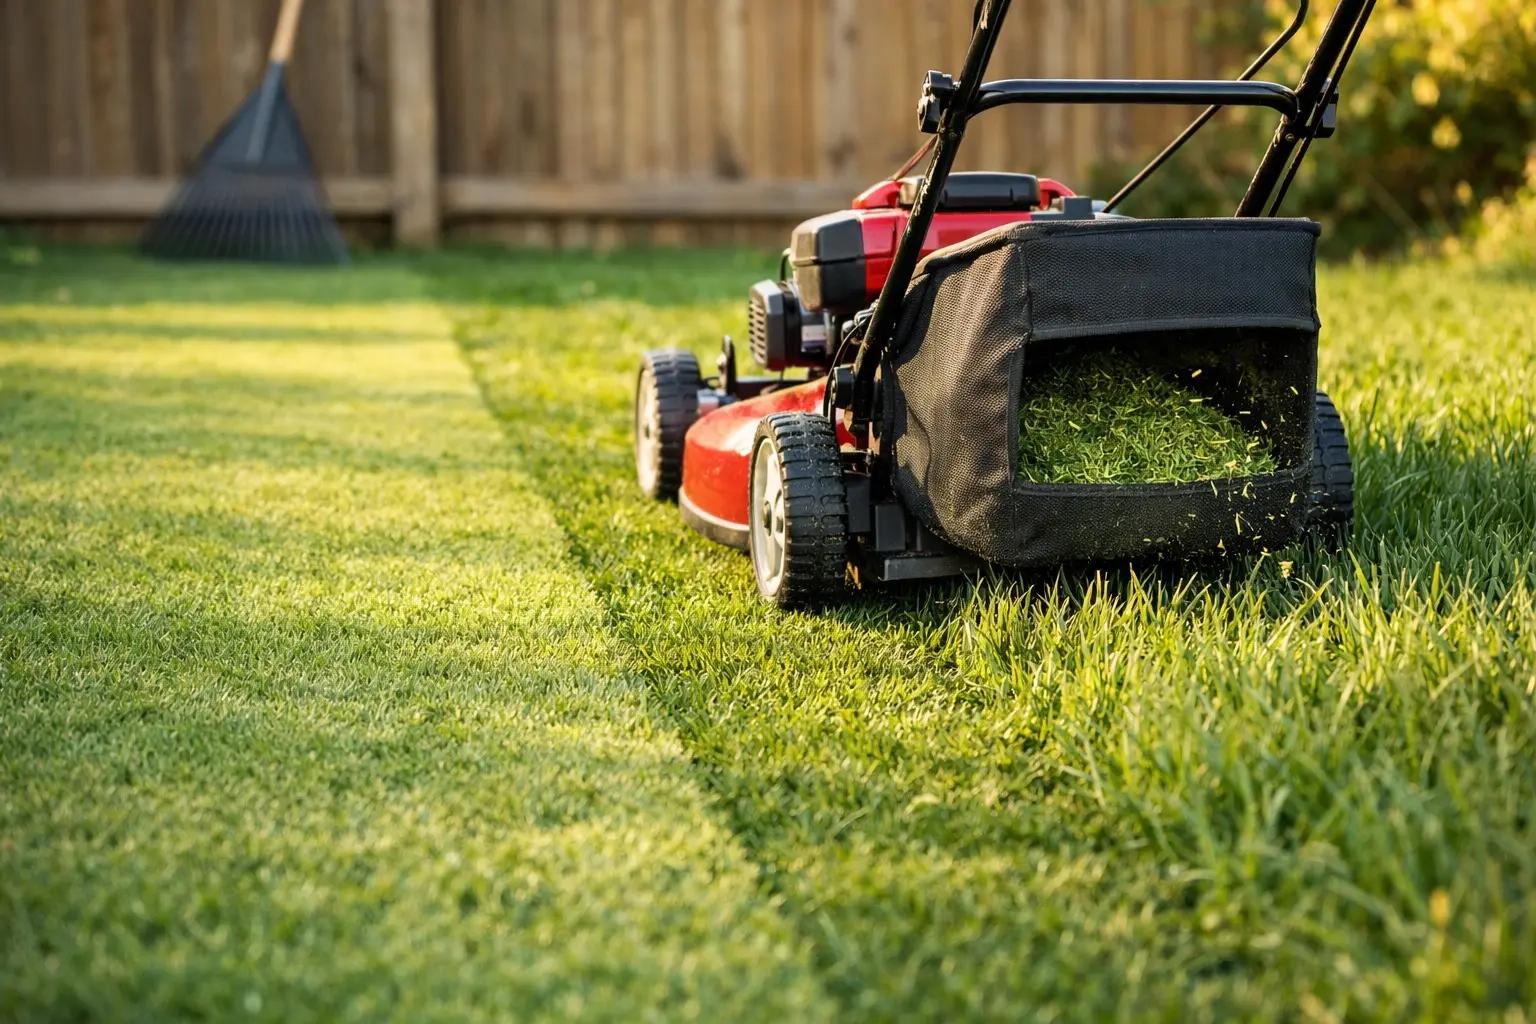
Mow Low and Clear the Lawn
Mow your lawn to about 1.5-2 inches — roughly one notch lower than your normal cutting height. This shorter cut lets the aerator tines penetrate cleanly and gives new seed direct access to sunlight instead of being shaded out by existing grass blades. Bag the clippings rather than mulching so they don't smother the seed later. Rake up any leaves, sticks, or debris. If you have thick thatch (the spongy brown layer between the grass blades and soil), and it's thicker than 1/2 inch, consider dethatching before aerating.
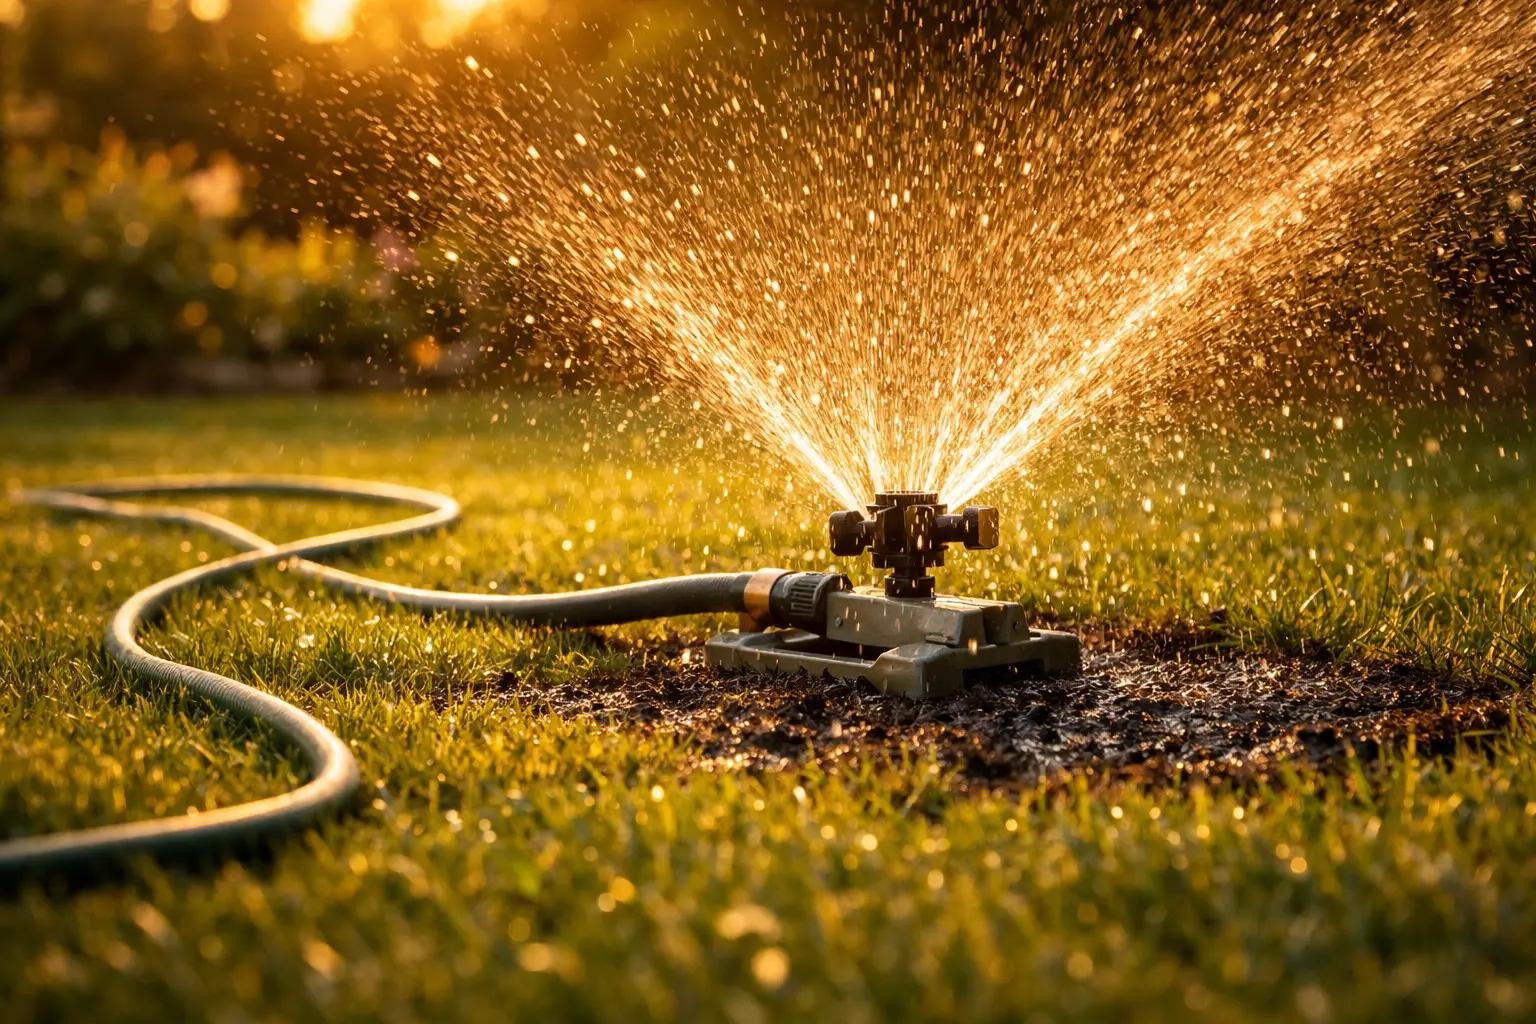
Water the Lawn the Day Before Aerating
Run your sprinklers for about 30-45 minutes the evening before you plan to aerate, or time the job for a day or two after a good rain. The soil should be moist to a depth of 3-4 inches — firm enough to walk on without sinking, but soft enough that you can push a screwdriver into the ground with moderate effort. Aerating bone-dry soil is nearly impossible and damages both the machine and your lawn. Conversely, soggy mud will clog the hollow tines and create a mess rather than clean plugs.
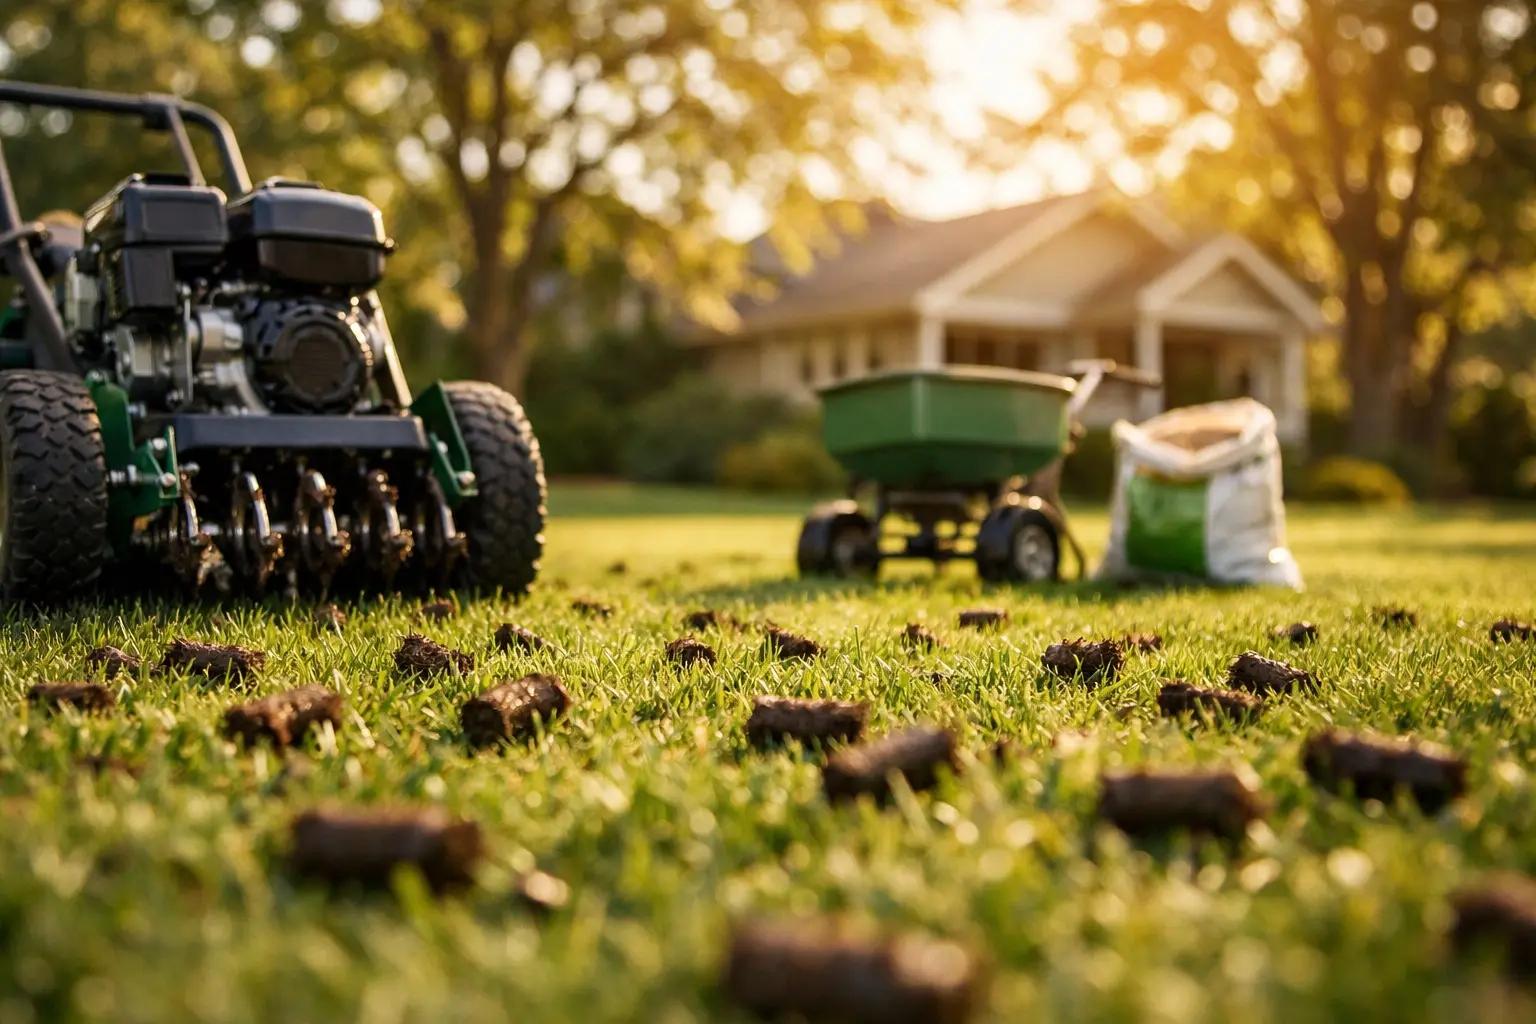
Aerate the Entire Lawn with a Core Aerator
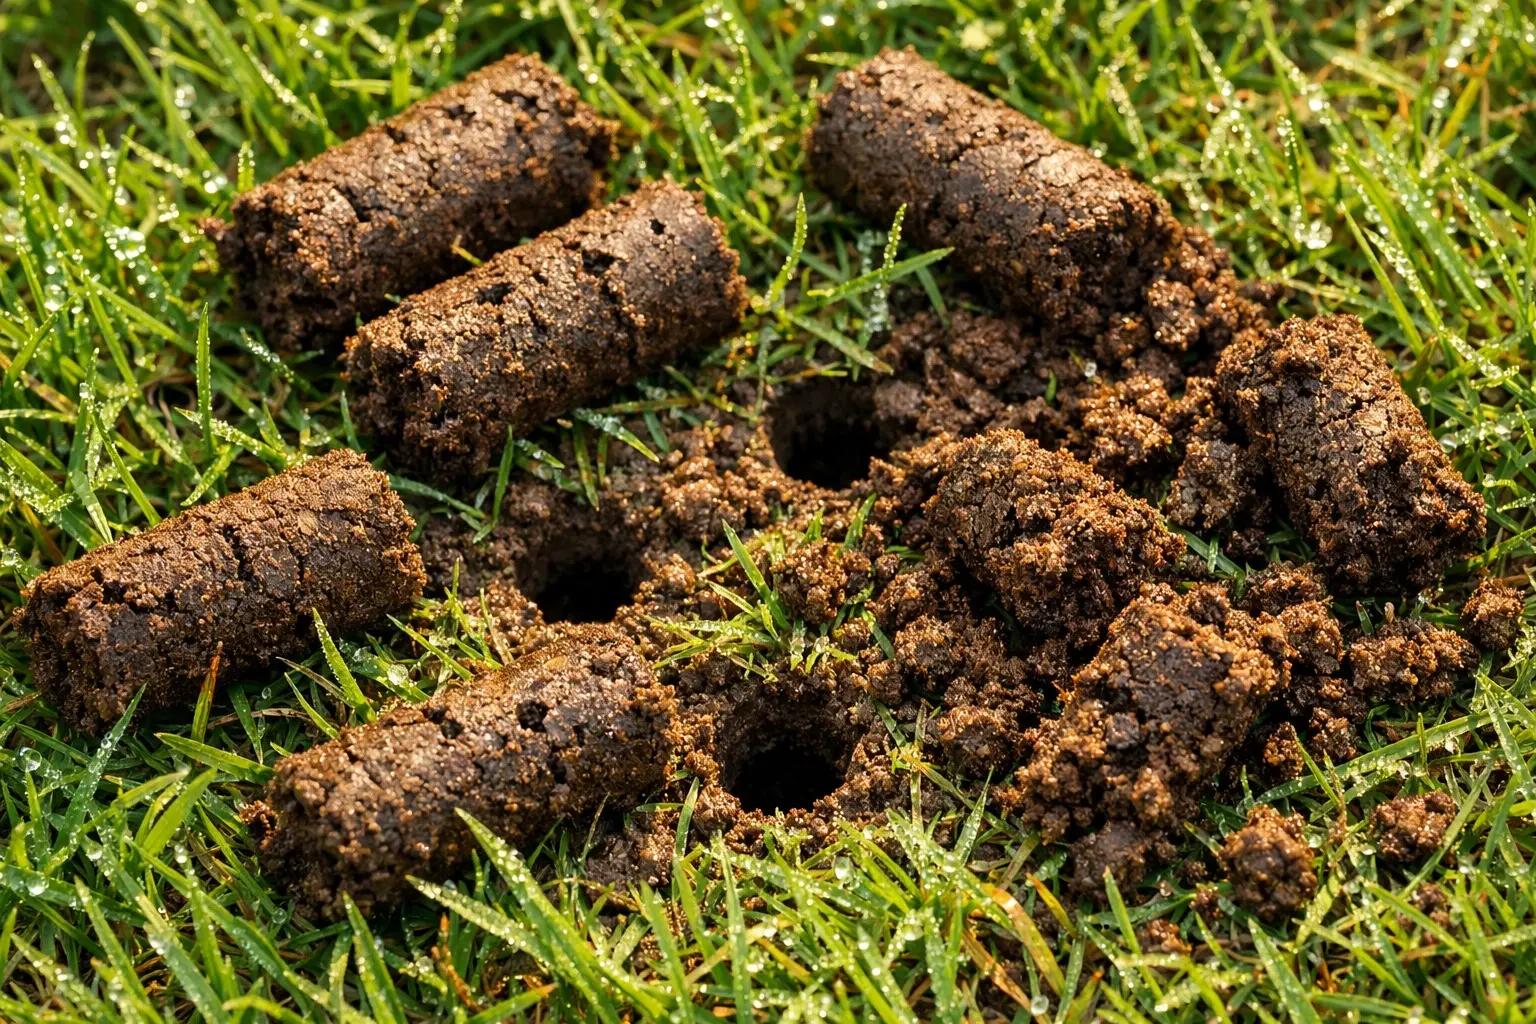
Start at one corner of the lawn and walk the aerator in straight, overlapping passes — just like mowing. The machine will punch hollow tines into the soil and eject small plugs (cores) of soil and thatch onto the surface. Make two complete passes over the entire lawn: the first in one direction (north-south), and the second perpendicular (east-west). This cross-pattern ensures holes every 4-6 inches across the lawn. The cores should be 2-3 inches long — if they're shorter than 1.5 inches, the soil may be too dry or the machine needs adjustment.
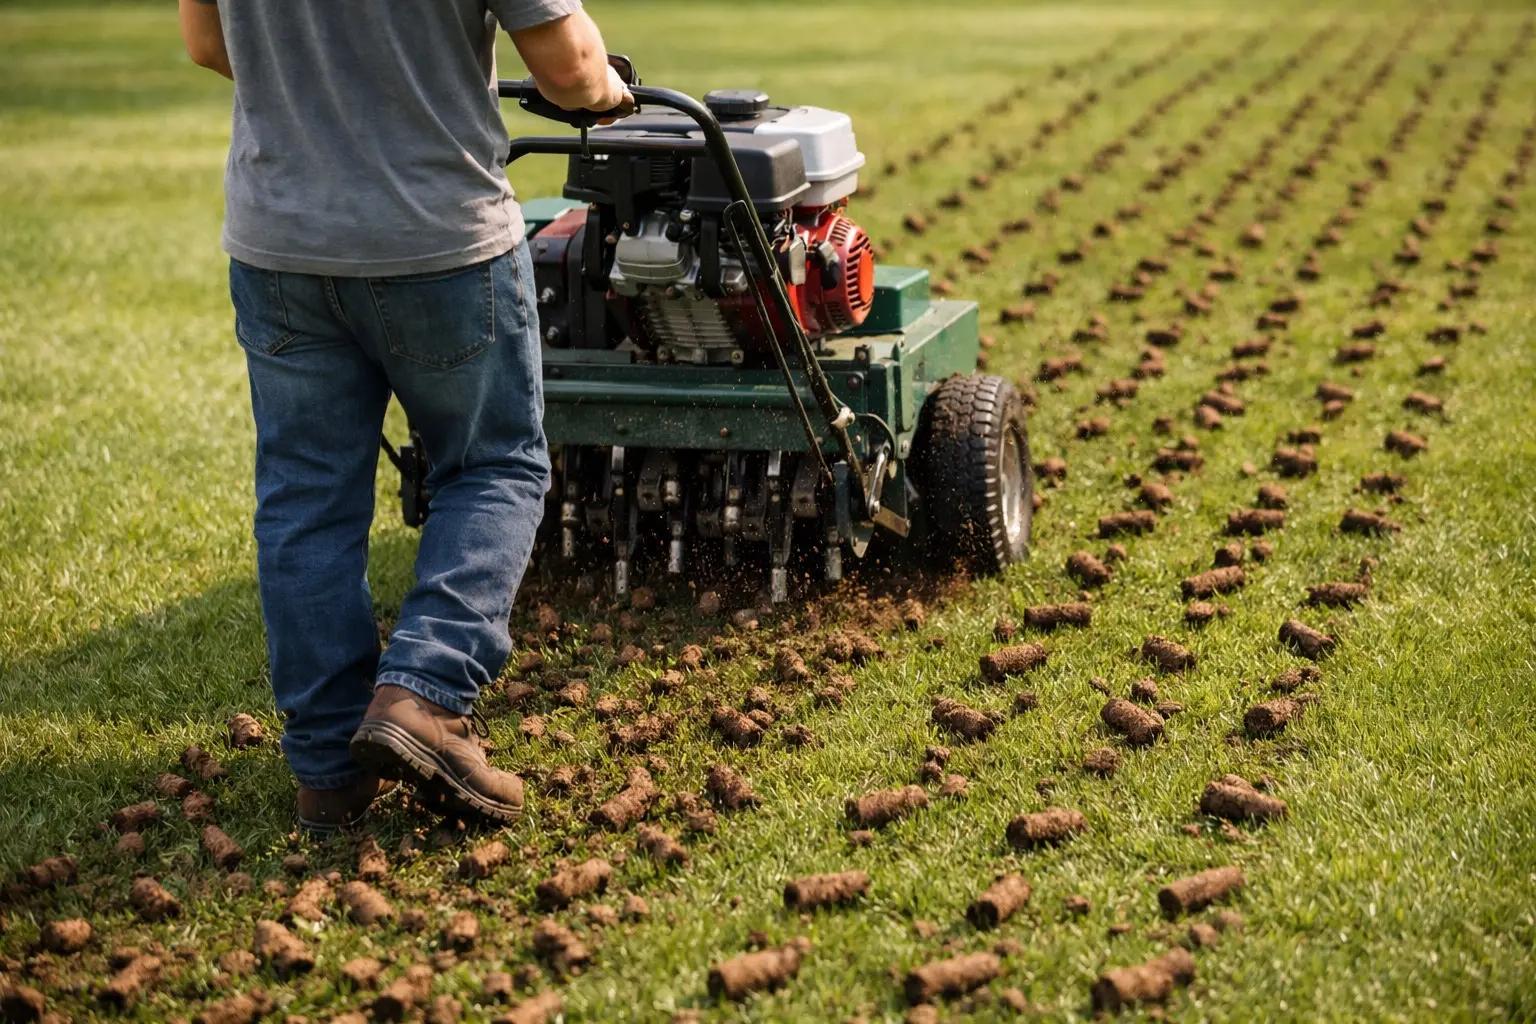
Make extra passes over high-traffic areas like paths, play areas, and spots near downspouts where the soil compacts the most. Three passes on these trouble spots is not overkill.
The aerator will buck when it hits tree roots, rocks, or buried objects. Keep a firm two-handed grip and be prepared to disengage the tines quickly using the handle lever.
Leave the Soil Plugs on the Lawn
The small cylindrical soil plugs scattered across your lawn look messy, but leave them in place. They break down within 1-2 weeks (faster if you run a mower over them to crumble them) and return nutrients and beneficial microorganisms to the soil surface. The decomposing plugs also help break down thatch naturally. If the plugs bother you aesthetically, run the back of a leaf rake lightly over the lawn to break them up — but never bag and remove them.
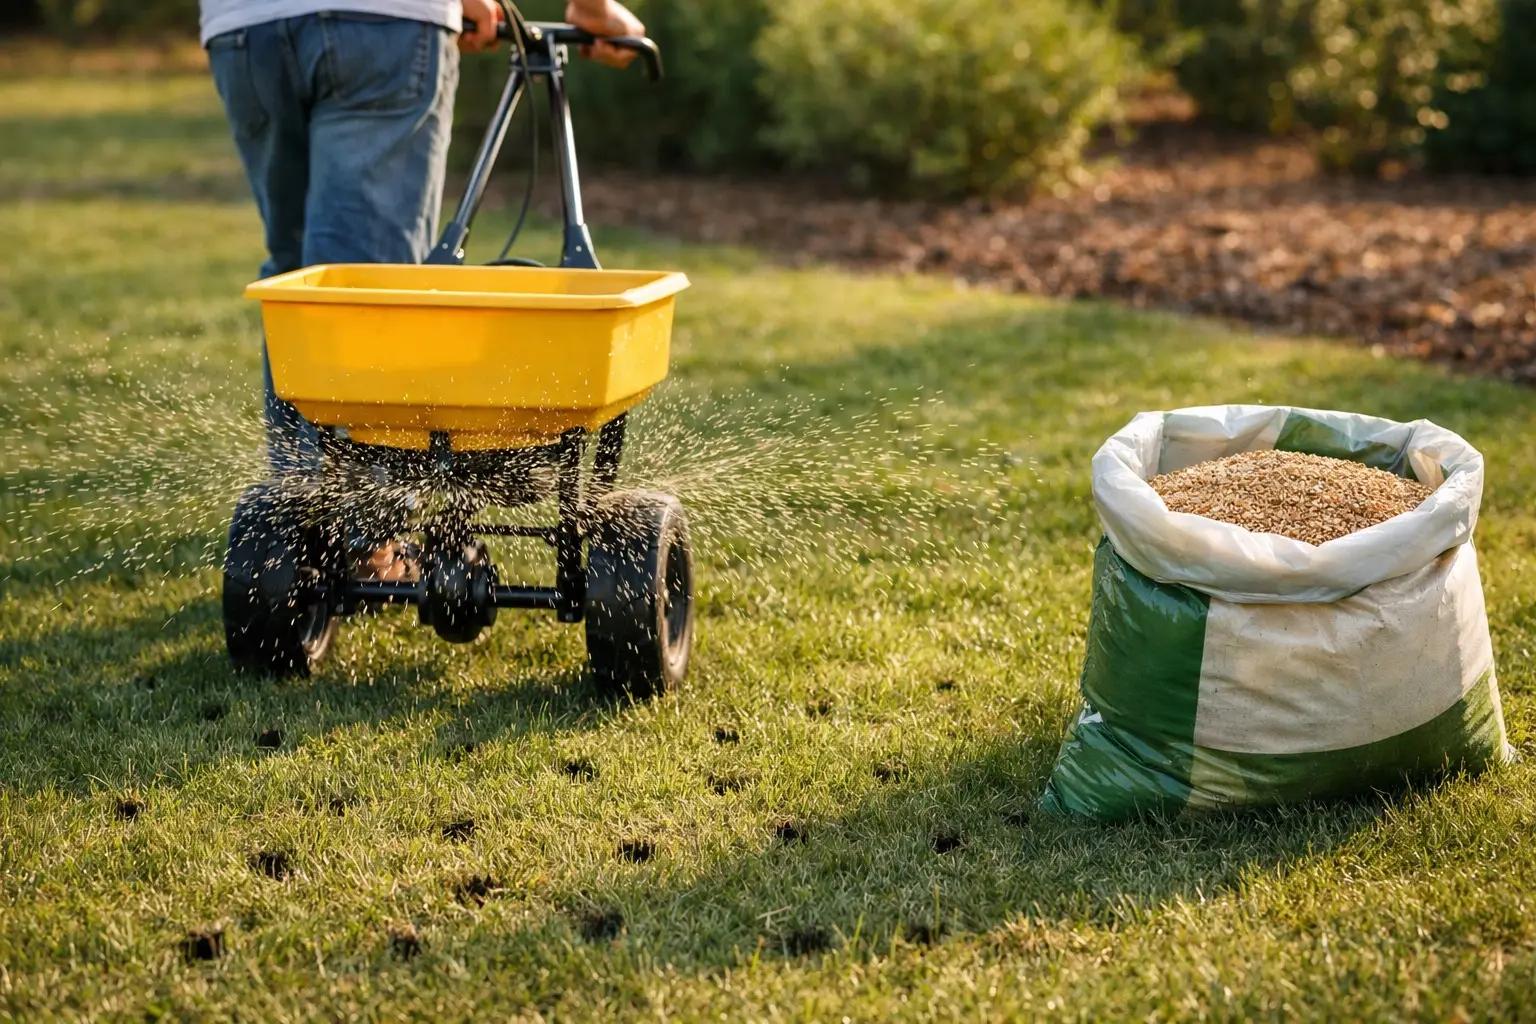
Spread Grass Seed with a Broadcast Spreader
Load your broadcast spreader with grass seed at the overseeding rate on the bag — typically 3-4 pounds per 1,000 square feet (half the rate used for new lawns). Apply half the seed walking in one direction (north-south), then apply the remaining half walking perpendicular (east-west). This crosshatch pattern ensures even coverage with no bare streaks. The seed will fall naturally into the aeration holes where it has perfect soil contact, moisture, and protection from birds. For bare patches larger than 6 inches across, apply seed at the full new-lawn rate.
Buy seed that matches your existing grass species. Check the seed bag label — look for less than 0.5% weed seed and a germination rate above 85%. Avoid "contractor mix" bags that prioritize fast-growing annual ryegrass over permanent turf species.
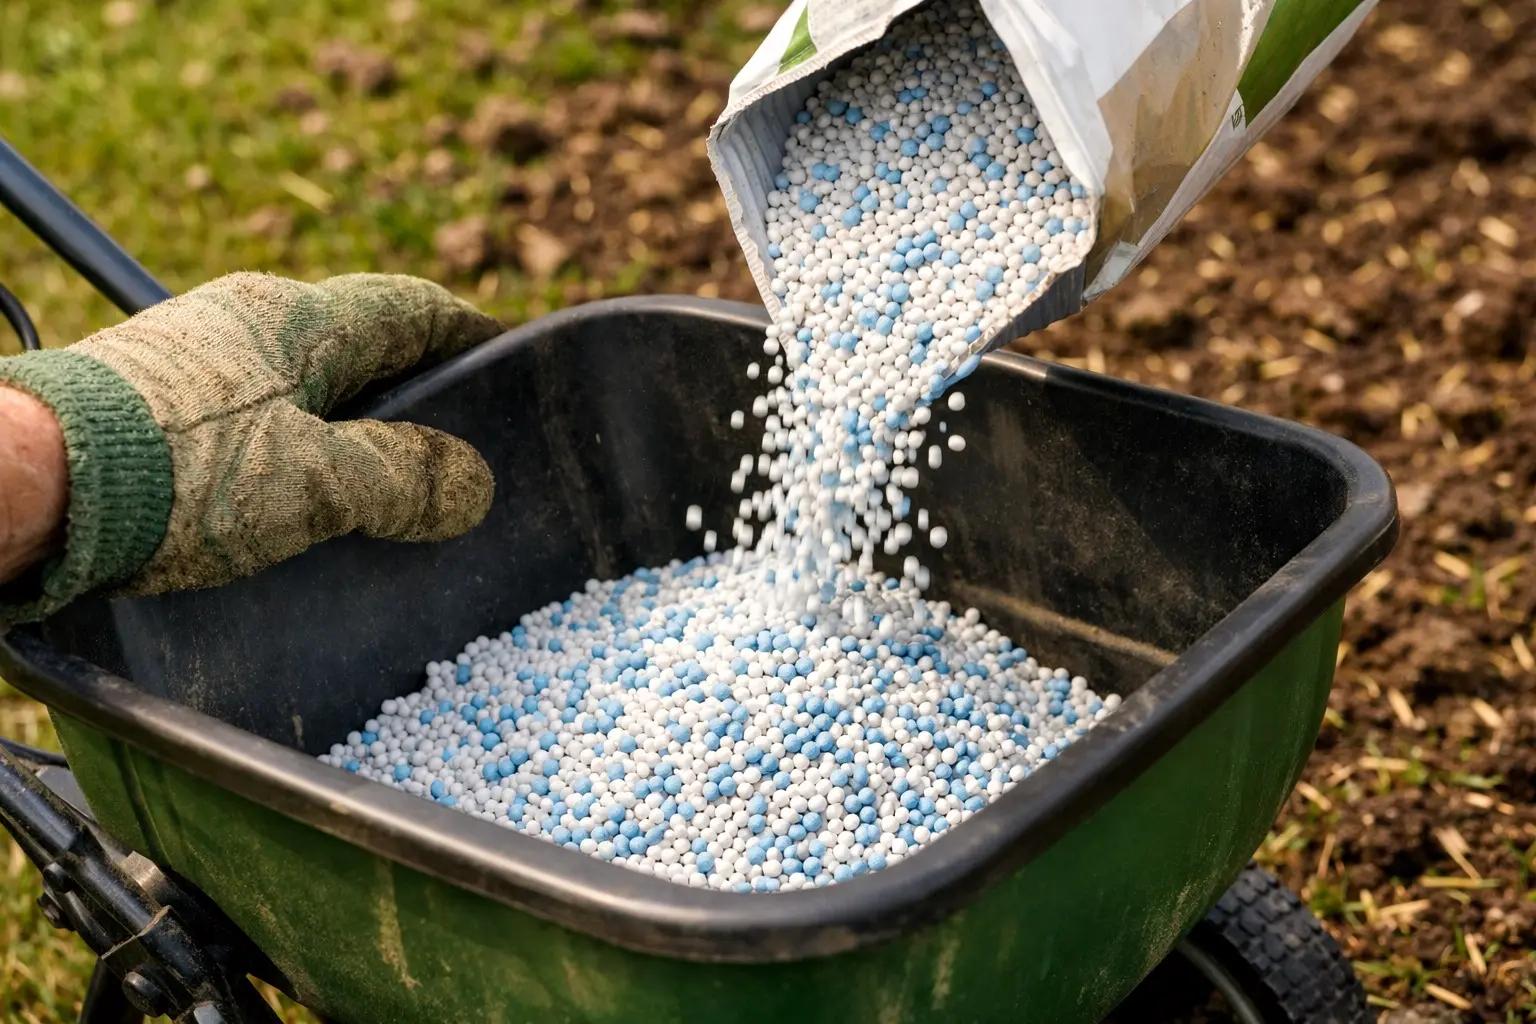
Apply Starter Fertilizer
Immediately after seeding, apply a starter fertilizer with a high middle number (phosphorus) — something like 10-18-10 or a product labeled specifically as "starter fertilizer." Phosphorus promotes root development in new seedlings, which is critical during the first 4-6 weeks. Use your broadcast spreader at the rate listed on the fertilizer bag. Do not apply weed-and-feed or any product containing pre-emergent herbicide — these chemicals prevent all seeds from germinating, including your new grass seed.
Never apply pre-emergent herbicide (crabgrass preventer) within 8 weeks of overseeding. It will kill your new grass seedlings just as effectively as it kills weeds.
Lightly Rake to Improve Seed-to-Soil Contact
Use the back of a leaf rake or a flexible tine rake to gently drag across the lawn surface. This works loose seed down into the aeration holes and scratches it into the top 1/4 inch of soil between the holes. Don't rake aggressively — you're not trying to move soil, just nudge the seed into contact with it. For bare or thin patches, spread a thin layer (1/4 inch) of peat moss, compost, or topsoil over the seed to hold moisture and protect against birds. Straw mulch works too — one bale covers roughly 1,000 square feet at the right thickness.

Water Consistently for the First Three Weeks
This step makes or breaks the entire project. For the first 7-10 days, water lightly twice a day — once in the early morning and once in the late afternoon — keeping the top inch of soil consistently moist but never puddled. Each session should run about 10-15 minutes per zone. After seedlings emerge (usually 7-14 days depending on grass type), reduce to once daily for another week, then transition to deeper, less frequent watering (about 1 inch per week total). New grass seedlings have tiny roots and will die within hours if the soil surface dries out during the first two weeks.

Set a phone timer for your watering sessions. The most common reason overseeding fails is forgetting to water on day 5 or 6 when the seeds have swelled but haven't yet sprouted — one dry afternoon can kill the entire batch.
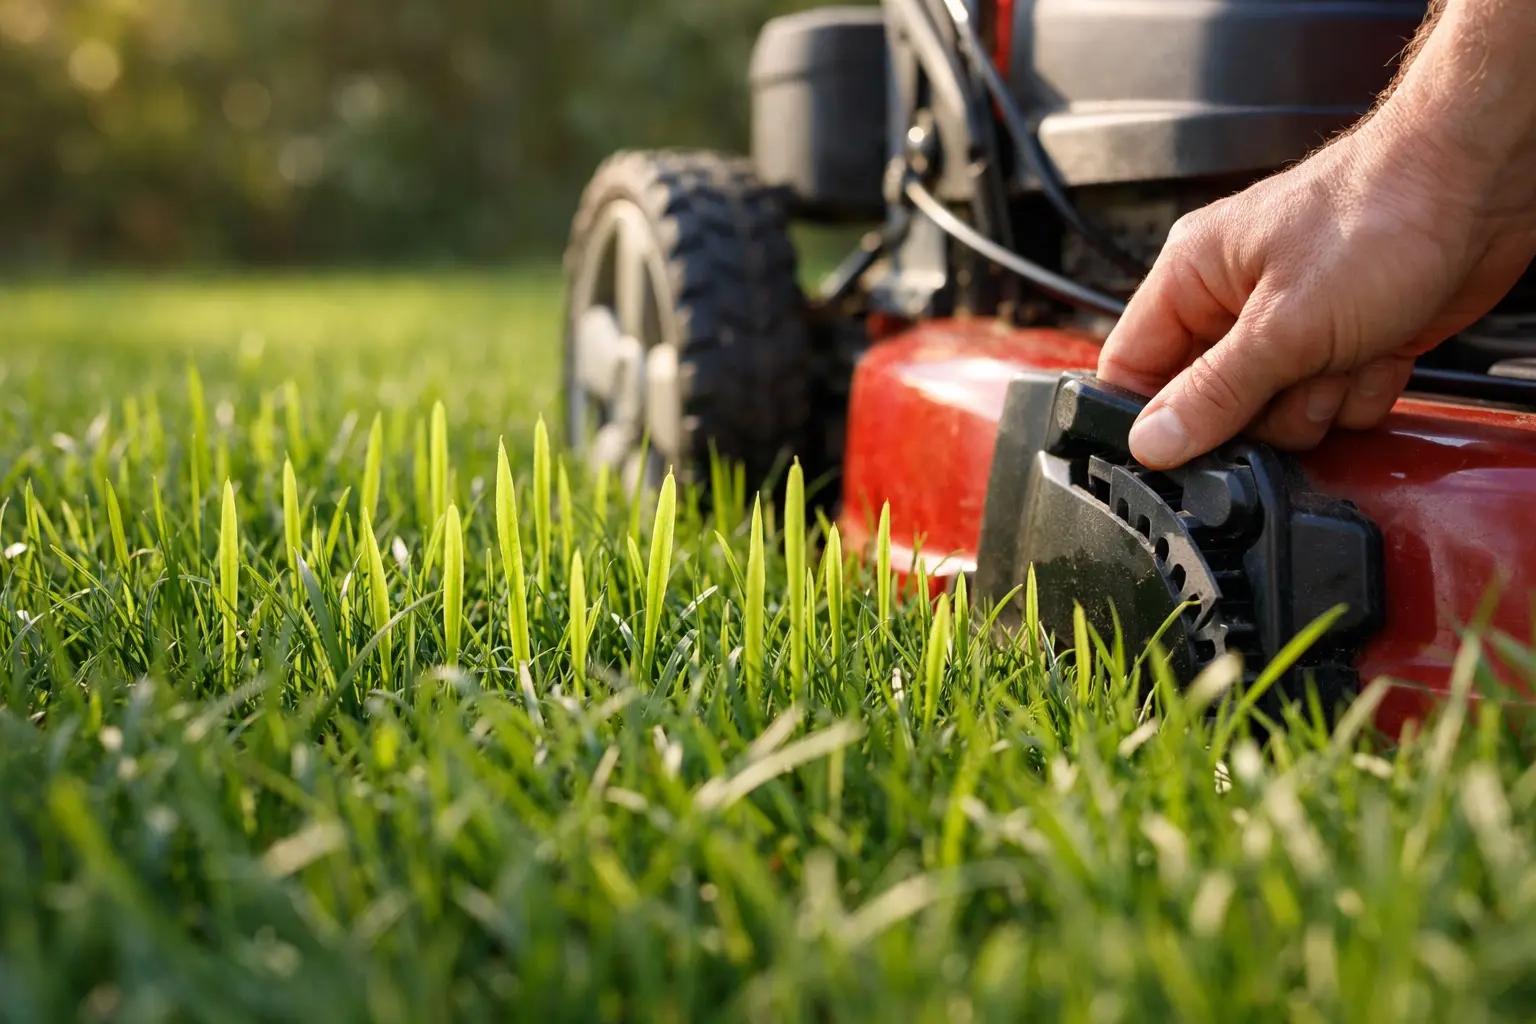
Wait to Mow Until New Grass Reaches 3-4 Inches
Resist the urge to mow for at least 3-4 weeks after overseeding. Wait until the new grass seedlings are 3-4 inches tall before the first cut, and even then, set your mower to the highest setting and remove no more than one-third of the blade height. Mowing too soon or too short pulls up seedlings that haven't rooted firmly. Stay off the lawn as much as possible during this establishment period — foot traffic, pets, and mower wheels compact the soil you just aerated and crush young seedlings.
Frequently Asked Questions
How long does it take to aerate and overseed a lawn?
+
This project typically takes about 3 hrs. The guide includes 10 steps with detailed instructions for each.
What tools do I need?
+
You will need: Core aerator (rent from home center — hollow-tine, not spike), Broadcast spreader (or drop spreader for small lawns), Leaf rake or flexible tine rake, Garden hose with sprinkler attachment, Lawn mower, Soil pH test kit, Tape measure. Materials include: Grass seed (overseeding rate varies by type — about 1-2 lbs per 1,000 sq ft for Kentucky bluegrass, 3-4 for tall fescue, 5-8 for perennial ryegrass; follow the bag), Starter fertilizer (high phosphorus, e.g., 10-18-10), Peat moss or straw mulch (optional, for thin areas), Topsoil or compost (optional, for bare patches).
Is this a good project for beginners?
+
This is a moderate-difficulty project. Some basic DIY experience is helpful, but the step-by-step instructions make it approachable for motivated beginners.
Community Tips
💬 Sign in to share tips with the community
Sources & further reading
- Core Aeration of Lawns — Iowa State University Extension
- When is the best time to aerate a lawn? — Iowa State University Extension
- Lawn Establishment — Penn State Extension
More Gardening Guides
View all → Easy1 hr
How to Control Grubs and Lawn Pests
White grubs — the C-shaped larvae of Japanese beetles, June bugs, and chafers — are the number one underground lawn pest in North America, and a heavy infestation can destroy an entire lawn in a single season by severing grass roots just below the surface. The good news is that a single well-timed application of preventive grub control in late spring or early summer eliminates 75-100% of grubs before they cause damage, and the whole job takes under an hour with a broadcast spreader. This guide covers confirming you actually have a grub problem, choosing between preventive and curative treatments, applying the product correctly, and maintaining a grub-resistant lawn year after year.
 Easy3 hrs
Spring Lawn Care Checklist
What you do to your lawn in the first six weeks of spring determines its health for the entire growing season. Follow this sequence to fix winter damage, encourage deep roots, and crowd out weeds before they establish.
 Easy1 hr
How to Start a Compost Bin
Composting converts kitchen scraps and yard waste into rich, free fertilizer that dramatically improves garden soil. Setup takes under an hour and once running, the bin requires minimal effort for big rewards.
You Might Also Like
 Medium1 hr
How to Fix Low Water Pressure
Weak, trickling water usually has a cheap, findable cause — a clogged aerator, a half-closed valve, or a tired pressure-reducing valve — long before it means re-piping the house. This guide walks the diagnosis in order: first pin down whether it's one fixture or the whole house (and hot-only or both), then work each cause with a $12 pressure gauge as your guide. Most fixes are free or under $30; you'll also learn the few signs that mean it's time to call a plumber.
 Medium45 min
How to Install a Ceiling Fan
Replacing a light fixture with a ceiling fan improves air circulation in summer and can reduce heating costs in winter by circulating warm ceiling air downward. Most installs take 45-60 minutes.
 Medium30 min
How to Troubleshoot a Microwave That Won't Heat
A microwave that runs — light on, turntable spinning, timer counting down — but leaves food stone cold is one of the most common appliance failures, and about half the time the cause is something you can fix in five minutes for free. This guide walks the diagnosis from the easy stuff (demo mode, power level, a tripped GFCI, a dirty door latch) to reading the failure signature that tells you the high-voltage circuit is gone, then helps you make the repair-or-replace call with real numbers.