How to Paint a Concrete Garage Floor
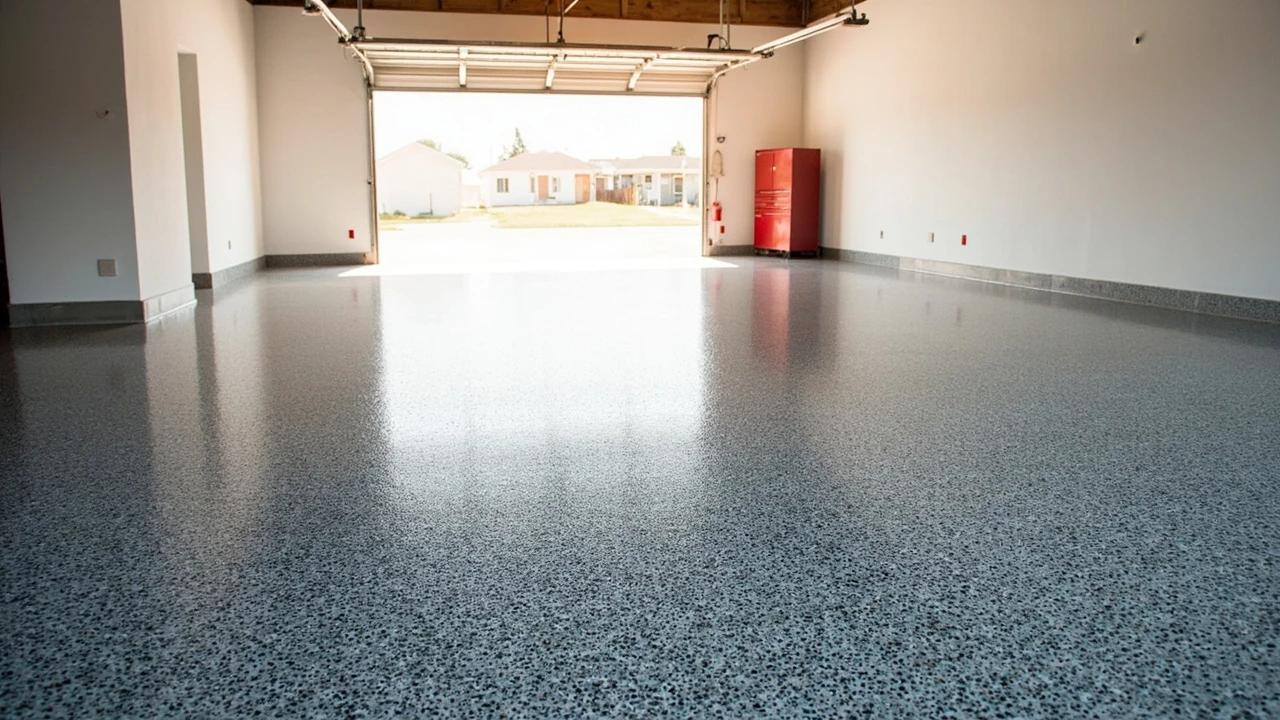
A two-part epoxy coating transforms a stained, dusty garage slab into a showroom-quality floor that shrugs off oil, tire marks, and road salt for years. The paint is the easy part — 80% of failed jobs come from skipping prep, so this guide walks you through moisture testing, etching, and coating like a pro over a weekend.
What You'll Need
🛠 Tools
📦 Materials
Safety First
- •Muriatic acid and etching solutions cause severe burns — always wear goggles, rubber gloves, long sleeves, and rubber boots, and neutralize spills with baking soda.
- •Epoxy fumes are strong and can linger for hours — open the garage door, run fans, and wear an organic-vapor respirator while mixing and applying.
- •Never coat a floor over a concrete slab that tests positive for moisture — hydrostatic pressure will lift the coating off in sheets within weeks. New concrete must also cure at least 28 days (longer is better) before any epoxy goes down.
Step-by-Step Instructions
Test the Slab for Moisture
Tape an 18-inch square of clear plastic sheeting flat to the concrete, sealing all four edges with painter's tape. Leave it for 16–24 hours, then peel it back — if you see condensation underneath or the concrete below is visibly darker than the surrounding slab, the floor is too wet to coat. Epoxy bonded over a damp slab will fail within weeks from hydrostatic pressure.

Run the test in the same season you plan to coat — a slab that's dry in August may weep badly during a wet spring.
If the test shows moisture, stop here. You'll need to address the source (downspouts, grading, vapor barrier) before any coating will stick.
Clear the Garage and Repair Damage
Move every tool, shelf, and box out so you have bare concrete wall-to-wall. Sweep with a push broom, vacuum the corners and expansion joints with a shop vac, and inspect the slab under bright light for cracks, spalls, and pitted areas. Trowel in a concrete crack filler or patching compound on anything wider than a hairline, feather it flush with the surface, and let it cure per the label (usually 4–8 hours).

A dollar-store chalk stick makes it easy to circle every defect before you start patching so you don't miss one.
Degrease Oil and Tire Stains
Dilute a concrete degreaser per the label (usually 1 part degreaser to 4 parts hot water) in a 5-gallon bucket. Pour it onto stained areas and scrub vigorously with a stiff-bristle brush on an extension pole, working in 4x4-foot sections. Rinse thoroughly with a pressure washer or garden hose, squeegee the water out, and repeat on any spots where water still beads — beading means oil is still present and epoxy will "fisheye" over it.

For stubborn oil stains, sprinkle kitty litter, grind it in with your foot, sweep it up, then degrease — the clay draws out deep soaking before you scrub.
Etch the Concrete Surface
Pre-wet the floor with a hose until the surface is uniformly damp but not puddled. Working in 10x10-foot sections, pour the etching solution from a plastic watering can and scrub it in with the long-handled brush for 10–15 minutes, keeping the surface wet the whole time. You want the concrete to feel like 120-grit sandpaper when it dries — if it still feels smooth, etch it again. Rinse two or three times with clean water until the rinse runs clear and pH-neutral.

Muriatic acid and etching solutions cause severe chemical burns and respiratory irritation — wear goggles, long sleeves, rubber gloves, and a respirator, and keep baking soda nearby to neutralize spills.
Dry the Slab Completely
Squeegee out all standing water and let the concrete air-dry for a full 24 hours with the garage door open and a box fan running. The slab must be bone-dry before coating — even a slightly damp surface will trap vapor under the epoxy and cause pinholes or adhesion failure. While you wait, mask the walls, baseboards, and the garage door threshold with painter's tape and plastic sheeting.

Coat only when the forecast is between 60°F and 80°F with humidity under 70% — epoxy is picky about temperature and won't cure properly outside that window.
Mix the Two-Part Epoxy
Pour all of Part A (resin) into a clean 5-gallon bucket. Shake Part B (hardener) for a full 2–3 minutes, then pour it into the resin. Using a drill-mounted mixing paddle on low speed, stir for 3 minutes, scraping the sides and bottom of the bucket, until the color is completely uniform with no streaks. Once combined, you have a limited "pot life" (typically 45–60 minutes for water-based kits, 30–40 minutes for solvent-based) before the epoxy starts to set — have everything else ready before you mix.

Once Parts A and B are combined, the clock is running — if you mix and then take a lunch break, the bucket will set into a solid brick.
Cut In the Edges with a Brush
Starting at the back of the garage, use a 3-inch nylon brush to cut in a 4-inch border along every wall, post, and expansion joint. Work in sections you can roll over within 10 minutes so the brushed edge stays wet and blends seamlessly — a dried edge will telegraph through as a visible stripe in the final coat. Load the brush generously; epoxy should flow, not drag.

Roll the First Coat and Broadcast Flakes
Pour the epoxy into a lined paint tray and load a 3/8-inch nap shed-resistant roller. Roll the coating onto the floor in 4x4-foot sections using a "W" pattern, then back-roll in straight lines to even it out, working from the back of the garage toward the open door. Immediately while the coating is wet, toss handfuls of decorative flakes up and outward so they fall like snow for even coverage — don't throw them straight down or you'll get clumps.

Always roll backward toward the exit — it's shockingly easy to paint yourself into a corner with fast-setting epoxy.
Let the First Coat Cure and Apply the Topcoat
Leave the first coat undisturbed for the time listed on your kit (typically 12–24 hours) until it's hard to the touch. Sweep off any loose flakes, then mix a fresh batch of epoxy or the clear topcoat included with the kit, and repeat the cut-in and roll process for a second coat. The second coat locks the flakes in, evens out the color, and is what gives the floor its deep, glossy showroom finish.

Cure Before Returning the Cars
Keep the garage door cracked for ventilation and let the floor cure undisturbed. Foot traffic is usually safe after 10–16 hours, you can move light furniture back after 24–36 hours, but wait a full 7 days before driving a car onto the floor — hot tires will lift a fresh coating and leave permanent marks. Peel the masking tape while the topcoat is still slightly tacky for a clean line.

Place cardboard or plastic mats under the tires for the first month — this gives the coating extra time to reach full chemical hardness before facing hot rubber.
Frequently Asked Questions
How long does it take to paint a concrete garage floor?
+
This project typically takes about 24 hrs. The guide includes 10 steps with detailed instructions for each.
What tools do I need?
+
You will need: Push broom, Shop vacuum, Pressure washer or garden hose with high-pressure nozzle, Stiff-bristle scrub brush with extension pole, 5-gallon bucket, Rubber squeegee, Plastic sheeting and tape (for moisture test), Concrete crack repair trowel, 3-inch nylon brush, 3/8-inch nap shed-resistant roller cover, Roller frame with extension pole, Paint tray with liners, Painter's tape, Drill with mixing paddle, Chemical-resistant rubber gloves, Safety goggles, Respirator (with organic vapor cartridges), Rubber boots. Materials include: Two-part epoxy garage floor coating kit (covers ~450 sq ft per kit), Concrete degreaser, Concrete etching solution (or muriatic acid), Concrete crack filler / patch compound, Decorative color flakes (usually included with kit), Clean lint-free rags, Clean water, Garbage bags for disposal.
Is this a good project for beginners?
+
This is an advanced project that requires some prior DIY experience. Read through all the steps and safety warnings before starting, and consider consulting a professional if you are unsure.
Community Tips
💬 Sign in to share tips with the community
Sources & further reading
- How To Apply an Epoxy Coating to a Garage Floor — This Old House
- How to Paint a Garage Floor By Applying Epoxy (DIY) — Family Handyman
More Painting Guides
View all → Easy20 min
Best Paint for Kitchen Cabinets, Compared
The four paints that actually hold up to daily kitchen use are Benjamin Moore Advance, Sherwin-Williams Emerald Urethane Trim Enamel, INSL-X Cabinet Coat, and Behr Urethane Alkyd. They all work; they each fail in different ways. This guide compares cure time, leveling, scratch resistance, and price so you pick the one that matches your skill level and timeline — not the one a paint-store clerk has the most stock of.
 Easy3 hrs
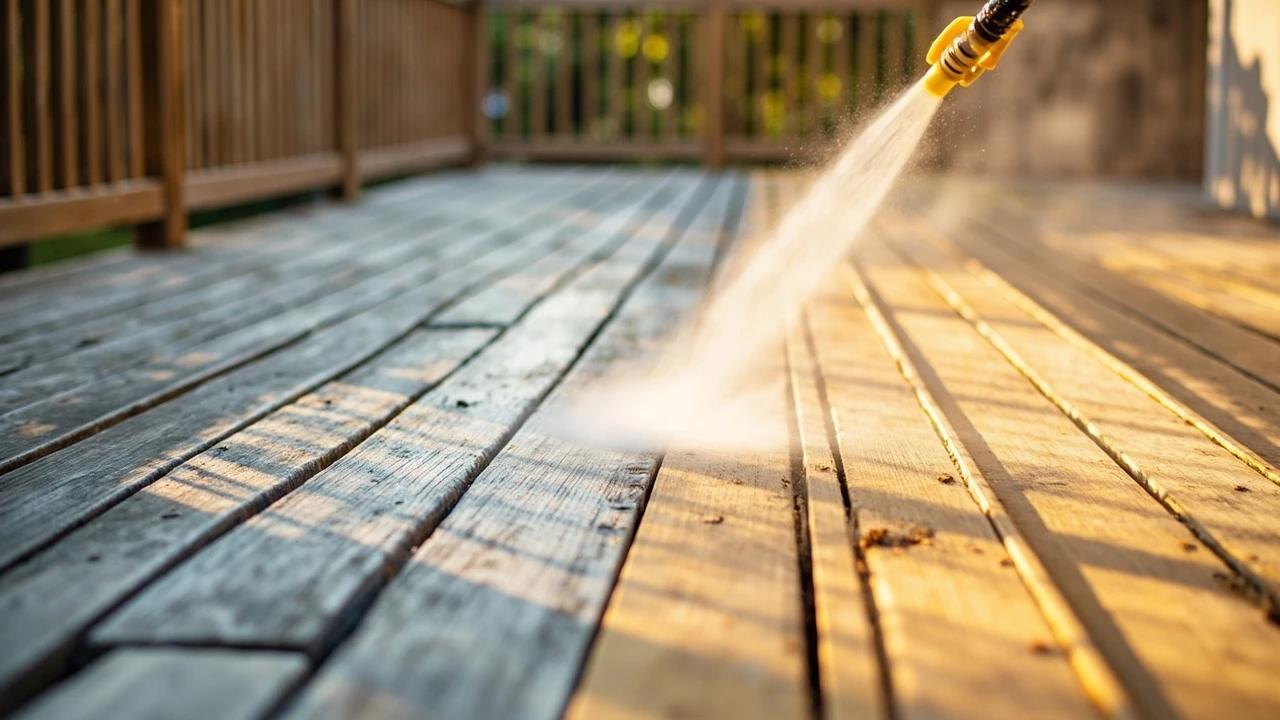
How to Power Wash a Deck Before Staining
A deck that has not been pressure-washed before staining will fail the new stain within 12 months — dirt, mildew, and old stain residue prevent proper penetration. But too much pressure gouges softwood boards permanently. This guide covers the right PSI range, nozzle choice, wand technique, and the 48-hour dry window before staining that determines whether the new finish lasts 2 years or 5.
 Medium30 min
The Cut-In Technique — Clean Paint Lines Without Tape
Cutting in is the painter's skill that separates "I painted my own house" from "I had a painter do it." A clean cut-in line at the ceiling, baseboard, or trim eliminates the need for painter's tape entirely — and tape leaves bleed lines anyway. This guide covers the 2.5-inch angled sash brush technique: how to load the brush, hold it, position your body, and bring it to the edge so the line is straight without any tape.
You Might Also Like
 Easy3 hrs
Spring Lawn Care Checklist
What you do to your lawn in the first six weeks of spring determines its health for the entire growing season. Follow this sequence to fix winter damage, encourage deep roots, and crowd out weeds before they establish.
 Easy1 hr
How to Start a Compost Bin
Composting converts kitchen scraps and yard waste into rich, free fertilizer that dramatically improves garden soil. Setup takes under an hour and once running, the bin requires minimal effort for big rewards.
 Medium2 hrs
How to Prune Fruit Trees
Regular pruning is the most important annual task for fruit tree health and productivity. Properly pruned trees produce larger, higher-quality fruit, resist disease better, and live significantly longer than unpruned trees.