How to Mulch Flower Beds Properly

A 2-3 inch layer of mulch suppresses weeds, holds moisture in the soil through summer heat, and gives a bed that clean, finished look that makes the whole yard pop — but most homeowners do it wrong, piling mulch into volcanoes around tree trunks or laying it so thick it smothers roots. Done right, a weekend of mulching costs $50-150 for an average front yard, lasts 8-12 months, and cuts garden watering in half.
What You'll Need
🛠 Tools
📦 Materials
Step-by-Step Instructions
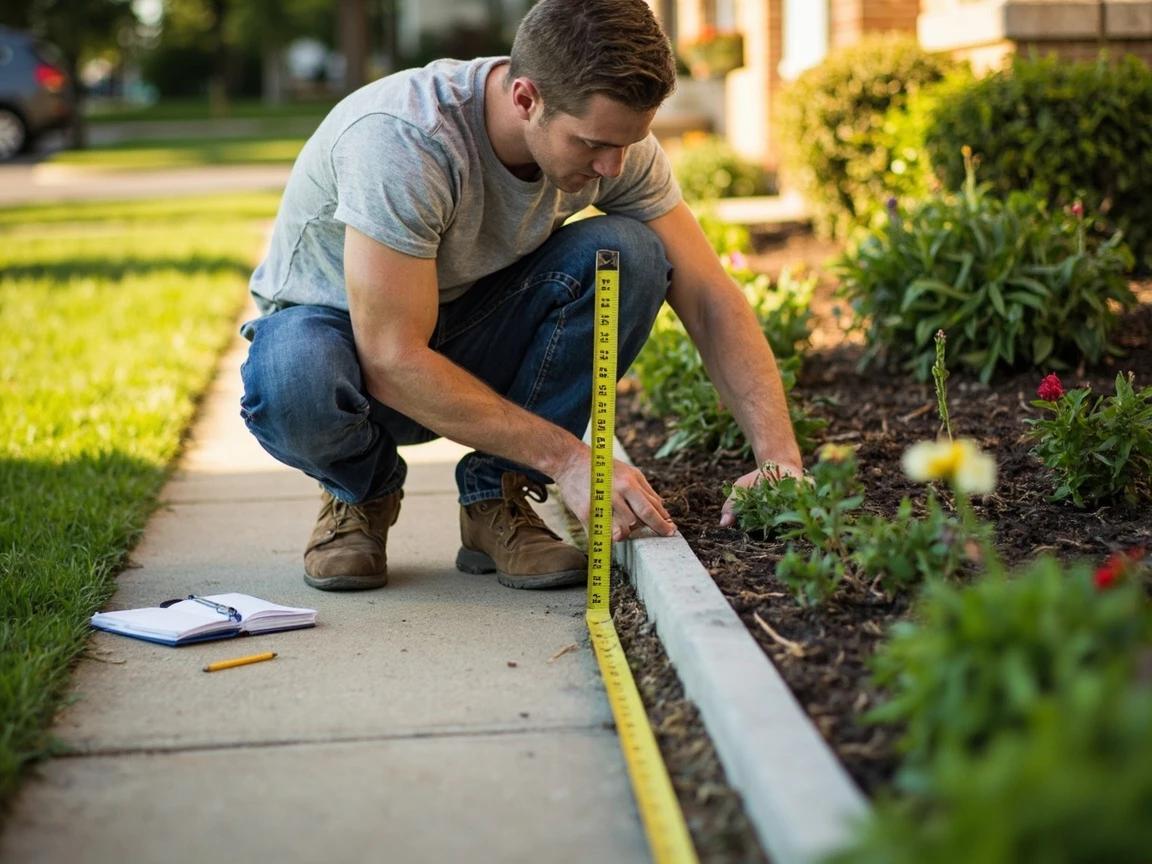
Measure the Bed and Calculate How Much Mulch You Need
Before you buy anything, measure the length and width of each bed in feet and multiply to get the square footage. The math for mulch is simple: 1 cubic yard covers 108 sq ft at 3 inches deep, or about 162 sq ft at 2 inches. A standard 2-cubic-foot bag of mulch covers about 8 sq ft at 3 inches. Add 10% extra for settling and corners. For projects over 500 sq ft, buying bulk mulch by the cubic yard is 40-60% cheaper than bagged — most landscape supply yards will deliver for a small fee.
Write down the bed dimensions once and save them — when you re-mulch next year, you will not have to re-measure. Most homeowners use slightly less mulch each year as the old layer breaks down and only needs a 1-inch top-off instead of a fresh 3-inch application.
Clear the Bed of Debris, Weeds, and Old Mulch Lumps
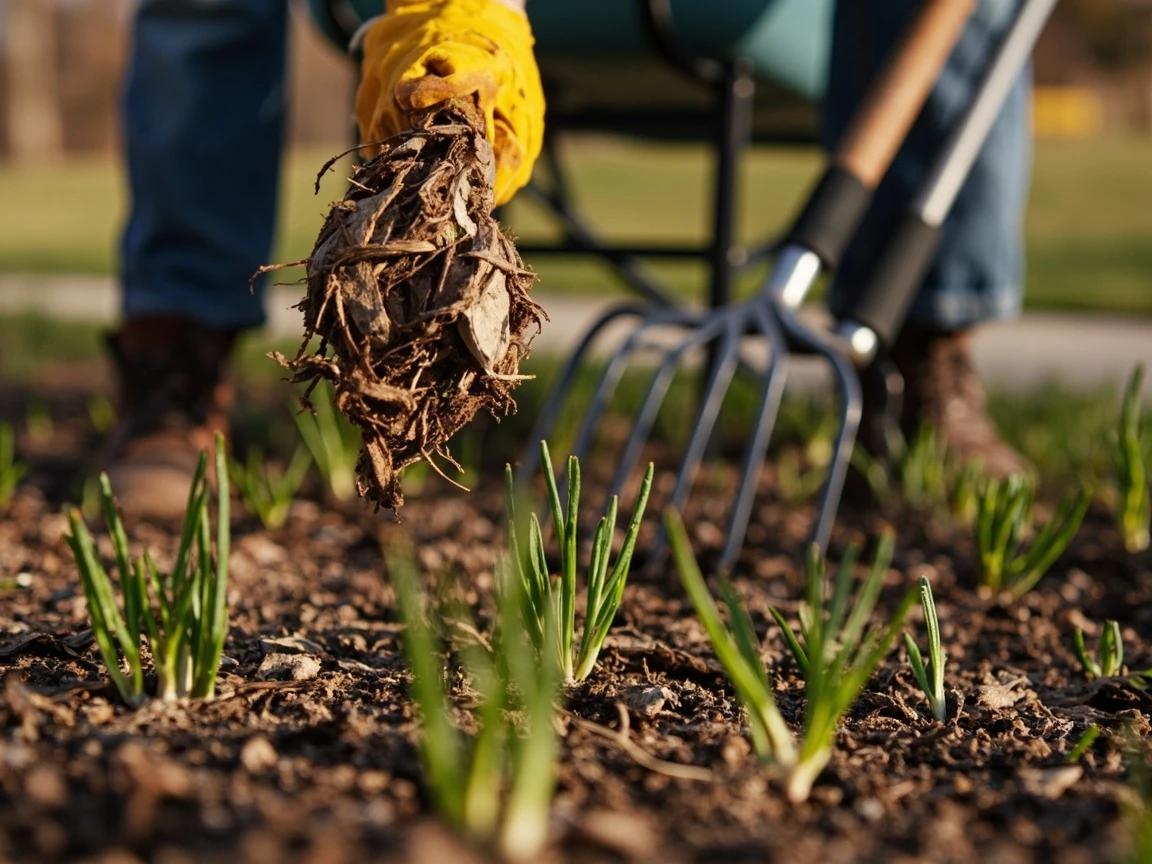
Rake out leaves, fallen twigs, last year's flower stems, and any visible weeds — pulling weeds by hand when the soil is damp is fastest. If your existing mulch has matted down into a hard crust, break it up with the back of the rake and fluff it loose. Do not remove old mulch unless it has gotten thicker than 4 inches or has started growing a slime mold on top — in most cases you want to leave the old layer and top-dress on top of it. Cut back any perennial stems that flopped into the bed over winter.
Cut a Clean Edge Between the Bed and the Lawn
A crisp bed edge is the single biggest visual difference between a professional-looking mulch job and an amateur one. Use a square-blade spade or half-moon edger to cut a vertical trench 3-4 inches deep along the outside perimeter of the bed, angling the blade slightly toward the bed so the lawn side is vertical and the bed side slopes inward. This creates a V-shaped moat that holds mulch in place and stops grass runners from creeping back into the bed. Work in short sections, stepping on the spade's shoulder to drive it in cleanly.
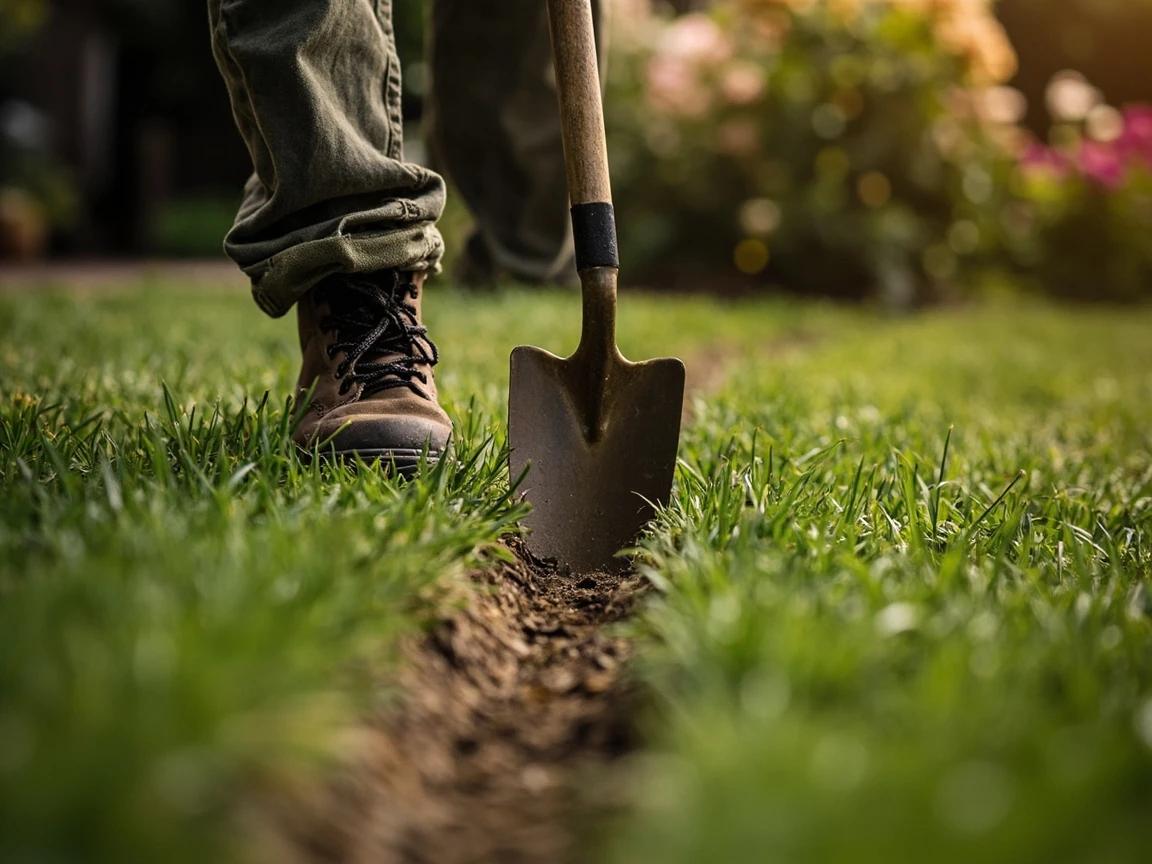
For long curved beds, lay a garden hose along the ground in the shape you want and follow it with the spade — the hose gives you a smooth guideline that looks far better than eyeballing it. Edges only need to be re-cut once a year; the line holds up through most of the season once established.
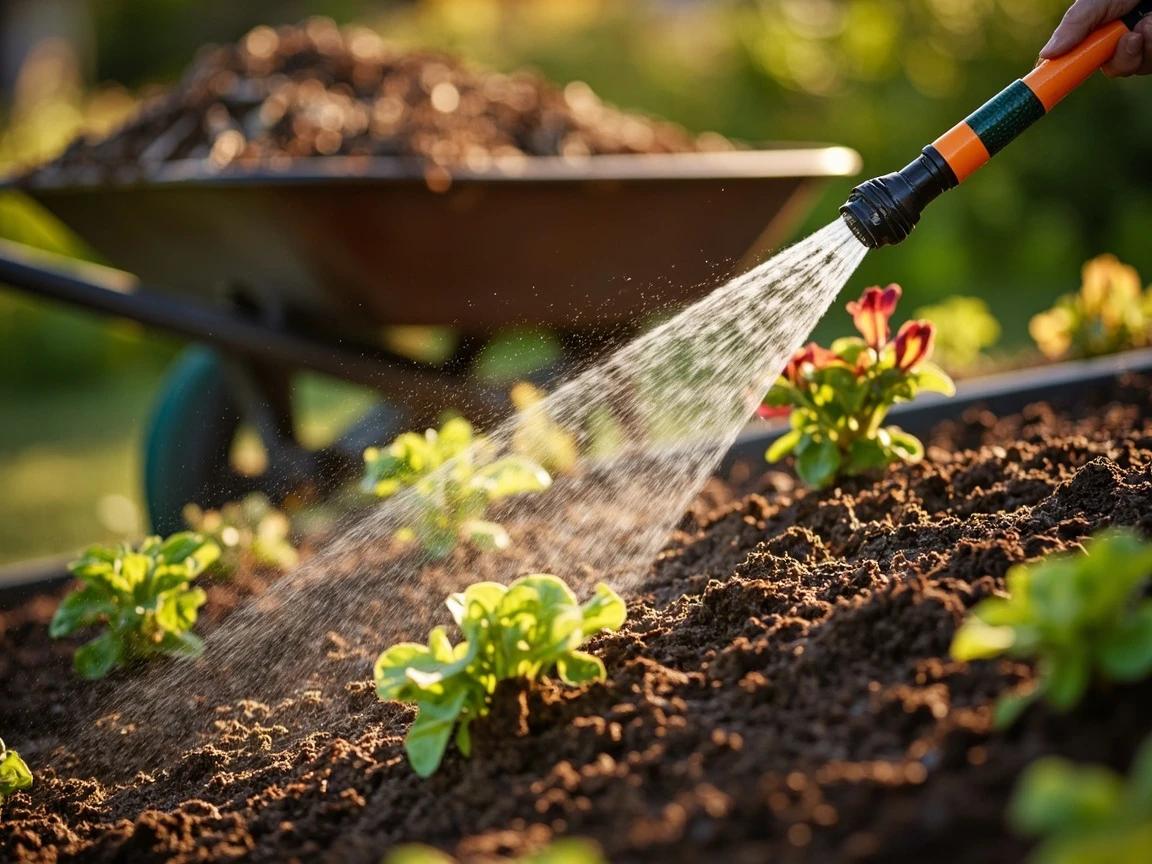
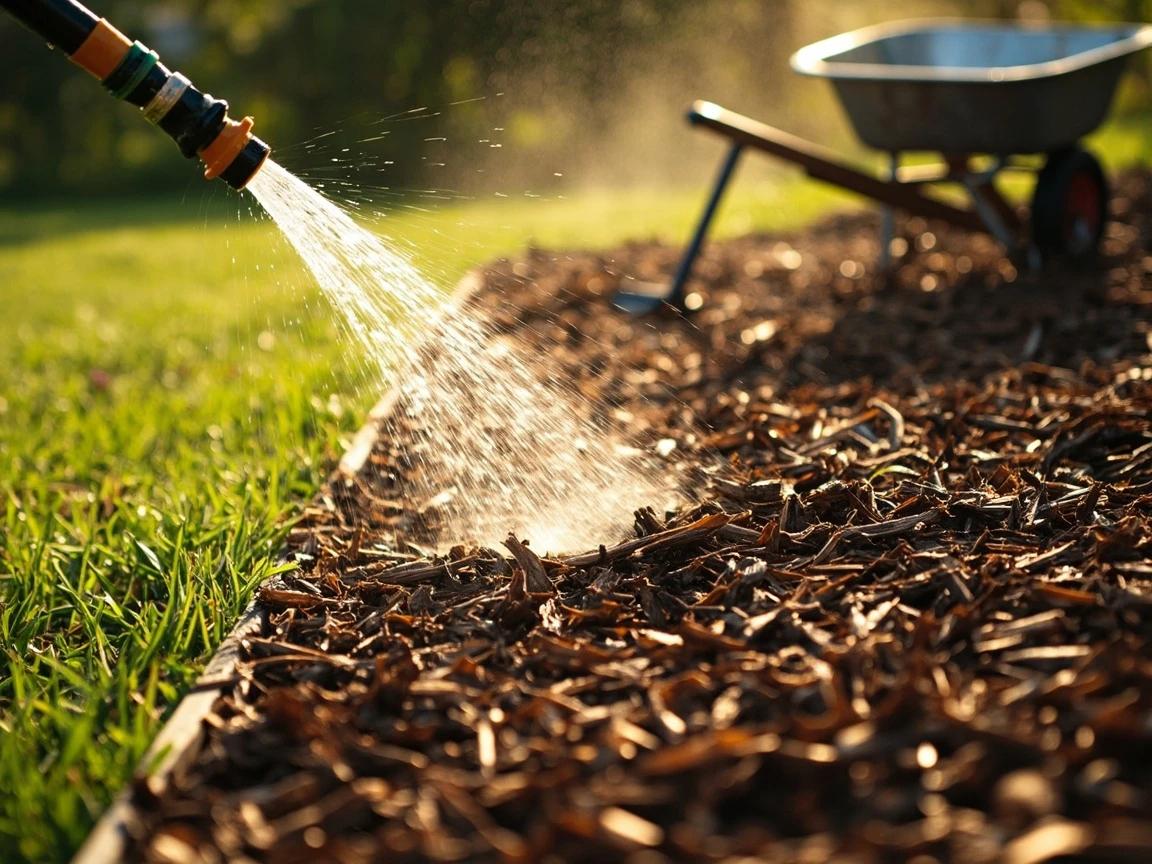
Water the Soil Lightly Before Spreading Mulch
If the soil is dry, water the bed lightly for 5-10 minutes with a garden hose or sprinkler before spreading mulch. Mulch locks in whatever moisture is already in the ground — if you spread it over bone-dry soil, the bed stays dry for weeks until the next heavy rain can penetrate the mulch layer. Damp soil also releases less dust when you work around it and helps pre-emergent herbicides activate if you choose to use them. Let the water soak in for 10-15 minutes before moving on.
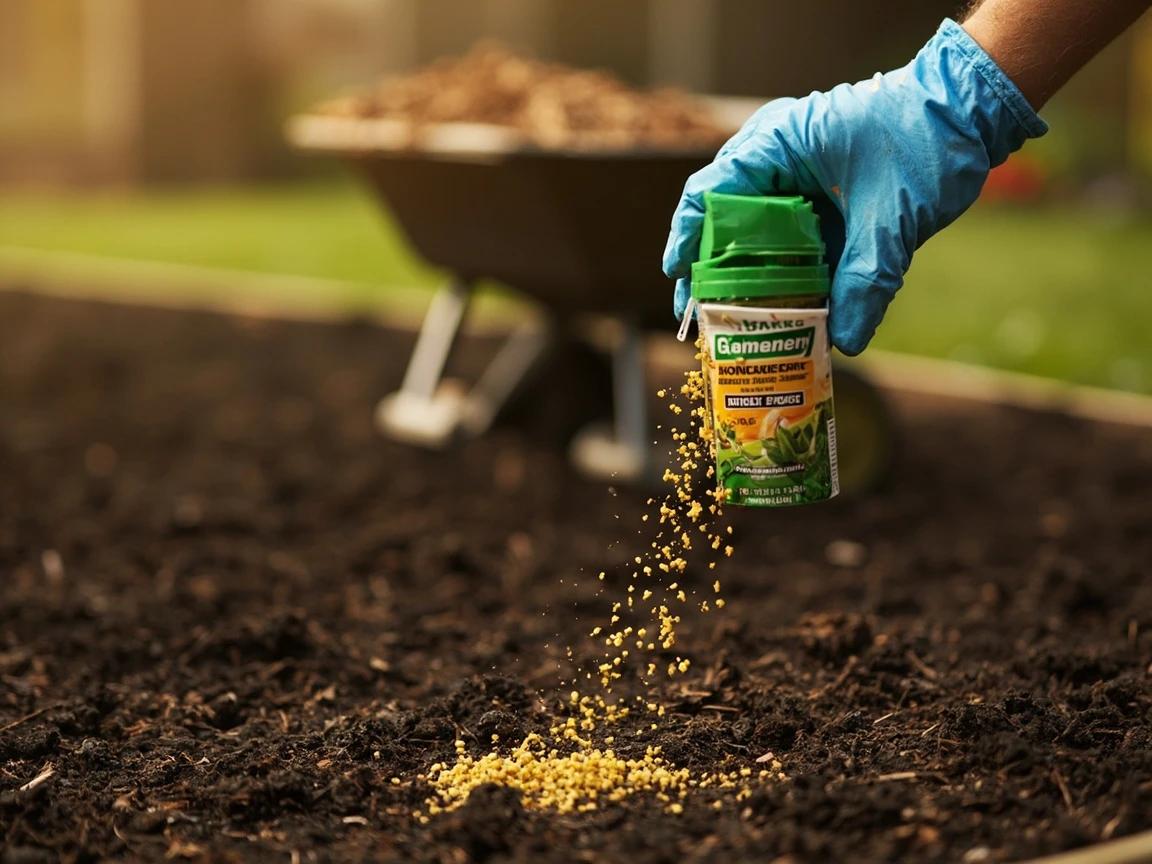
Apply Pre-Emergent Herbicide (Optional)
If weeds have been a problem in previous years, sprinkle a granular pre-emergent herbicide like Preen evenly over the soil surface before mulching — follow the bag's application rate, typically about 1 ounce per 10 sq ft. Pre-emergents prevent weed seeds from germinating but do not kill existing weeds, so any weeds already present must be pulled first. Water the granules in lightly after application so they form an invisible barrier on the soil surface. The herbicide remains effective for 2-3 months and works underneath the mulch layer.
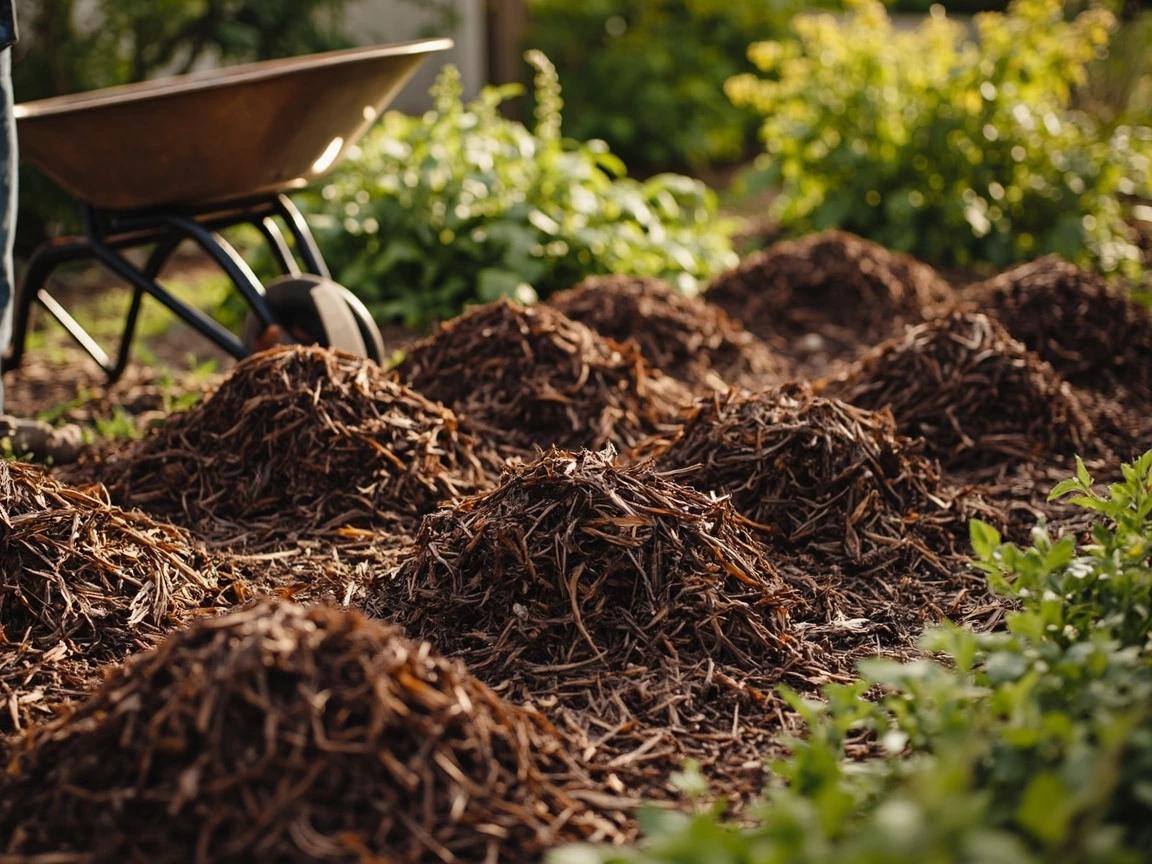
Dump Small Piles of Mulch Throughout the Bed
Rather than trying to carry mulch across the bed one shovelful at a time, wheel the wheelbarrow to the edge of the bed and dump small piles of mulch every 4-6 feet along the length of the bed. This staged approach makes the spreading step dramatically faster because you never have to walk far with a shovelful — each pile supplies the material for its immediate surroundings. Aim for piles about the size of a basketball; they will flatten down to 2-3 inches of coverage over a 4-foot circle.
Spread the Mulch to an Even 2-3 Inch Depth
Using a flat-tine metal rake, pull mulch outward from each pile to create an even layer 2-3 inches deep across the entire bed. A 3-inch layer is the sweet spot — thick enough to suppress weeds and hold moisture, thin enough to let air and water reach the soil. Anything over 4 inches can smother plant roots and create anaerobic conditions underneath. Use the back of the rake for final smoothing, working in long sweeping motions. The surface should look uniform from 10 feet away, with no obvious piles or bare spots.
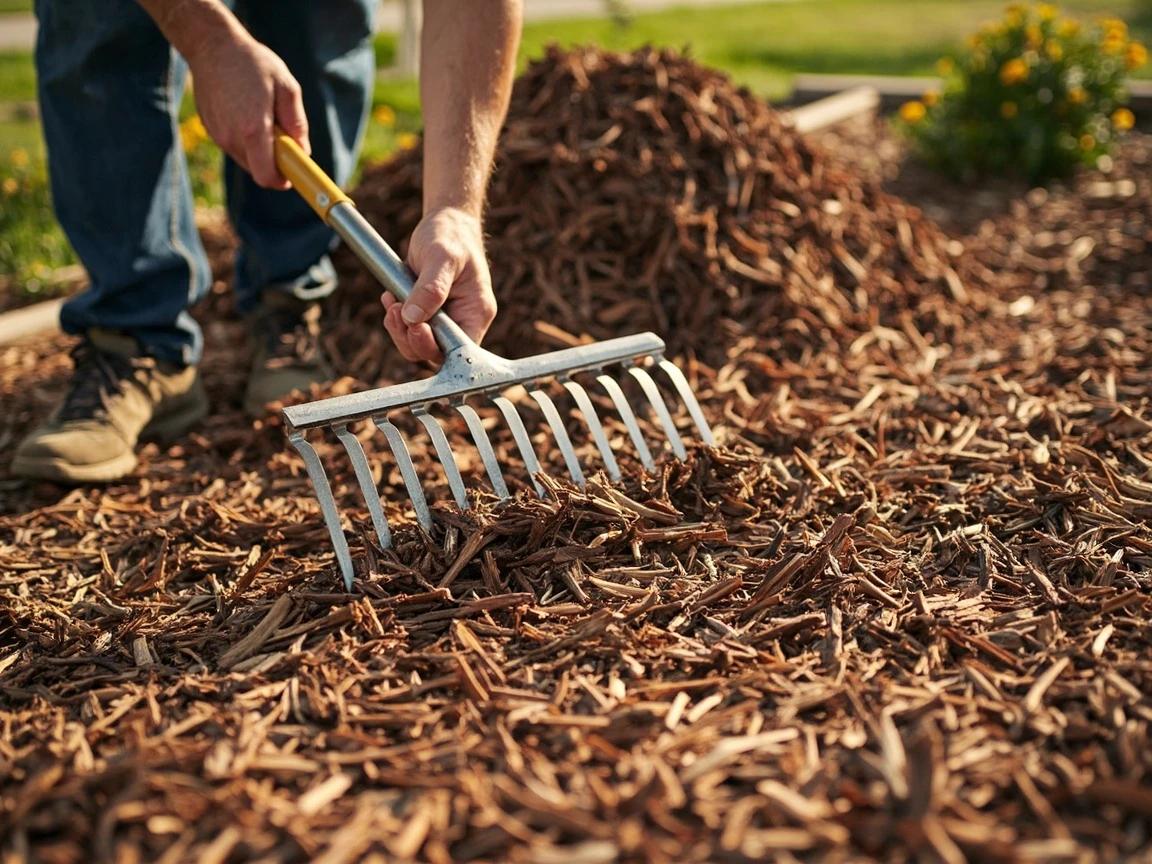
Check depth by pushing a finger straight down into the mulch until you feel soil — your knuckle should be roughly even with the mulch surface (about 2-3 inches). Do this in several spots across the bed to catch thin zones and thick zones before you call it done.
Keep Mulch Away from Plant Stems and Tree Trunks
This is the step where most DIY mulch jobs fail: do not pile mulch against the stems of flowers, the crowns of perennials, or the trunks of trees and shrubs. Leave a 2-3 inch gap of bare soil around every plant base — mulch touching the stem traps moisture, encourages rot, and invites insect and fungal damage. For trees, spread mulch in a flat donut shape that extends out to the drip line but keeps a clear ring 3-6 inches wide around the trunk. Never create a mulch volcano — the piled-up cones you see everywhere kill more trees than drought does.
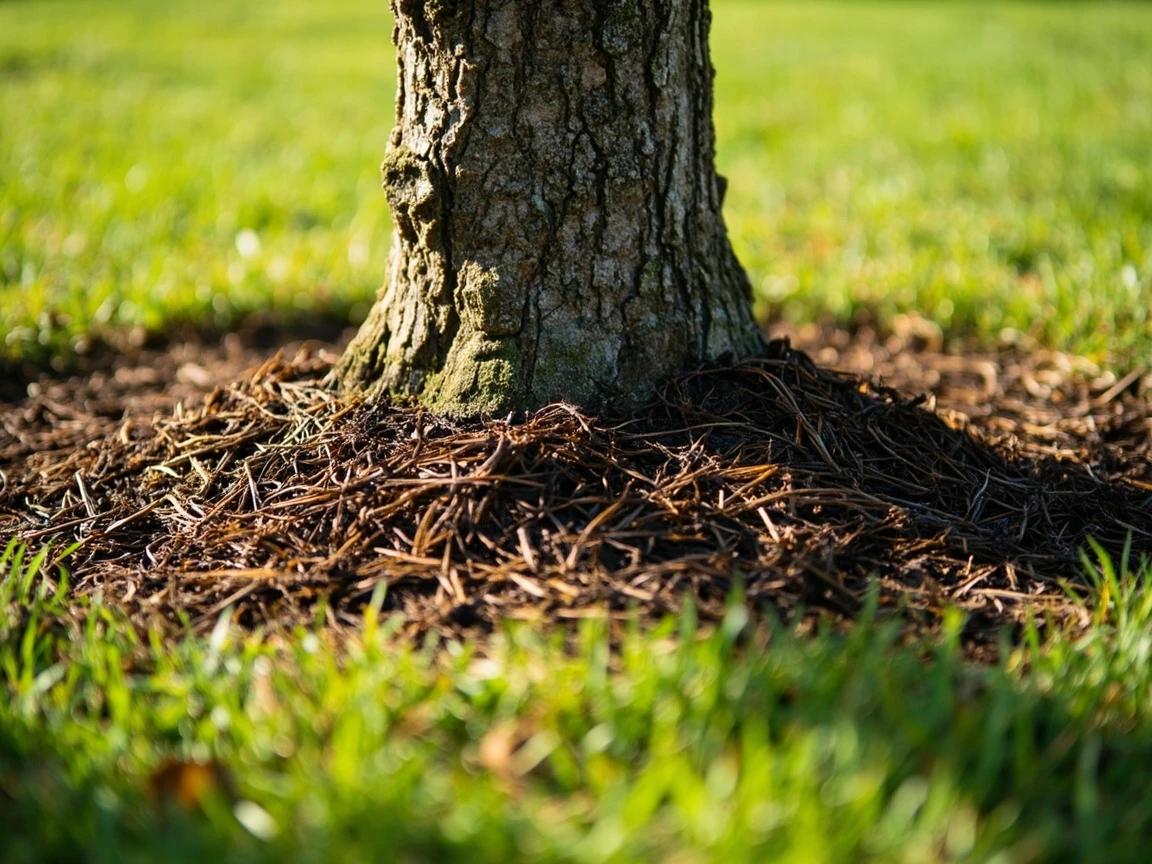
Never pile mulch in a cone shape against a tree trunk — this is called a mulch volcano and it slowly kills trees by trapping moisture against the bark, causing rot, girdling roots, and fungal disease. Proper tree mulching is a flat donut: 2-3 inches deep, extending out to the drip line, with a clear 3-6 inch gap of bare soil around the trunk itself.
Water the Bed Again and Clean Up
Once the mulch is spread and shaped, water the bed one more time with a gentle spray for 5-10 minutes. This settles the mulch, knits the fibers together so wind does not blow them around, and kickstarts the moisture-holding effect. Rake any stray mulch off the lawn and back into the bed — loose mulch on grass can stain walkways and gum up the lawnmower. Rinse your tools with a hose before putting them away to prevent mulch stains and rust on metal blades.
Plan to re-mulch flower beds once a year, usually in early spring after the last frost. A 1-inch top-off is usually all that is needed the second year because organic mulch breaks down into the soil and builds it up over time — that is the whole point, and it is why organic mulch beats rubber or stone for flower beds.
Frequently Asked Questions
How long does it take to mulch flower beds properly?
+
This project typically takes about 2h 30m. The guide includes 9 steps with detailed instructions for each.
What tools do I need?
+
You will need: Wheelbarrow or garden cart (for moving mulch from pile to bed), Flat-tine metal rake (for spreading mulch evenly), Square-blade spade or half-moon edger (for cutting clean bed edges), Round-point shovel (for scooping mulch from a pile), Leaf rake (for cleaning debris from the bed before mulching), Hand pruners (for trimming back overgrown stems before mulching), Work gloves, Tarp (for moving mulch short distances or protecting the lawn). Materials include: Shredded hardwood mulch, pine bark, or cedar mulch (organic mulch — breaks down and feeds the soil over time), Landscape edging (optional — if you are installing a permanent edge), Pre-emergent herbicide like Preen (optional — applied to soil before mulching to prevent weed seeds from germinating).
Is this a good project for beginners?
+
Yes! This is rated as an easy project that most homeowners can complete with basic tools and no prior experience.
Community Tips
💬 Sign in to share tips with the community
Sources & further reading
- Mulch Application Best Practices — University of Maryland Extension
- Mulch Volcanoes Are Erupting Everywhere! — Penn State Extension
- Proper Mulching Techniques — International Society of Arboriculture
More Gardening Guides
View all → Medium2 hrs
How to Build a Raised Garden Bed for Under $100
A raised garden bed gives you complete control over soil quality, drainage, and pest management — and it can double your yield compared to in-ground planting. This guide walks you through building a sturdy 4x8-foot cedar bed for under $100 in materials and about two hours of work, no advanced carpentry skills needed.
 Medium30 min
How to Safely Remove a Wasp or Hornet Nest
A small paper wasp nest under the eave is a legitimate $10 DIY job — if you identify the insect correctly, treat at dusk, and keep 20 feet between you and the nest. The same can of spray pointed at the wrong nest (yellowjackets in the ground, bald-faced hornets in a tree, anything inside a wall) earns you dozens of stings and a colony chewing into your living room. This guide teaches the identification that decides DIY versus pro, the dusk-treatment method that works, and the one mistake — sealing an active wall nest — that turns a $400 pro visit into drywall repair.
 Easy1 hr
How to Grow Herbs in a Window Box
A 30-inch window box on a sunny windowsill produces enough basil, parsley, thyme, and chives to keep a household supplied all summer — for under $80 in materials and about an hour of setup. This guide covers everything from picking the right window and box, to mounting it safely, choosing herbs that thrive together, and the harvesting technique that doubles a basil plant's output.
You Might Also Like
 Hard4 hrs
How to Install Crown Molding
Crown molding turns a plain room into a finished one — but it is the trickiest trim to cut, thanks to corners that are never quite square and a profile that has to be cut upside down. This guide walks through the whole job the way a finish carpenter does it: coping inside corners so they stay tight, mitering outside corners, and fastening into framing instead of bare drywall. Expect about half a day for a typical room and roughly one to six dollars per linear foot in materials.
 Medium2 hrs
How to Patch a Large Hole in Drywall
A doorknob blowout, a wall-anchor failure, a fist through the drywall during the move-out — these holes are too big for spackle but too small to justify cutting in a full drywall section. The mesh patch (for 1/2-inch to 4-inch holes) and the California patch (for 4 to 8-inch holes) both finish flush, paint over invisibly, and cost under $25 in materials. The job takes about two hours of hands-on work spread over two or three days of compound cure time.
 Easy30 min
How to Replace an Electrical Outlet
A worn-out or discolored electrical outlet is one of the simplest electrical repairs you can tackle yourself — swapping one takes about 15-30 minutes and costs under $5 in parts versus $75-150 for an electrician visit. This guide walks you through safely replacing a standard duplex receptacle, including how to handle the wiring correctly and avoid the most common DIY mistakes.