How to Grow Herbs in a Window Box
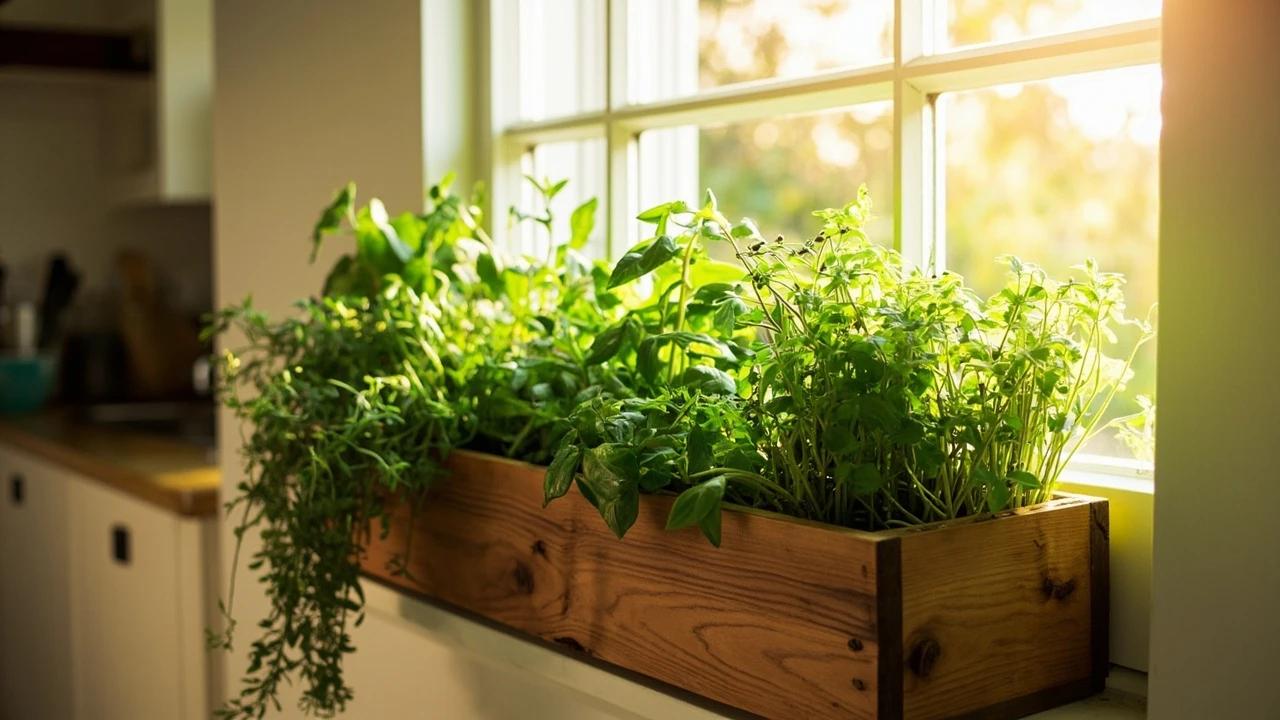

A 30-inch window box on a sunny windowsill produces enough basil, parsley, thyme, and chives to keep a household supplied all summer — for under $80 in materials and about an hour of setup. This guide covers everything from picking the right window and box, to mounting it safely, choosing herbs that thrive together, and the harvesting technique that doubles a basil plant's output.
What You'll Need
🛠 Tools
📦 Materials
Safety First
- •A fully loaded window box weighs 25-40 pounds. Use brackets rated for at least 50 pounds each and anchor them into wall studs or solid framing — never into siding, stucco, or drywall alone. A falling box can seriously injure anyone below.
- •Never substitute outdoor garden soil for potting mix. It compacts when wet, suffocates roots, and can carry weed seeds, fungal pathogens, and overwintering pests into your home.
Step-by-Step Instructions
Pick a Window With Enough Sun
Spend a sunny day tracking which windows get the most direct light. Most culinary herbs need at least 4-6 hours of direct sun, and Mediterranean herbs like rosemary, thyme, and oregano want 6-8 hours. South-facing windows are ideal in the Northern Hemisphere; southwest and west-facing also work. East-facing windows (morning sun only) are fine for partial-shade herbs — parsley, chives, mint, and cilantro. Skip north-facing windows for outdoor mounting unless you supplement with a grow light.

Use a free phone app like Sun Surveyor or Sun Seeker to predict exactly how many hours of direct sun a window will get throughout the growing season — accounting for the sun's changing path from May to September.
Choose the Right Window Box
Pick a box at least 9 inches deep — anything shallower limits root growth and dries out hourly in summer. Length should be slightly less than your window width so it fits within the window frame. Cedar lasts 8-10 years untreated and resists rot naturally; fiberglass and self-watering plastic boxes are lighter and longer-lived but cost more. The box must have at least 4 drainage holes — if it doesn't, drill 3/8-inch holes spaced every 6 square inches across the bottom before planting.
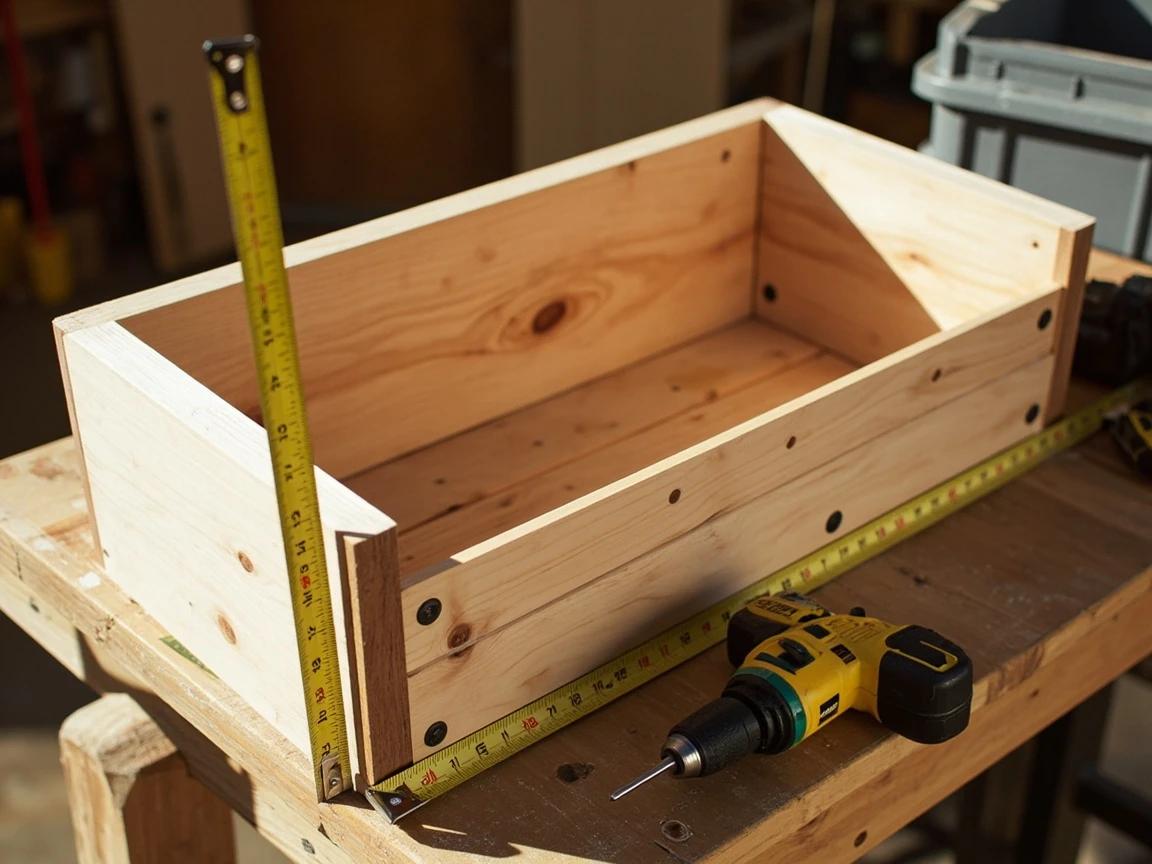
Self-watering window boxes have a built-in reservoir below the soil and can go 5-7 days without refilling — worth the extra $30-40 for second-floor windows or anywhere you can't reach easily.
Mount the Box Securely
A loaded window box can weigh 30-40 pounds, so anchoring matters. Use a stud finder to locate framing beneath the siding under the window. Hold the brackets in position, mark screw holes with a pencil, then pre-drill pilot holes through the siding into the studs. Drive 3-inch deck screws or 1/4-inch lag screws through the brackets into solid framing — never just into siding, stucco, or drywall alone. Set the box on the brackets and check for level before screwing the box itself to the brackets through the bottom.
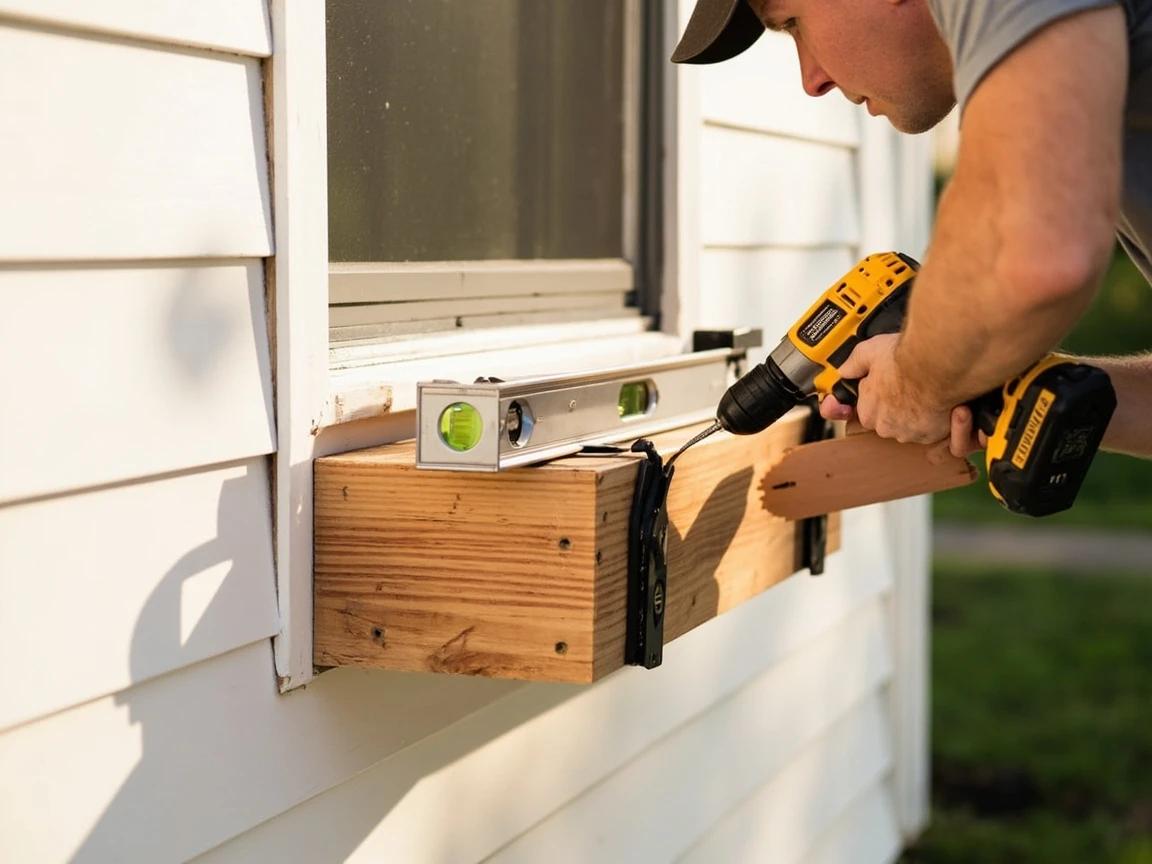
Never anchor a window box bracket only into siding, stucco, or drywall — these materials cannot hold the weight of a watered box and will pull free. Always hit a stud, header, or solid framing member with at least one screw per bracket.
Pick Herbs That Grow Well Together
A 30-inch box comfortably holds 5-6 herbs. Choose plants with similar water and sun needs so one watering schedule keeps them all happy. Moisture-loving group: basil, flat-leaf parsley, chives, cilantro. Drought-tolerant Mediterranean group: thyme, oregano, sage, rosemary. Don't mix the two groups in the same box — Mediterranean herbs rot if watered as often as basil needs. Keep mint in a separate pot entirely, since its roots will choke out everything else within one season.
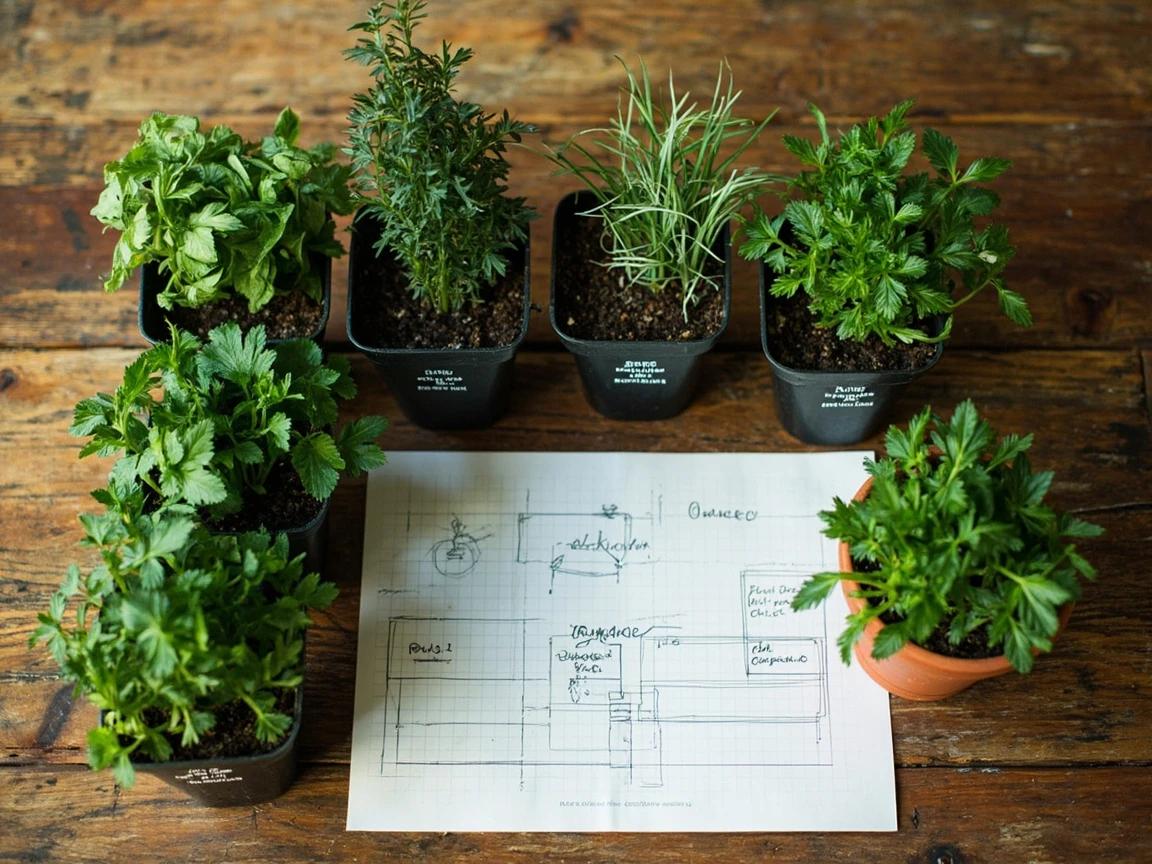
Buy 4-inch nursery starts rather than seeds for your first window box. Starts give you mature, harvestable plants in a week — seeds add 4-6 weeks before you can pick anything, and basil and rosemary are notoriously slow to germinate.
Fill the Box With the Right Potting Mix
Use a lightweight container/potting mix — never garden soil, which compacts and suffocates roots. Bags labeled "Potting Mix" or "Container Mix" (Miracle-Gro, FoxFarm Ocean Forest, Espoma Organic) are formulated with peat or coco coir, perlite, and vermiculite for drainage. Fill the box to within 1.5 inches of the rim, then mix in 1 tablespoon of slow-release granular fertilizer per gallon of soil — this feeds plants for 3-4 months. A 30-inch box typically needs about 1 cubic foot of mix.
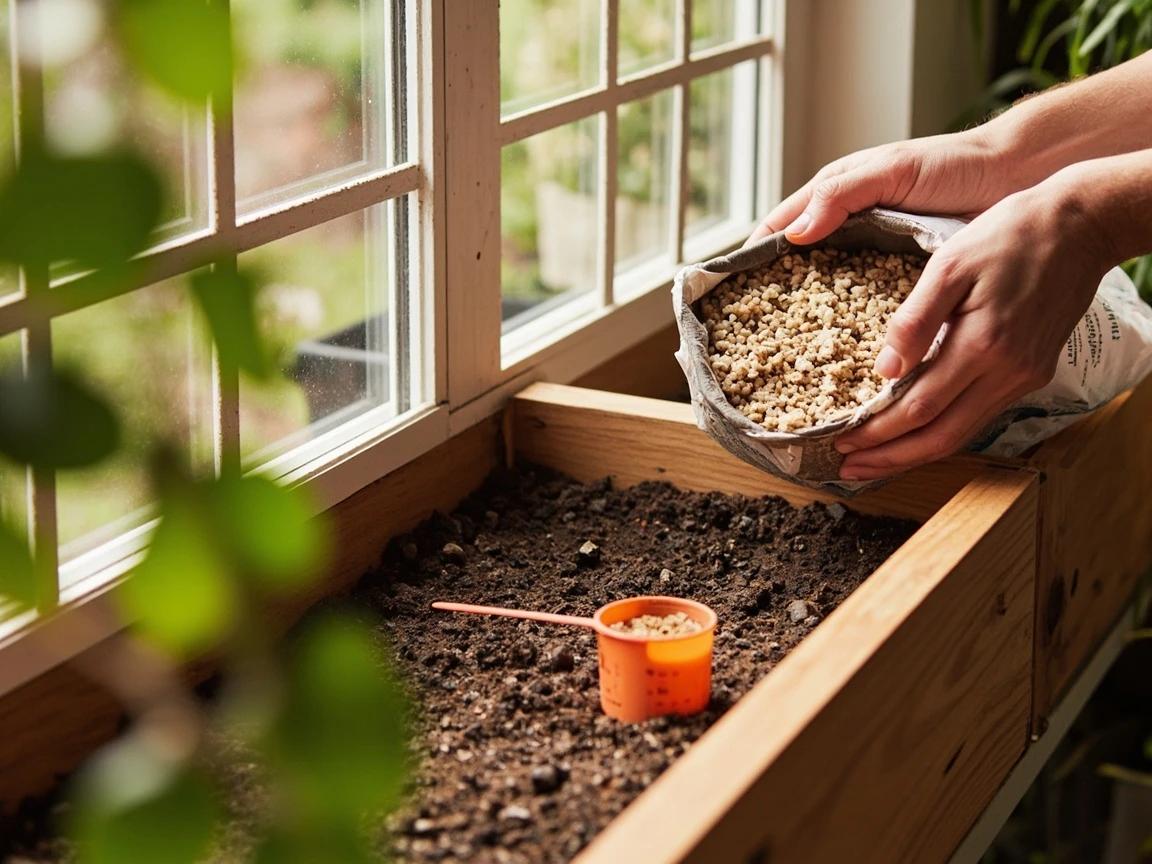
Skip outdoor garden soil for window boxes — it carries weed seeds, fungal pathogens, slug eggs, and root maggot pupae into a confined container with no natural predators, and it compacts into a brick when wet.
Plant the Herbs
Arrange your starter pots on top of the soil before planting to finalize the layout — tall plants (rosemary, basil) toward the back, mid-height (parsley, chives, oregano) in the middle, trailing or low-growing (creeping thyme) at the front edge to spill over. Space plants 6 inches apart center-to-center; herbs in 4-inch starter pots can go that close because the box restricts root spread. Water each plant in its starter pot, then dig a hole the same depth as the root ball, slip the plant out of its pot, place it in the hole at the same soil level, and firm soil around it.
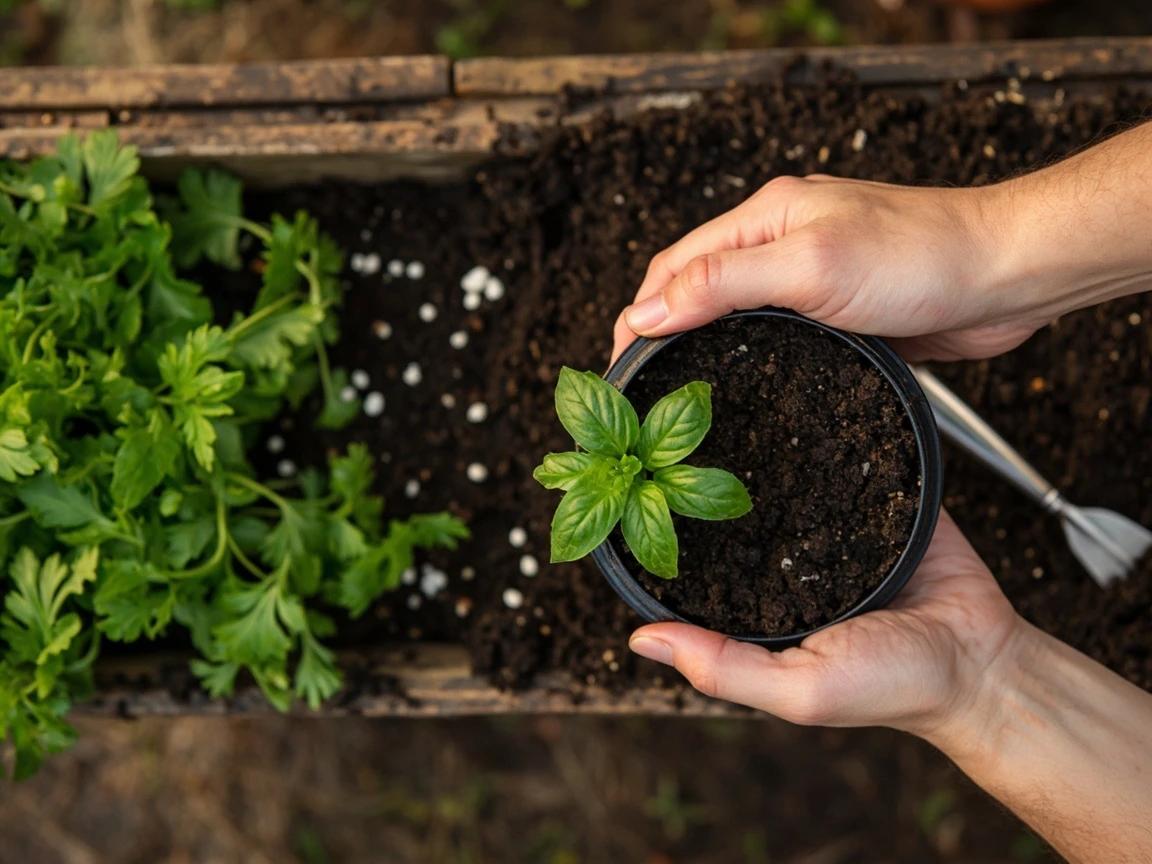
Loosen the bottom of each root ball with your fingers before planting — if the roots are circling tightly (root-bound), gently tease them outward. This encourages roots to grow into the new soil instead of continuing to spiral.
Water Thoroughly and Settle the Soil
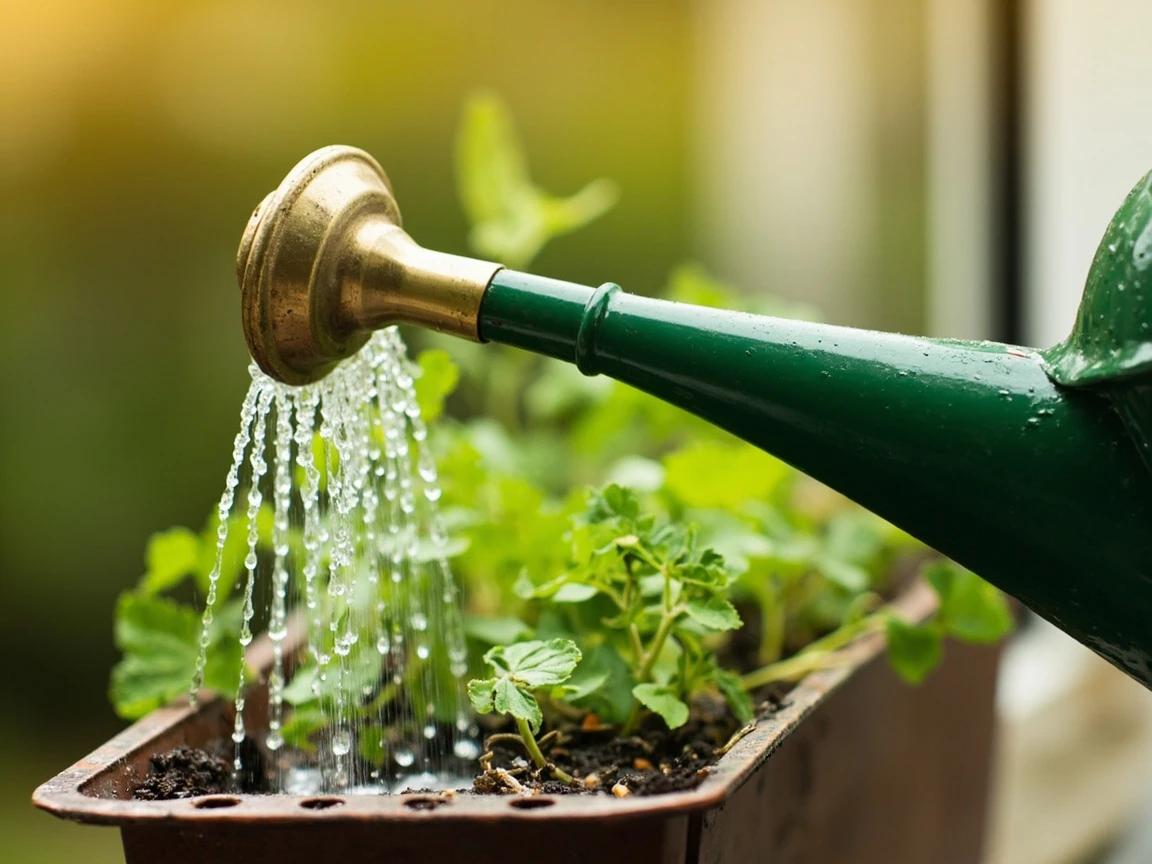
Use a watering can with a rose-head (sprinkler) attachment to soak the entire box slowly until water runs out the drainage holes. This deep first watering settles the soil around the roots and removes air pockets. Add more potting mix to top off any low spots that appear. Avoid using a hose without a sprinkler attachment — the high-pressure stream washes soil away and exposes roots. Plan to check soil moisture every morning for the first two weeks while plants establish.
Harvest, Pinch, and Maintain
Begin harvesting once each plant has at least 6 sets of leaves — usually within 2-3 weeks of planting. For basil, always cut just above a pair of leaves, never bare stem; this triggers the plant to grow two new branches in a "V" and doubles output every 2-3 weeks. Pinch off any flower buds the moment they appear — flowering basil turns bitter and stops producing leaves. Feed every 2-3 weeks with a half-strength balanced liquid fertilizer (like fish emulsion at 1 tablespoon per gallon). In hot weather, expect to water daily.
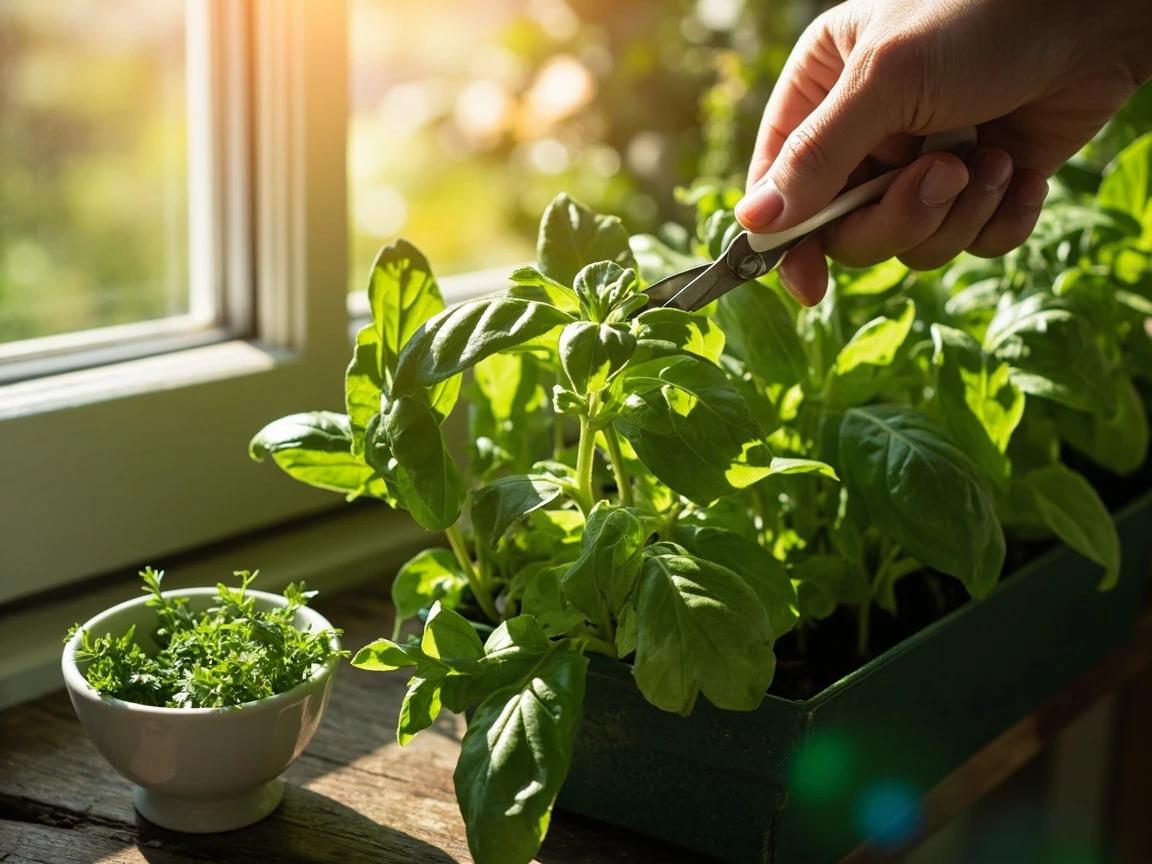
Pinch basil hard and often — every harvest doubles the plant's branching and slows it from going to seed. A single basil plant pinched weekly will outproduce three unpinched plants over the same summer.
Frequently Asked Questions
How many hours of sun do herbs in a window box need?
+
Most culinary herbs need at least 4-6 hours of direct sunlight daily, and Mediterranean varieties (rosemary, thyme, oregano, sage) prefer 6-8 hours. A south or southwest-facing window is ideal. East-facing windows get morning sun and can grow parsley, chives, mint, and cilantro, which tolerate partial shade. North-facing windows usually do not get enough direct light for any culinary herb to truly thrive — supplement with a clip-on grow light if north-facing is your only option.
Can I plant mint with other herbs in the same window box?
+
No — mint sends out underground runners called stolons that will rapidly take over a shared container, choking out neighboring herbs within a single season. Always plant mint by itself in a separate 6 to 8-inch pot. The same caution applies to oregano and lemon balm, which spread aggressively but are slightly less invasive than mint.
How often should I water herbs in a window box?
+
Window boxes dry out faster than the ground or larger containers because they have less soil volume and more wind exposure. Check the soil every morning by sticking your finger 1 inch in — if it feels dry at that depth, water until you see drainage coming out the bottom holes. In hot summer weather you may need to water daily; in spring and fall, every 2-3 days is usually enough. Watering in the early morning lets foliage dry before night, which prevents fungal disease.
Do window box herbs come back every year?
+
It depends on the herb. Thyme, oregano, sage, chives, and mint are perennials that survive winter and regrow each spring in USDA zones 5-9. Rosemary is perennial in zones 7 and warmer (zone 6 with cold-hardy varieties such as Arp or Hill Hardy) but needs to be brought indoors or heavily mulched in colder regions. Basil, parsley, and cilantro are annuals that finish their life cycle in one season — replant them each spring. To winterize a perennial window box, move it to a sheltered spot against the house and mulch the soil surface with 2 inches of straw or shredded leaves.
What's the best potting mix for a window box?
+
Use a high-quality lightweight container mix labeled "potting mix" or "container mix" — Miracle-Gro Potting Mix, FoxFarm Ocean Forest, and Espoma Organic Potting Mix all work well. Avoid bags labeled "topsoil" or "garden soil," which are too dense and will compact in a window box. For best results, mix in 1 tablespoon of slow-release granular fertilizer (like Osmocote 14-14-14) per gallon of soil at planting time — this feeds plants for 3-4 months without further attention.
Sources & further reading
- Growing Herbs in Windowboxes — Fine Gardening
- Window Box Gardening 101: Grow Herbs & Veggies for a Healthier Kitchen — Health Starts in the Kitchen
- Ten Mistakes New Herb Gardeners Make and How to Avoid Them — Milberger Nursery
More Gardening Guides
View all →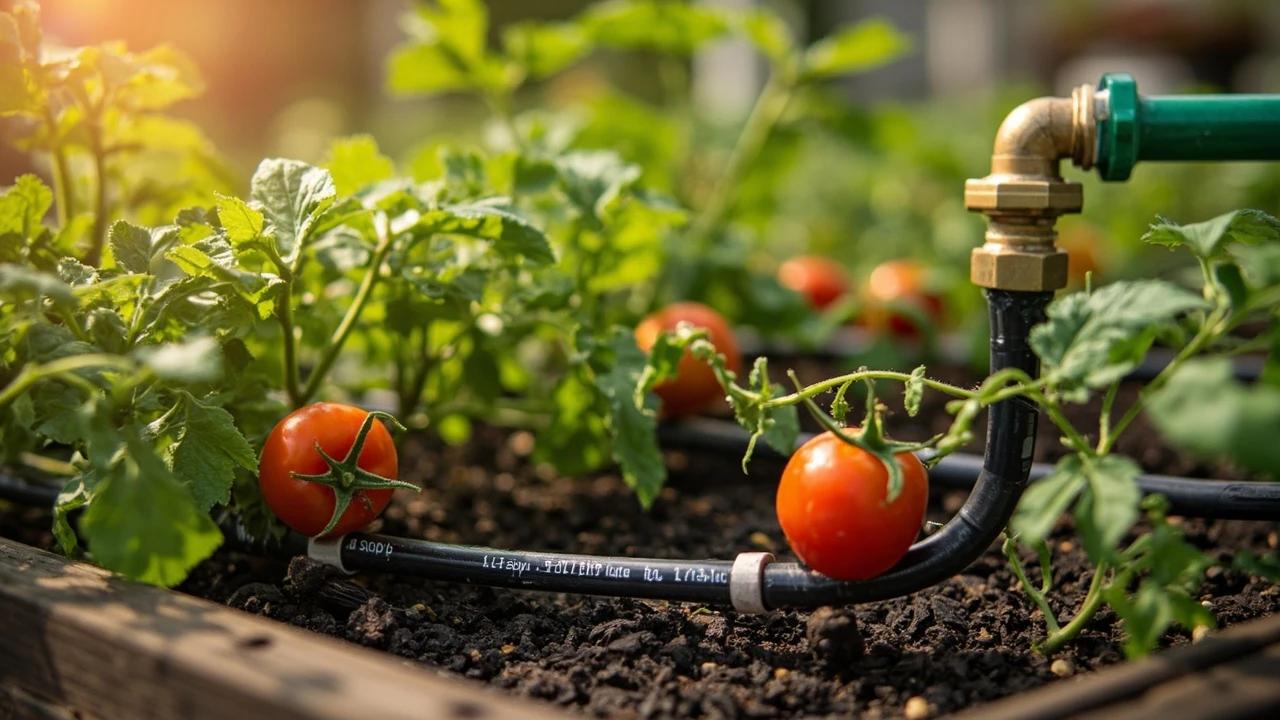 Easy2 hrs
How to Build a Drip Irrigation System
A drip irrigation system delivers water directly to the root zone of each plant, cutting water use by up to 50% compared to overhead sprinklers while eliminating the evaporation, runoff, and fungal leaf problems that come with them. A basic system for a 200-400 sq ft garden costs $40-80 in parts, installs in an afternoon with no special tools, and runs entirely off an outdoor spigot — no plumbing or electrical work required.
 Easy1 hr
How to Control Grubs and Lawn Pests
White grubs — the C-shaped larvae of Japanese beetles, June bugs, and chafers — are the number one underground lawn pest in North America, and a heavy infestation can destroy an entire lawn in a single season by severing grass roots just below the surface. The good news is that a single well-timed application of preventive grub control in late spring or early summer eliminates 75-100% of grubs before they cause damage, and the whole job takes under an hour with a broadcast spreader. This guide covers confirming you actually have a grub problem, choosing between preventive and curative treatments, applying the product correctly, and maintaining a grub-resistant lawn year after year.
 Easy1h 15m
How to Edge Garden Beds Cleanly
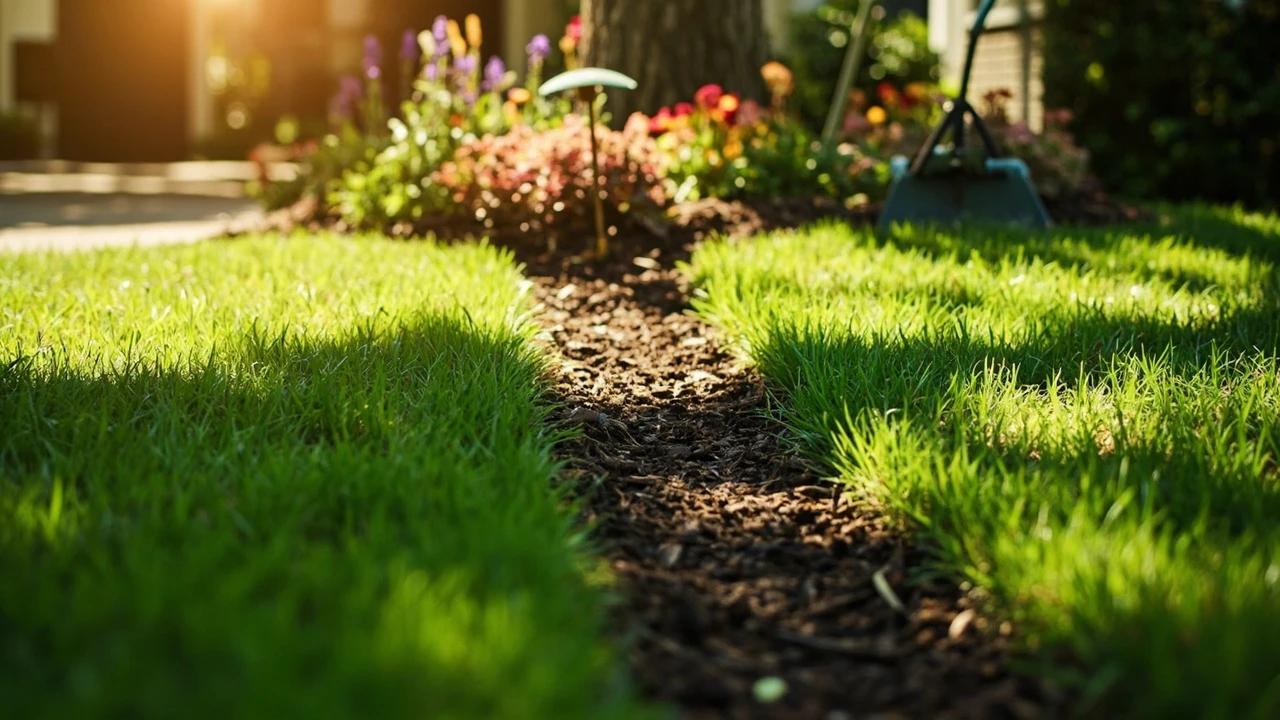
Crisp bed edges are the single fastest way to make a yard look professionally maintained — yet most homeowners never re-cut them after the original landscaping. A clean spade-cut trench takes about an hour per 50 linear feet, costs nothing beyond a sharp edger, and instantly separates turf from mulch so grass stops creeping into your plantings. This guide walks you through marking a smooth line, cutting a defined trench, removing sod, and maintaining the edge all season.
You Might Also Like
 Easy45 min
How to Install a Smart Thermostat
A smart thermostat is one of the highest-ROI upgrades you can make to your home — it learns your schedule, adjusts automatically when you're away, and typically saves about 8% on heating and cooling bills — the figure ENERGY STAR verifies from real-home data, roughly $50 a year — so the $120-250 device usually pays for itself within a few years. If your old thermostat has labeled wires behind it, the swap takes about 30-45 minutes with nothing more than a screwdriver and your phone. This guide covers checking compatibility, labeling wires, mounting the new base, connecting everything, and walking through the app setup so your system is running smart the same day.
 Easy30 min
How to Fix a Dripping Faucet
A dripping faucet wastes more than 3,000 gallons of water per year and can add $20 or more to your monthly water bill. The fix is almost always a worn cartridge, washer, or O-ring — parts that cost under $10 and take 20-30 minutes to replace with basic tools.
 Hard8 hrs
How to Paint Kitchen Cabinets
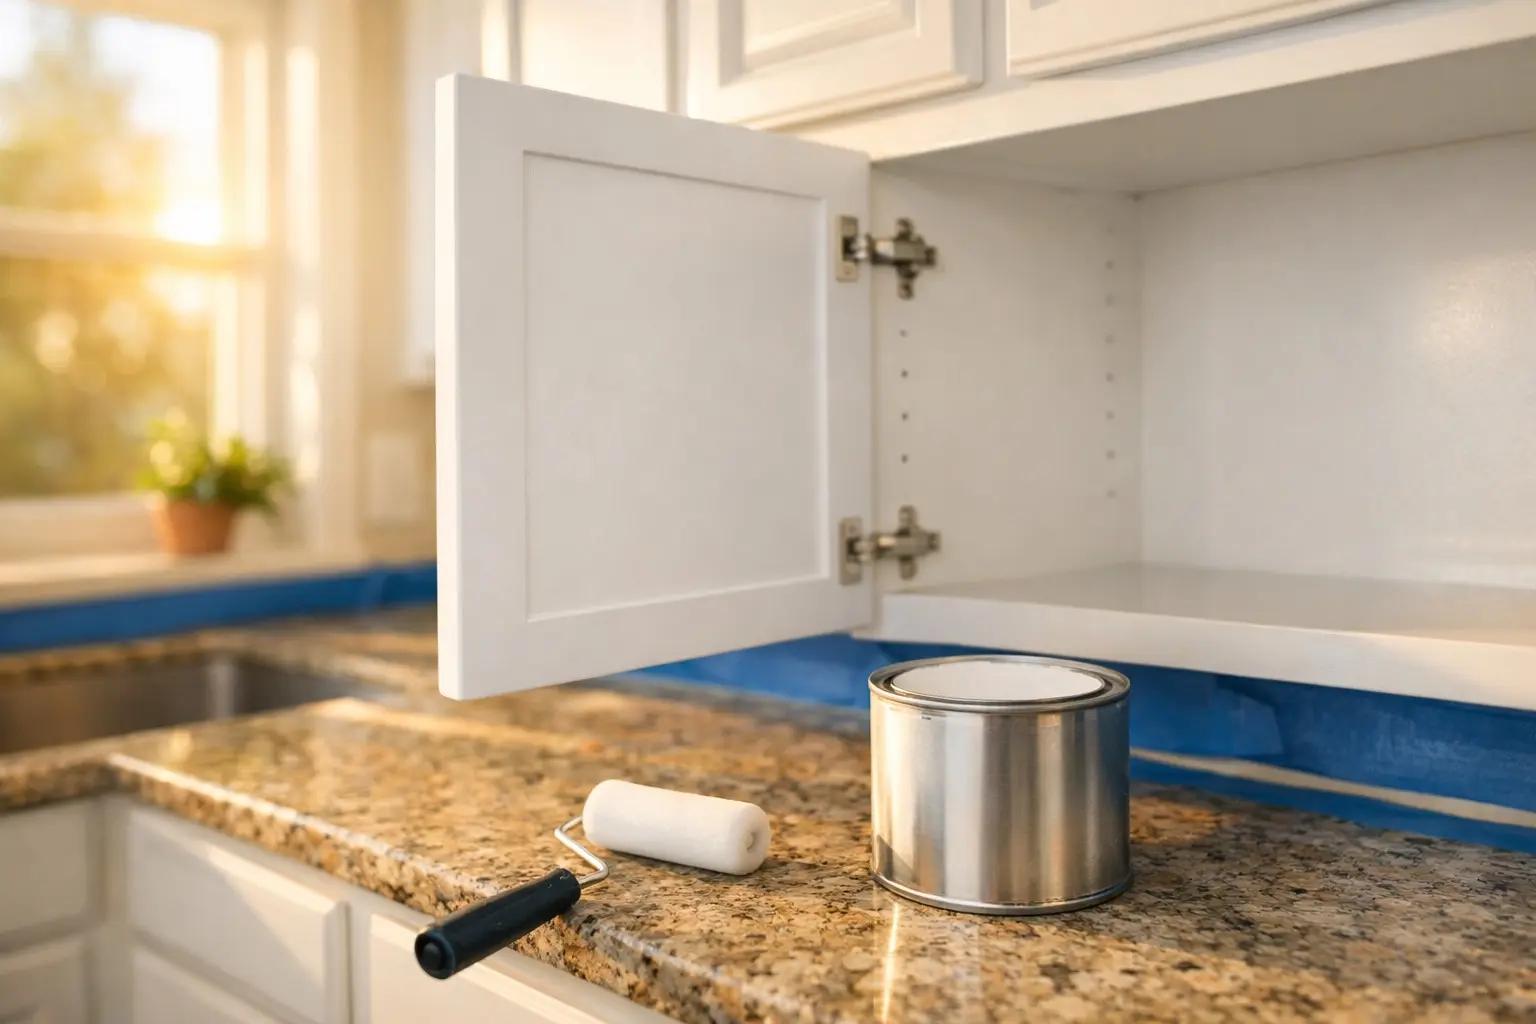
A professional cabinet refinish costs $3,000-8,000, but painting them yourself with the right prep and materials delivers the same transformation for under $200 in a long weekend. The secret is thorough degreasing, a bonding primer, and thin coats with proper dry time between each — skip any of those and the paint will chip within months. This guide walks through the full process from door removal and labeling to final reassembly, covering both brush and roller techniques for a smooth, factory-like finish.