The Cut-In Technique — Clean Paint Lines Without Tape

Cutting in is the painter's skill that separates "I painted my own house" from "I had a painter do it." A clean cut-in line at the ceiling, baseboard, or trim eliminates the need for painter's tape entirely — and tape leaves bleed lines anyway. This guide covers the 2.5-inch angled sash brush technique: how to load the brush, hold it, position your body, and bring it to the edge so the line is straight without any tape.
What You'll Need
🛠 Tools
📦 Materials
Step-by-Step Instructions
Get the Right Brush
Buy a 2.5-inch angled sash brush from a paint store (not a hardware-store bargain brush — bristle quality matters more here than anywhere else in painting). For latex paint use a synthetic-bristle brush (Wooster Shortcut, Purdy Clearcut Glide). For oil-based paint use a natural-bristle brush. Spend $15-20 — the brush will last 50+ jobs if cleaned properly. A cheap brush sheds bristles into the paint and produces uneven application from day one.

Pour Paint Into a Cup, Not the Gallon
Transfer about 1 cup of paint into a small handheld paint cup or cut-bucket. A gallon is too heavy to hold while precision-painting — your arm shakes after 10 minutes and the cut line goes wavy. A cup also lets you wipe excess against its rim cleanly. If you don't own a cut-bucket, a clean cottage cheese container or a 32-ounce yogurt tub with a wire handle works fine. Stir the paint thoroughly before pouring.

A magnetic strip glued to the side of the cup holds the brush handle when you set it down. Saves $0.50 at the hardware store and stops dropped brushes from putting paint on the floor.
Load the Brush — One-Third of the Bristle, Then Tap
Dip the brush into the paint cup, immersing only the bottom one-third of the bristles. Do NOT push the brush down to the ferrule (the metal band) — paint that gets up there will run down your hand and onto the floor. Lift the brush out and gently tap each side against the inside of the cup to release excess. Do NOT wipe the brush against the cup rim — that strips paint off the bristle tips, which is exactly where you need it. The brush should feel slightly heavy but not drip when held vertically.

Position Your Body Square to the Cut Line
Stand directly in front of the area you are about to cut in, with your shoulders parallel to the line you want to paint. If you are right-handed, position yourself so the line is slightly to your right and you can pull the brush left-to-right toward your body — most people have better fine motor control pulling toward themselves than pushing away. Light source behind you. Bend or kneel if needed to keep your eyes within 2 feet of the cut line.

Approach the Line at a Shallow Angle With the Bristle Tip
Hold the brush like a pencil, with the bristle tips angled toward the cut line at about 30-45 degrees off the wall. Start the stroke about 1/2 inch from the line — this lays paint down without yet touching the edge. Then slide the brush sideways so the angled bristle tip just kisses the line. This sounds delicate because it is — the tip is where the line forms, not the body of the brush. Press just enough to flare the tips slightly; never push the brush body against the wall.

Draw the Line in Long, Slow Strokes
Move the brush in one slow, continuous stroke parallel to the line — pace yourself at about 12 inches per second, slower than feels natural. Speed is the enemy of precision; the line goes wavy when you rush. Each stroke should be 12-18 inches long. Lift cleanly at the end of each stroke. Reload the brush every 3-4 strokes. Watch the bristle tip, not the whole brush — your eye should be following the very edge where the paint meets the unpainted area.

If your hand cramps, you are gripping too hard. Loosen up. The brush should be controlled, not clenched. A relaxed grip produces straighter lines than a tense one every time.
Feather the Inside Edge Into the Field
After the line itself, drag the brush 2-3 inches into the field (the part of the wall that will be rolled later). This "feathered" edge gives the roller something to overlap onto without leaving a brushed-vs-rolled sheen difference. The cut-in band ends up 3-4 inches wide total: 1/2 inch is the precise line, the rest fades into the field. Roll the field while the cut-in is still wet so they blend invisibly.

Practice on an Inconspicuous Spot Before the Visible Walls
If this is your first cut-in job, spend 15 minutes practicing inside a closet or behind a piece of furniture before you tackle the visible walls. The technique is genuinely a learned skill — your first 10 feet of cut-in will be objectively worse than your next 50. Practicing in a hidden spot lets the muscle memory build without permanent visible evidence of the learning curve. If you must use tape on a first job, use FrogTape Multi-Surface (not generic blue tape) — it has paint-bleed-block technology that produces cleaner results than regular tape.

Frequently Asked Questions
Why do my cut-in lines have wavy edges?
+
Three causes: (1) the brush is overloaded with paint and dragging — paint should be on the bottom third of the bristles only; (2) your body is not square to the line — wavy cut-ins almost always mean you are reaching across yourself and your wrist is unstable; (3) you are pressing too hard, which flares the bristles and widens the line unpredictably. The fix for all three: load less paint, reposition so you are facing the line head-on, use lighter pressure.
Should I use a 2-inch or 2.5-inch brush?
+
2.5-inch is the standard for most interior cut-in. The wider bristle holds more paint, requiring fewer dips, and the angled tip is still controllable at the edge. Use a 2-inch only when working in tight corners (closet edges, behind toilets) where the brush body needs to fit a smaller space. A 3-inch brush is mostly for trim work and exterior siding — too wide for precision cut-in on interior walls.
Is painter's tape really worse than a clean cut-in?
+
Yes, in most cases. Painter's tape leaves bleed lines wherever the wall texture is not perfectly smooth — and most walls are not. The paint wicks under the tape edge and dries as a hairline ridge that is more visible than a slightly imperfect freehand cut-in would be. Tape also pulls off chunks of the underlying paint sometimes, requiring touch-up. A well-cut freehand line ages better. Save tape for protecting trim, doors, and fixtures, not for the wall-to-ceiling line.
How do I cut in around outlets and switches?
+
Loosen the cover-plate screws but leave the plate in place. Cut in the wall right up to the edge of the plate — when you remove the plate later, the cut line is hidden behind it. For the outlet/switch itself, turn off the breaker, remove the cover, paint behind the cover area, replace the cover. Never paint over an outlet face or screw — replacement outlets cost $2 each and a painted-over outlet looks like a painted-over outlet forever.
Community Tips
💬 Sign in to share tips with the community
Sources & further reading
- The Best Tips for Cutting in Paint — Family Handyman
- How to Cut In Paint Edges With a Brush — This Old House
- How to Cut In Paint — Harris
More Painting Guides
View all → Easy25 min
Best Deck Stain: Transparent vs Semi vs Solid
There is no "best" deck stain — there is the right stain for your sun exposure, wood condition, and how often you want to redo the job. Transparent stains last 1-2 years but let the natural grain show. Solid stains last 4-7 years but look like paint. This guide walks the four opacity levels and the oil-vs-water choice so you pick the one that matches your deck and your tolerance for re-staining.
 Easy3 hrs
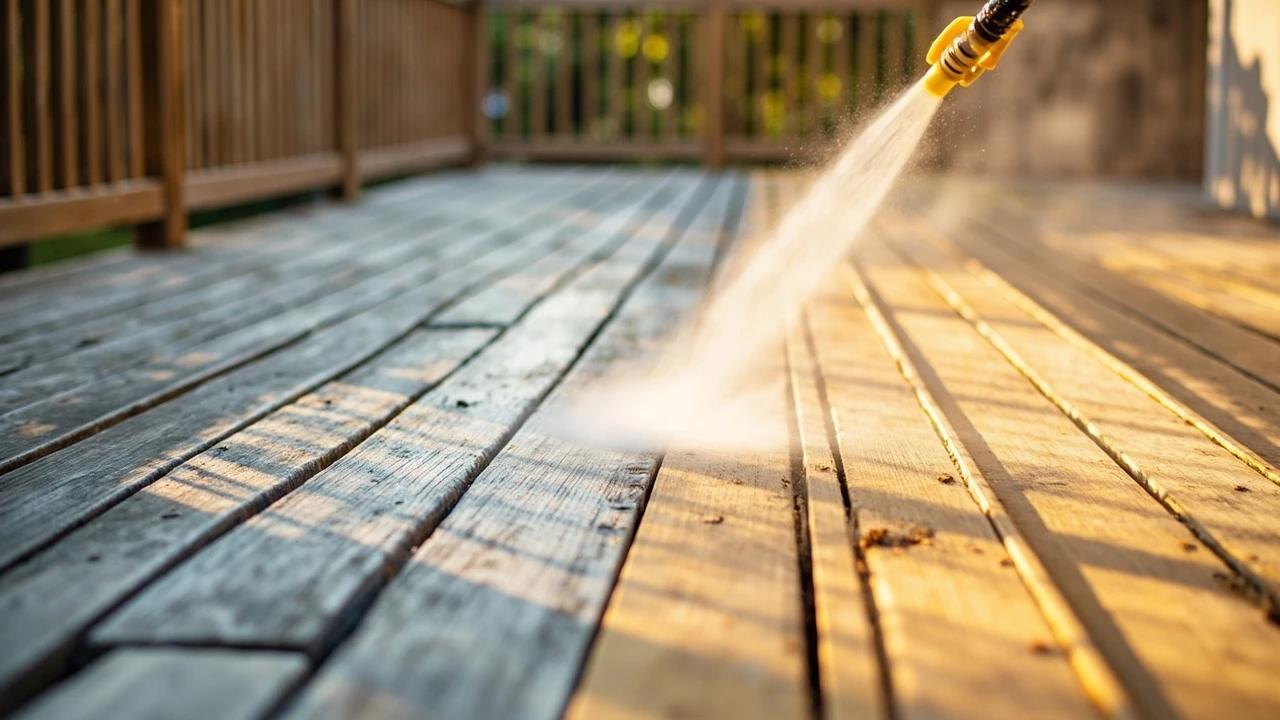
How to Power Wash a Deck Before Staining
A deck that has not been pressure-washed before staining will fail the new stain within 12 months — dirt, mildew, and old stain residue prevent proper penetration. But too much pressure gouges softwood boards permanently. This guide covers the right PSI range, nozzle choice, wand technique, and the 48-hour dry window before staining that determines whether the new finish lasts 2 years or 5.
 Medium8 hrs
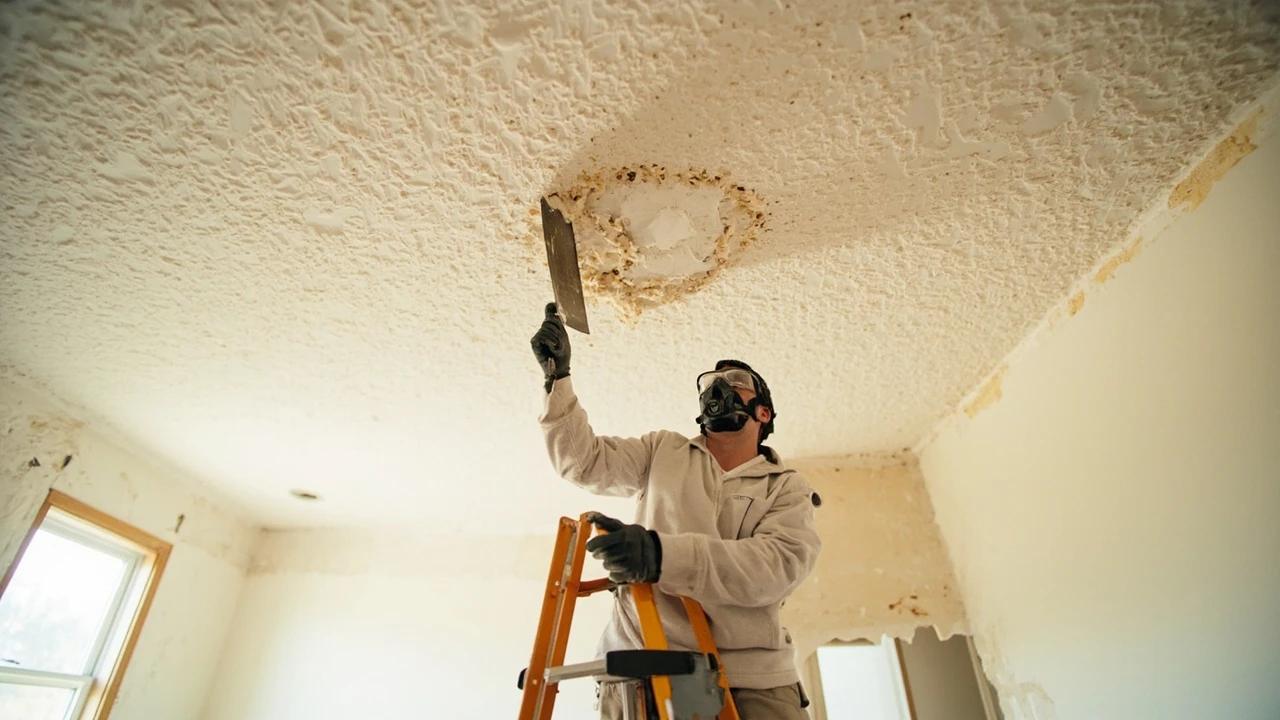
How to Remove a Popcorn Ceiling
Scraping off a dated popcorn ceiling instantly modernizes a room and can lift resale value — and it's a genuine DIY for $50 to $150 in materials per room, versus the $1 to $2 per square foot a pro charges. But there's one non-negotiable first step: popcorn texture sprayed on before the mid-1980s can contain asbestos, so it has to be tested before you disturb a single flake. This guide covers that test, the wet-scrape technique that keeps the dust down, and the patch-sand-prime work that leaves a smooth, paint-ready ceiling.
You Might Also Like
 Medium45 min
How to Install a Ceiling Fan
Replacing a light fixture with a ceiling fan improves air circulation in summer and can reduce heating costs in winter by circulating warm ceiling air downward. Most installs take 45-60 minutes.
 Easy3 hrs
Spring Lawn Care Checklist
What you do to your lawn in the first six weeks of spring determines its health for the entire growing season. Follow this sequence to fix winter damage, encourage deep roots, and crowd out weeds before they establish.
 Easy1 hr
How to Start a Compost Bin
Composting converts kitchen scraps and yard waste into rich, free fertilizer that dramatically improves garden soil. Setup takes under an hour and once running, the bin requires minimal effort for big rewards.