How to Control Grubs and Lawn Pests

White grubs — the C-shaped larvae of Japanese beetles, June bugs, and chafers — are the number one underground lawn pest in North America, and a heavy infestation can destroy an entire lawn in a single season by severing grass roots just below the surface. The good news is that a single well-timed application of preventive grub control in late spring or early summer eliminates 75-100% of grubs before they cause damage, and the whole job takes under an hour with a broadcast spreader. This guide covers confirming you actually have a grub problem, choosing between preventive and curative treatments, applying the product correctly, and maintaining a grub-resistant lawn year after year.
What You'll Need
🛠 Tools
📦 Materials
Safety First
- •Wear chemical-resistant gloves and safety glasses when handling and spreading any granular insecticide. Keep children and pets off the treated lawn until the product has been watered in and the grass is dry.
- •Neonicotinoid-based grub controls (imidacloprid, clothianidin) are toxic to pollinators. Apply them only when the lawn is not in bloom and avoid drift onto flowering plants. Chlorantraniliprole is a safer alternative for pollinator-conscious homeowners.
Step-by-Step Instructions
Confirm You Have a Grub Problem
Before spending money on treatment, verify that grubs are actually the issue. Choose a brown or spongy area of your lawn and use a flat-blade spade to cut three sides of a 1-foot square, about 3 inches deep. Peel back the sod flap like a carpet and count the white, C-shaped grubs in the exposed soil. Six or fewer grubs per square foot is normal and doesn't require treatment — a healthy lawn can tolerate that level. Ten or more per square foot means you have an infestation that needs action. Check 3-4 spots across the lawn to get an accurate picture, then press the sod flap back down and water it.

Another sign of grubs: if raccoons, skunks, or birds are digging up patches of your lawn at night, they're probably feeding on grubs just below the surface.
Choose Between Preventive and Curative Treatment
Timing determines which product you need. If it's late spring or early summer (April through mid-July depending on your region) and you want to prevent grubs before they hatch, use a preventive product containing chlorantraniliprole (Scotts GrubEx) — this is the most effective approach, killing 75-100% of grubs. If it's late summer or fall and you're seeing active damage from grubs already in the soil, use a curative product containing trichlorfon (BioAdvanced 24 Hour Grub Killer Plus) or carbaryl — these work on contact against existing grubs. For an organic approach, apply beneficial nematodes (Heterorhabditis bacteriophora) in late August or September when grubs are small and near the surface.

Calibrate and Load the Spreader
Check the product label for the recommended spreader setting and application rate — GrubEx, for example, calls for 2.87 pounds per 1,000 square feet. Set your broadcast spreader to the dial number listed on the bag for your spreader brand (Scotts, Earthway, etc.). Pour the granules into the spreader hopper on a hard surface like a driveway — never on the lawn, where a spill could burn the grass. Close the hopper gate before moving to the lawn.

Always load the spreader on a hard surface — a spill on the lawn will create a concentrated burn spot that can kill the grass.
Apply the Product in Overlapping Passes
Walk at a steady pace across the lawn, making parallel passes with the broadcast spreader. Overlap each pass by about 6 inches to avoid leaving untreated gaps — missed strips are where grubs will survive and continue feeding. Walk the perimeter of the lawn first, then fill in the interior with back-and-forth passes. Cover the entire lawn uniformly, not just the damaged areas — grubs can be present throughout the soil even where the grass still looks green. An average 5,000-square-foot lawn takes about 15 minutes to cover.

Water the Lawn Immediately After Application
Within 24 hours of application — ideally immediately after — water the entire treated lawn with at least half an inch of water. This is the single most critical step: the water dissolves the granules and drives the active ingredient down through the thatch layer into the soil where grubs live. Without watering, the product sits on the grass blades, breaks down in sunlight, and never reaches the grubs. Use a sprinkler and set out a tuna can or rain gauge to measure when you've hit half an inch — most sprinklers take 20-30 minutes to deliver that amount.

If rain is forecast within 24 hours of your planned application, skip the sprinkler — let nature do the watering for free.
Apply Beneficial Nematodes for Organic Control
If you prefer an organic approach, apply beneficial nematodes (Heterorhabditis bacteriophora) in late August or early September when soil temperature is 60-85°F and young grubs are feeding near the surface. Nematodes are living organisms that come refrigerated — mix the contents of the pack with water in a watering can or hose-end sprayer according to the package directions (typically one pack per 2,000-3,000 square feet). Apply in the early morning or evening when the sun is low, since UV light kills nematodes. Water the lawn thoroughly before and after application to ensure the nematodes can move through moist soil to reach the grubs.

Repair the Damaged Areas
After treatment, the dead grubs stop feeding within days, but the brown patches won't repair themselves — you need to reseed or resod. For small areas, rake out the dead grass and thatch, scratch the soil surface with a garden rake, spread grass seed at the rate listed on the bag (typically 4-6 pounds per 1,000 square feet for overseeding), and cover lightly with a thin layer of compost or peat moss. Water the seeded areas twice daily until germination (7-14 days for most grass types). For large dead areas over 4 square feet, consider laying sod patches for instant results.

Maintain a Grub-Resistant Lawn Year-Round
Prevention is easier than cure. Mow at 3.5-4 inches — taller grass develops deeper roots that tolerate grub feeding and shades the soil so female beetles avoid laying eggs in it. Water deeply but infrequently (1 inch per week in one or two sessions) to build strong roots rather than shallow, frequent watering that keeps the topsoil moist and attractive to egg-laying beetles. Mark your calendar each spring for a preventive GrubEx application in late May or June — one annual treatment keeps grubs below the damage threshold all season. After 2-3 years of consistent treatment, grub pressure typically drops significantly.

Japanese beetle traps are tempting but actually attract more beetles to your yard than they catch — skip them and focus on treating the grubs in the soil instead.
Frequently Asked Questions
How long does it take to control grubs and lawn pests?
+
This project typically takes about 1 hr. The guide includes 8 steps with detailed instructions for each.
What tools do I need?
+
You will need: Broadcast (rotary) spreader, Flat-blade spade or garden knife (for soil inspection), Garden hose with sprinkler or irrigation system, Measuring tape (to mark 1-square-foot test areas), Bucket (for collecting grubs during inspection), Chemical-resistant gloves, Safety glasses. Materials include: Preventive grub control granules — chlorantraniliprole-based (e.g., Scotts GrubEx) or trichlorfon-based for curative treatment (e.g., BioAdvanced 24 Hour Grub Killer Plus), Beneficial nematodes — Heterorhabditis bacteriophora species, refrigerated pack (organic alternative, treats up to 3,000 sq ft per pack), Milky spore powder or granules — Paenibacillus popilliae (long-term organic option, effective only against Japanese beetle grubs).
Is this a good project for beginners?
+
Yes! This is rated as an easy project that most homeowners can complete with basic tools and no prior experience.
Community Tips
💬 Sign in to share tips with the community
Sources & further reading
- White Grub Control in Turfgrass — Iowa State University Extension
- How to choose and when to apply grub control products for your lawn — Michigan State University Extension
More Gardening Guides
View all → Easy3 hrs
How to Winterize Your Garden
A few hours of fall garden prep is the difference between a thriving spring and a cleanup nightmare in March — proper winterization prevents frost heave, protects perennials from -20°F lows, kills overwintering pests, and adds 2-3 weeks of free growing time next season. This guide covers the eight tasks every gardener should knock out 4-6 weeks before the first hard frost: cleanup, weeding, perennial cutback, bulb storage, soil amending, mulching, deep watering, and irrigation drain-down.
 Easy1h 15m
How to Edge Garden Beds Cleanly
Crisp bed edges are the single fastest way to make a yard look professionally maintained — yet most homeowners never re-cut them after the original landscaping. A clean spade-cut trench takes about an hour per 50 linear feet, costs nothing beyond a sharp edger, and instantly separates turf from mulch so grass stops creeping into your plantings. This guide walks you through marking a smooth line, cutting a defined trench, removing sod, and maintaining the edge all season.
 Easy3 hrs
Spring Lawn Care Checklist
What you do to your lawn in the first six weeks of spring determines its health for the entire growing season. Follow this sequence to fix winter damage, encourage deep roots, and crowd out weeds before they establish.
You Might Also Like
 Hard4 hrs
How to Install Crown Molding
Crown molding turns a plain room into a finished one — but it is the trickiest trim to cut, thanks to corners that are never quite square and a profile that has to be cut upside down. This guide walks through the whole job the way a finish carpenter does it: coping inside corners so they stay tight, mitering outside corners, and fastening into framing instead of bare drywall. Expect about half a day for a typical room and roughly one to six dollars per linear foot in materials.
 Medium1 hr
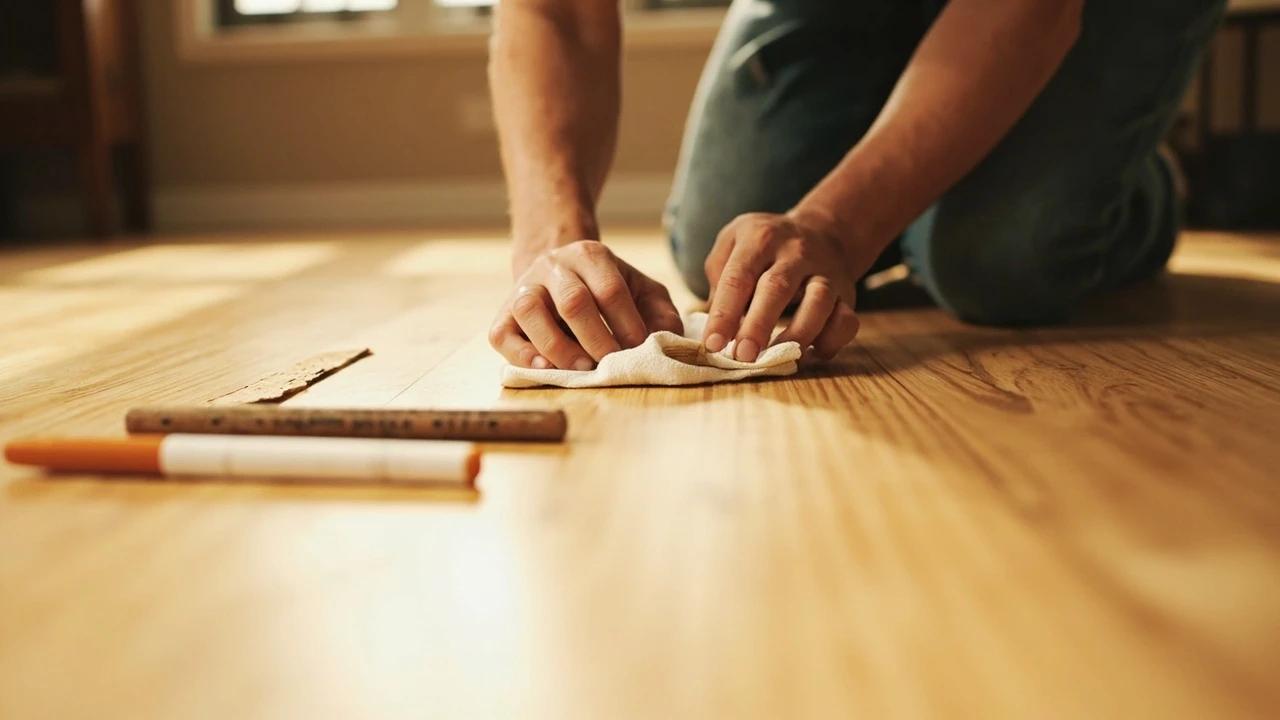
How to Repair Scratches in a Hardwood Floor
Scratched hardwood almost never means refinishing the whole floor. This guide shows you how to match the fix to the damage — a touch-up marker for finish-level scratches, a wax fill stick for shallow ones, and stainable wood filler with stain and polyurethane for deep gouges — all for under $40 in supplies and about an hour of work.
 Medium45 min
How to Install a Ceiling Fan
Replacing a light fixture with a ceiling fan improves air circulation in summer and can reduce heating costs in winter by circulating warm ceiling air downward. Most installs take 45-60 minutes.